With sticky header users are able to access to different sections easily as the menu bar always appears on the screen. In this post, I’ll show you step-by-step how to use Elementor free version to create a Sticky header on your WordPress site.
Requirements
Elementor plugin
Sticky Header Effects for Elementor plugin
Oceanwp theme
Login to admin area > Appearence > themes > add New > Search for OceanWP > Install and activate the theme
And then Install Sticky Header Effects for Elementor plugin
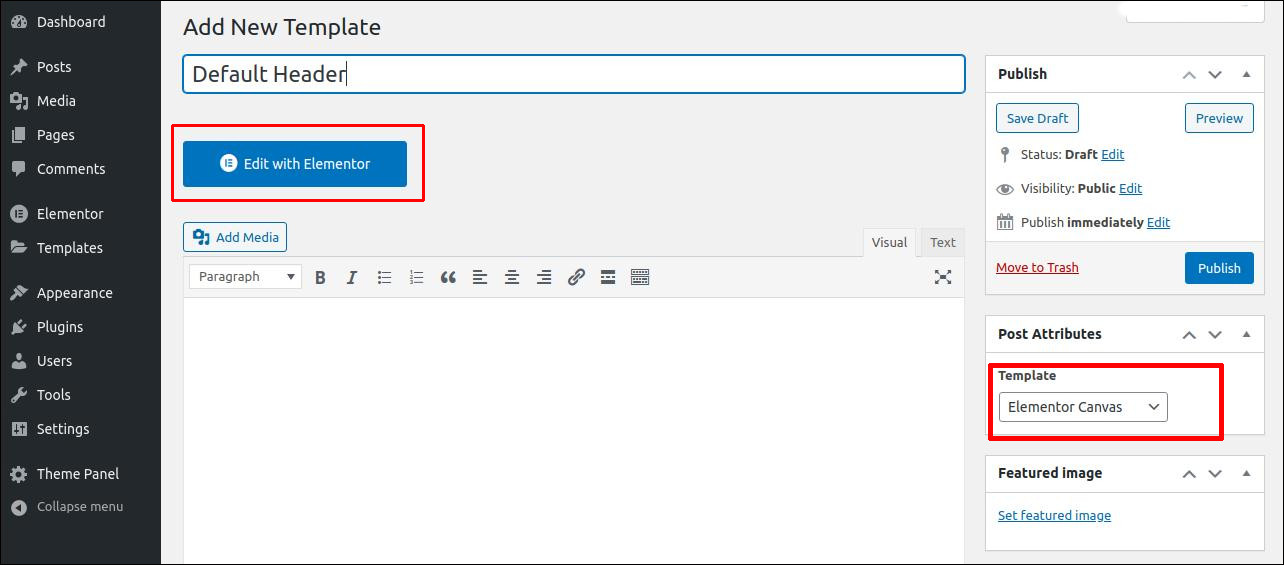
Go to Theme Panel > Libarary > Add New > Add title – Default header > Select template – Elementor Canvas > Click publish button and then click Edit with Elementor
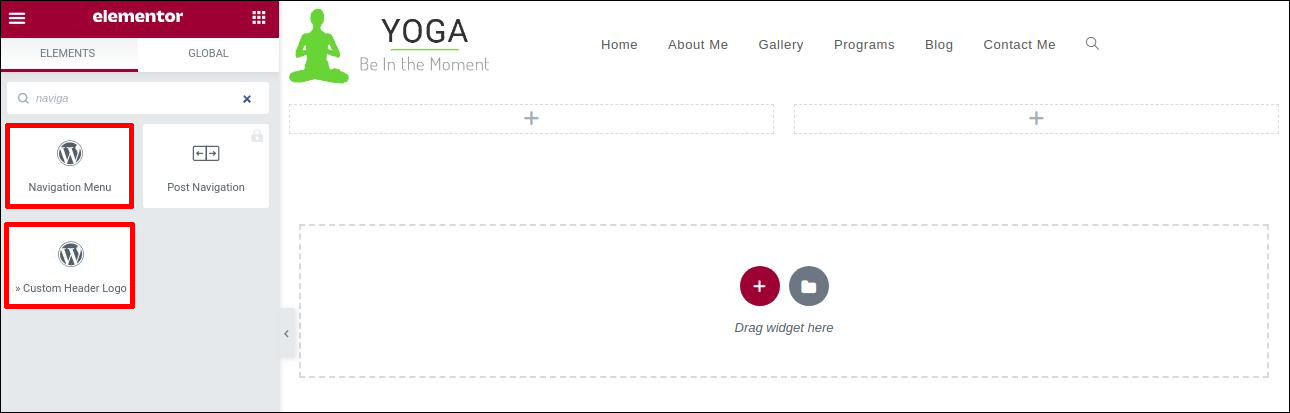
Select Two column structure and add Custom header logo widget for first column and Custom Header Nav for second column.
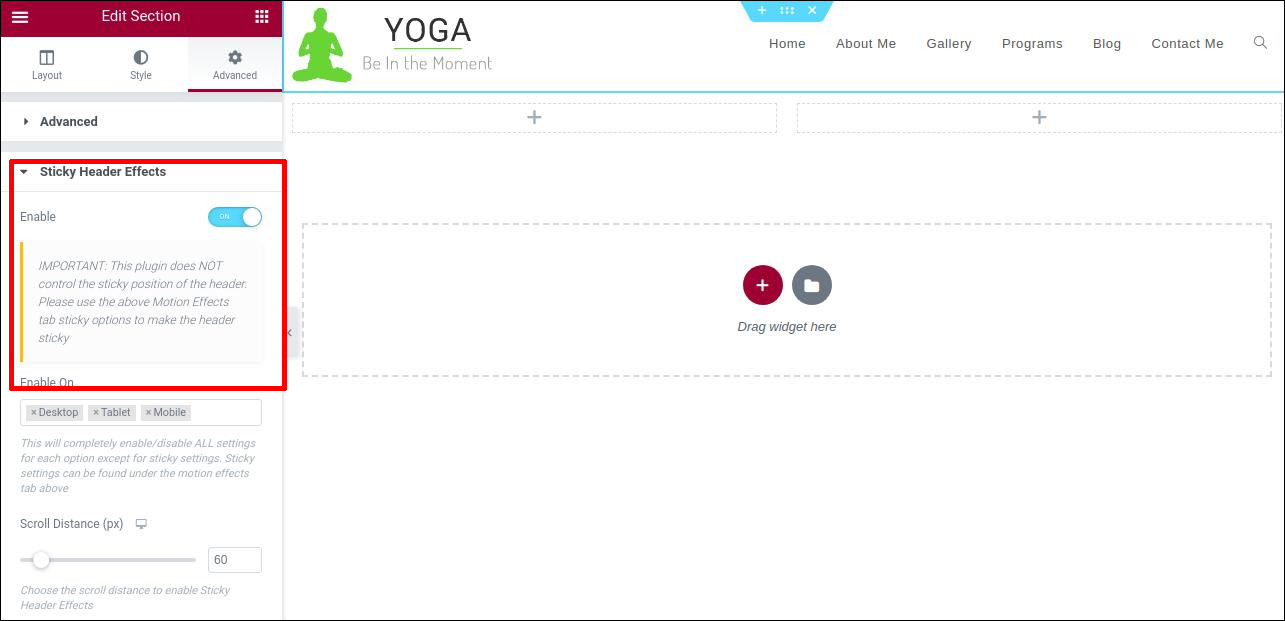
Open the settings for the section that contains your header. In the Advanced tab, enable Sticky Header Effects
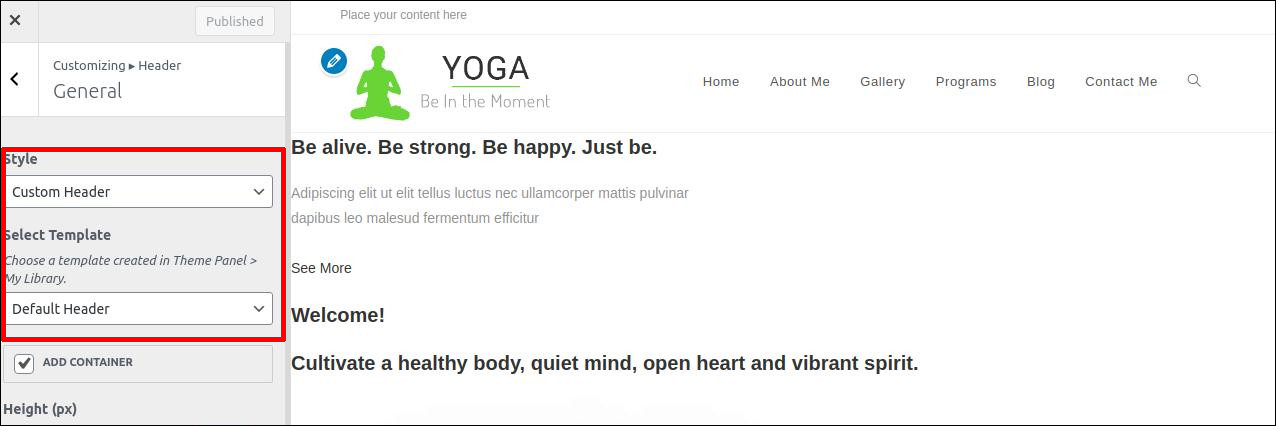
Login to admin area > Apperence > Custamize > Header > General > Custom header and select the template > Default Header we created.