Today I’m going to share with you how to add an image to the WordPress menu.
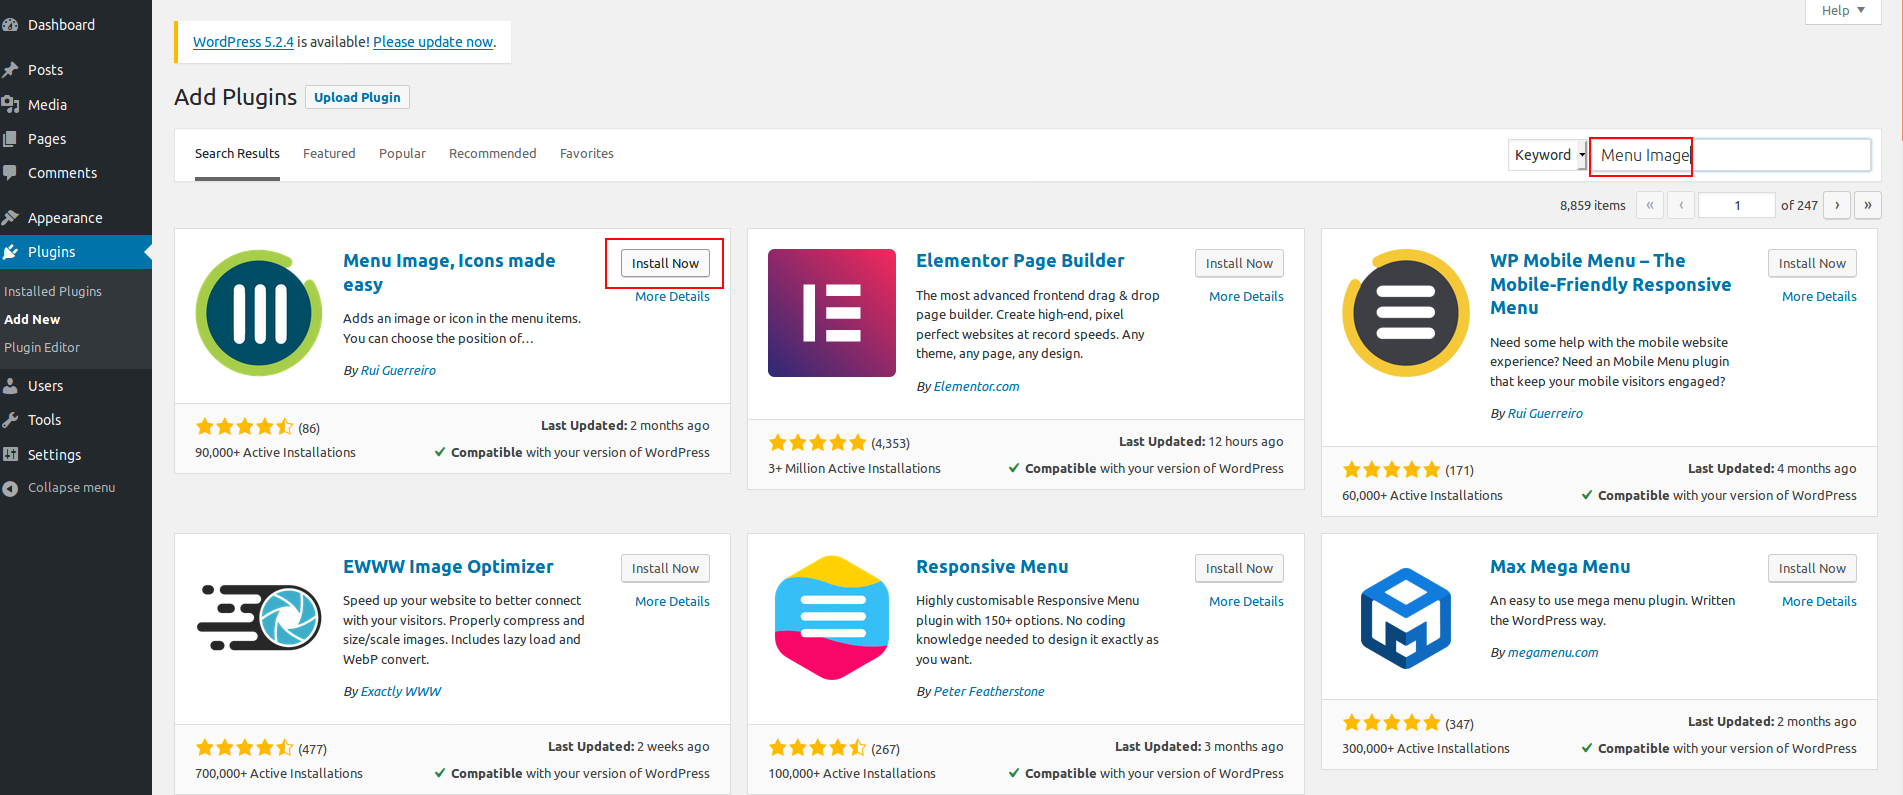
Login to your WordPress admin dashboard and navigate to Plugins > Add New then search for ‘menu image’. Find ‘Menu Image, Icons made easy’ (screenshot below) then click Install Now.
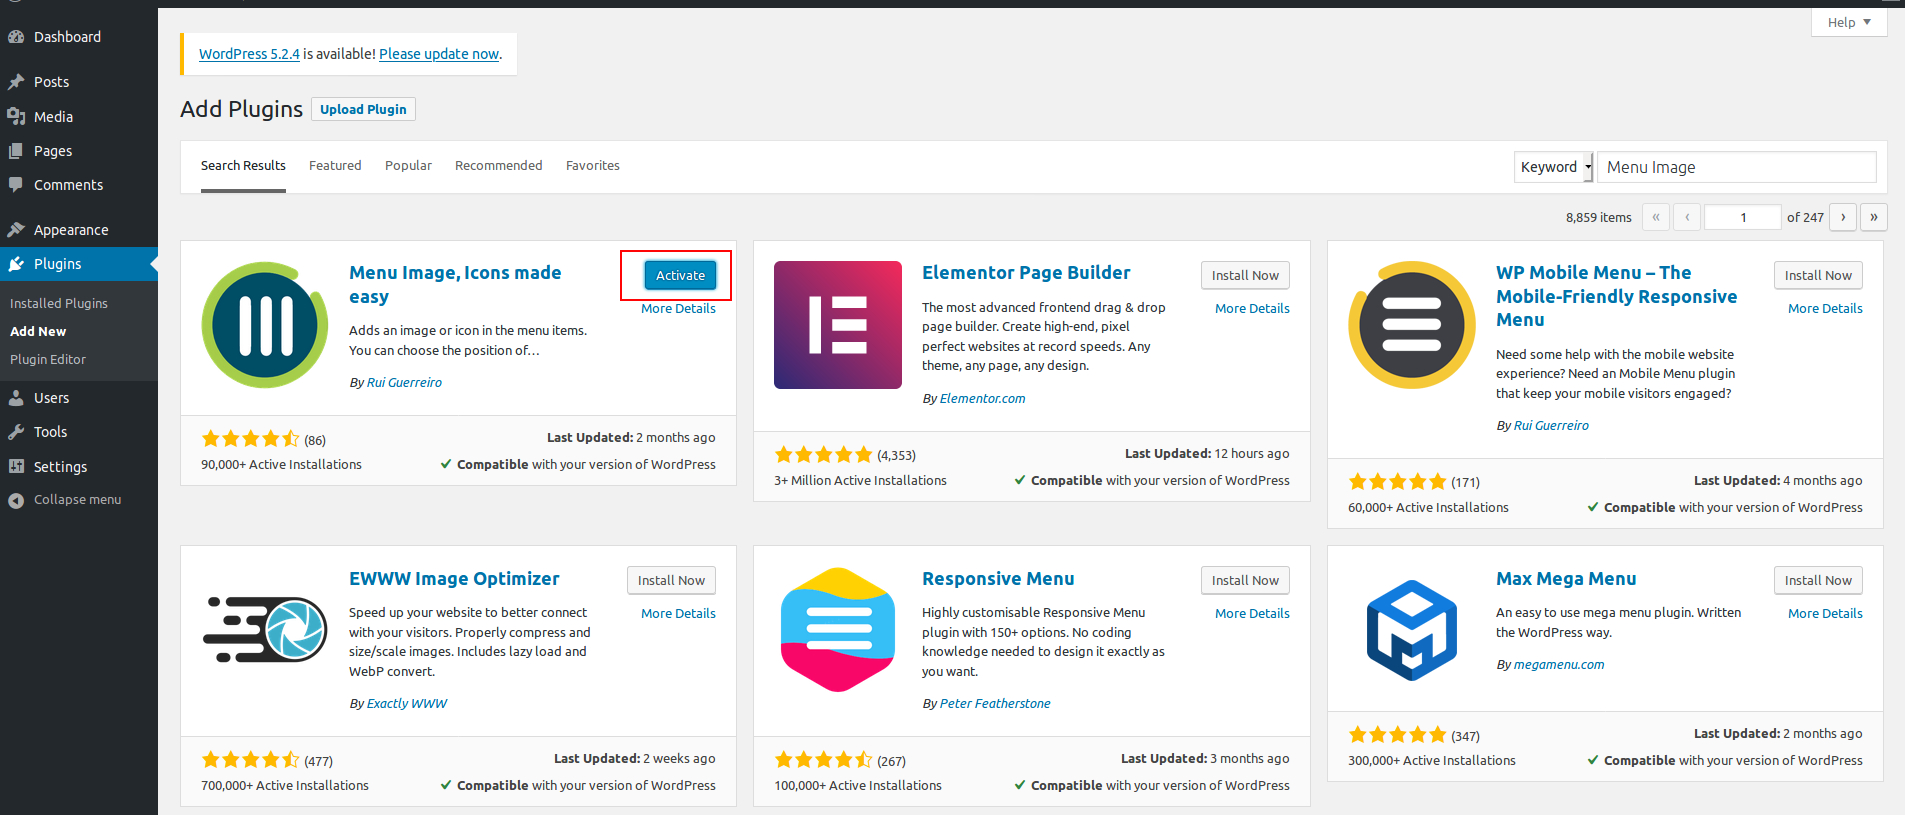
After installing the plugin it should be activated. For doing that, click on the ‘Activate’ button. Check out the screenshot below:
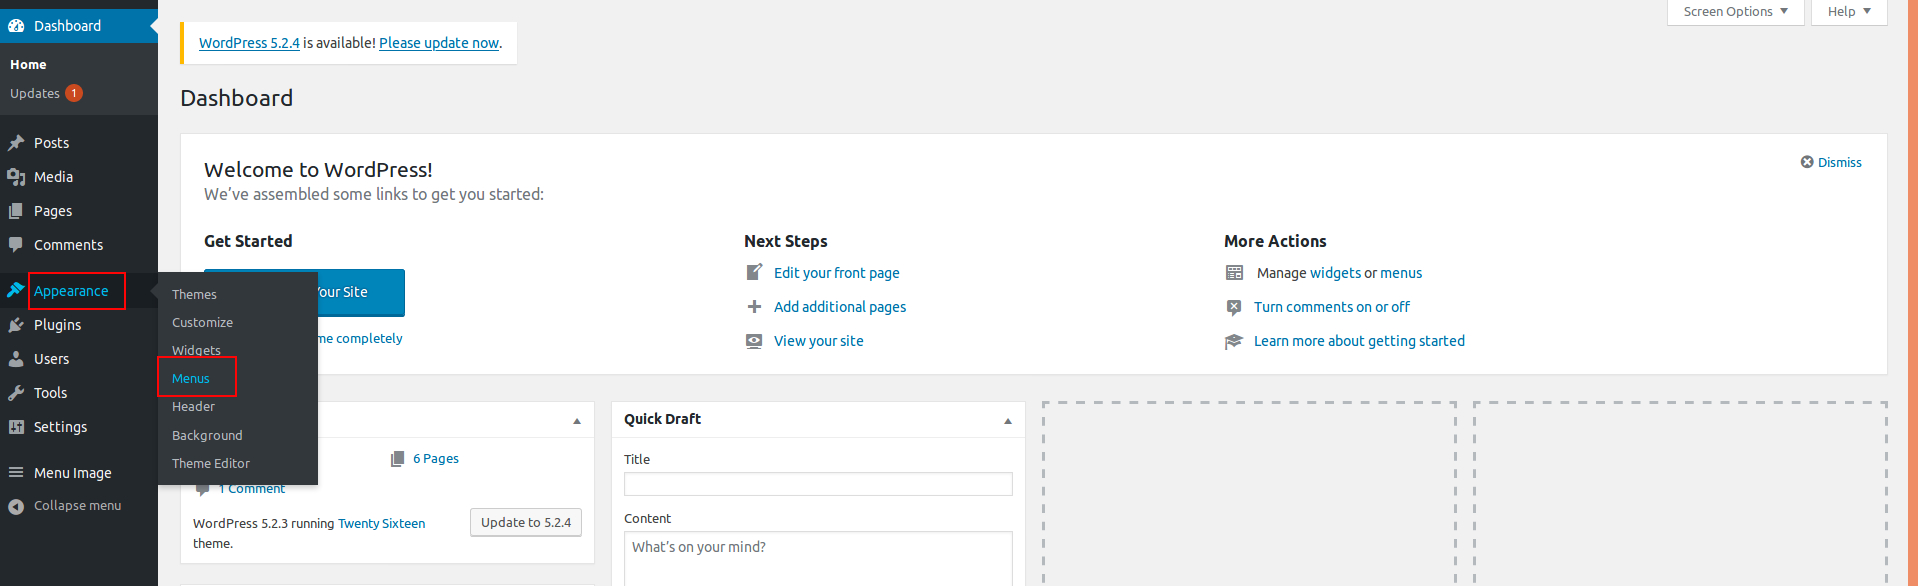
Then click on left sidebar > Appearance > Menus (screenshot below)
There you can see all of the menus. Click on the arrow on the right side of the menu to add the image.
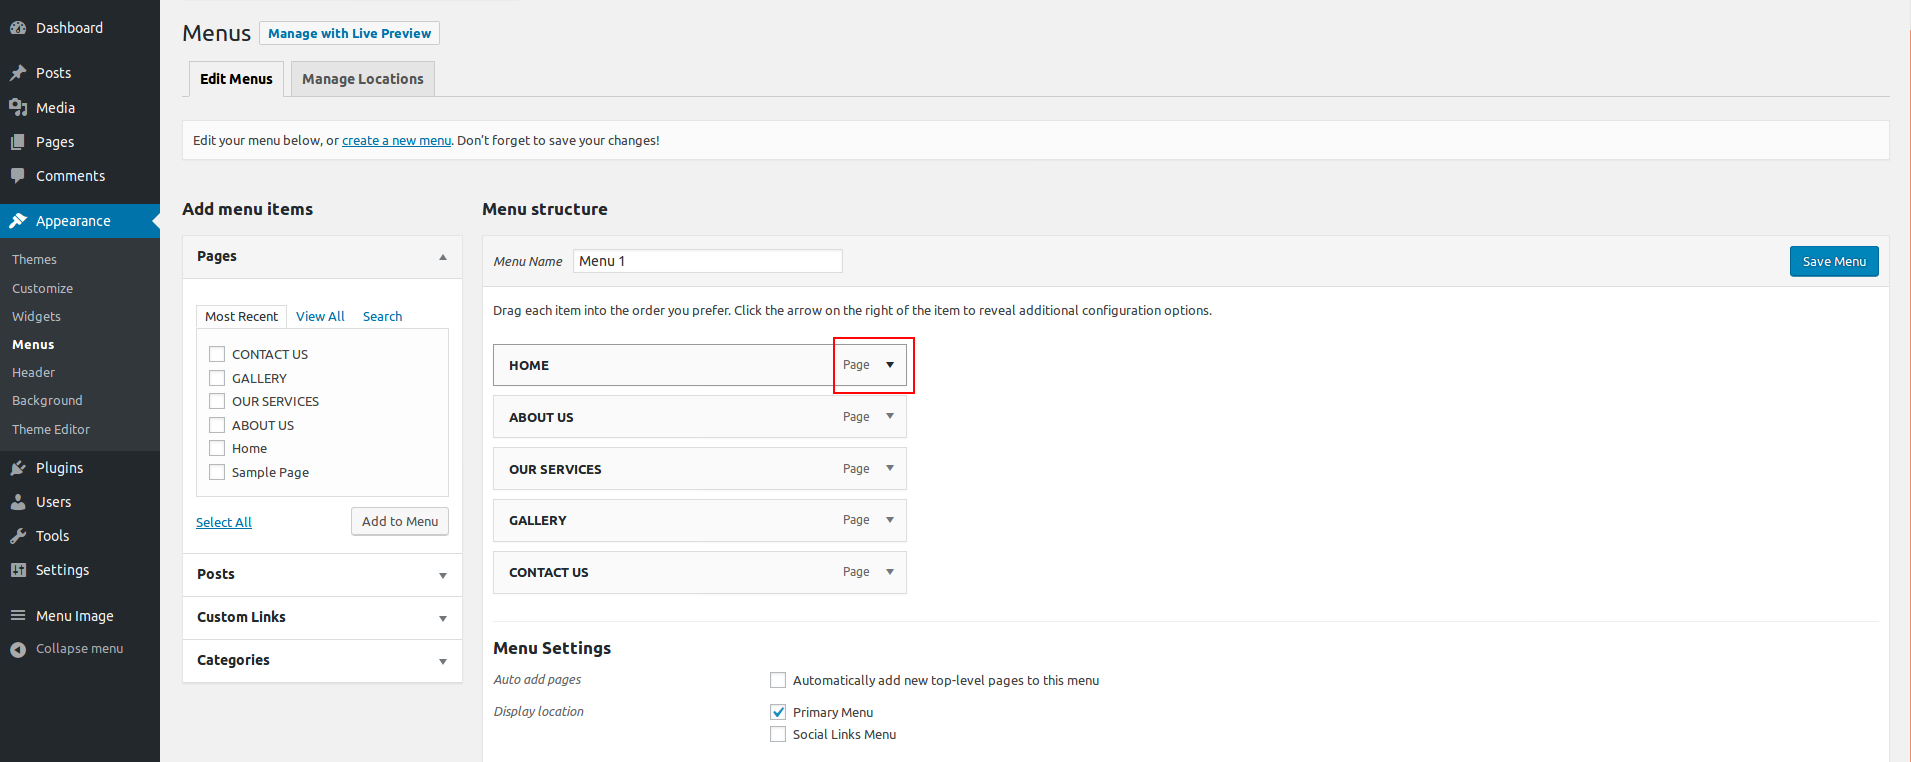
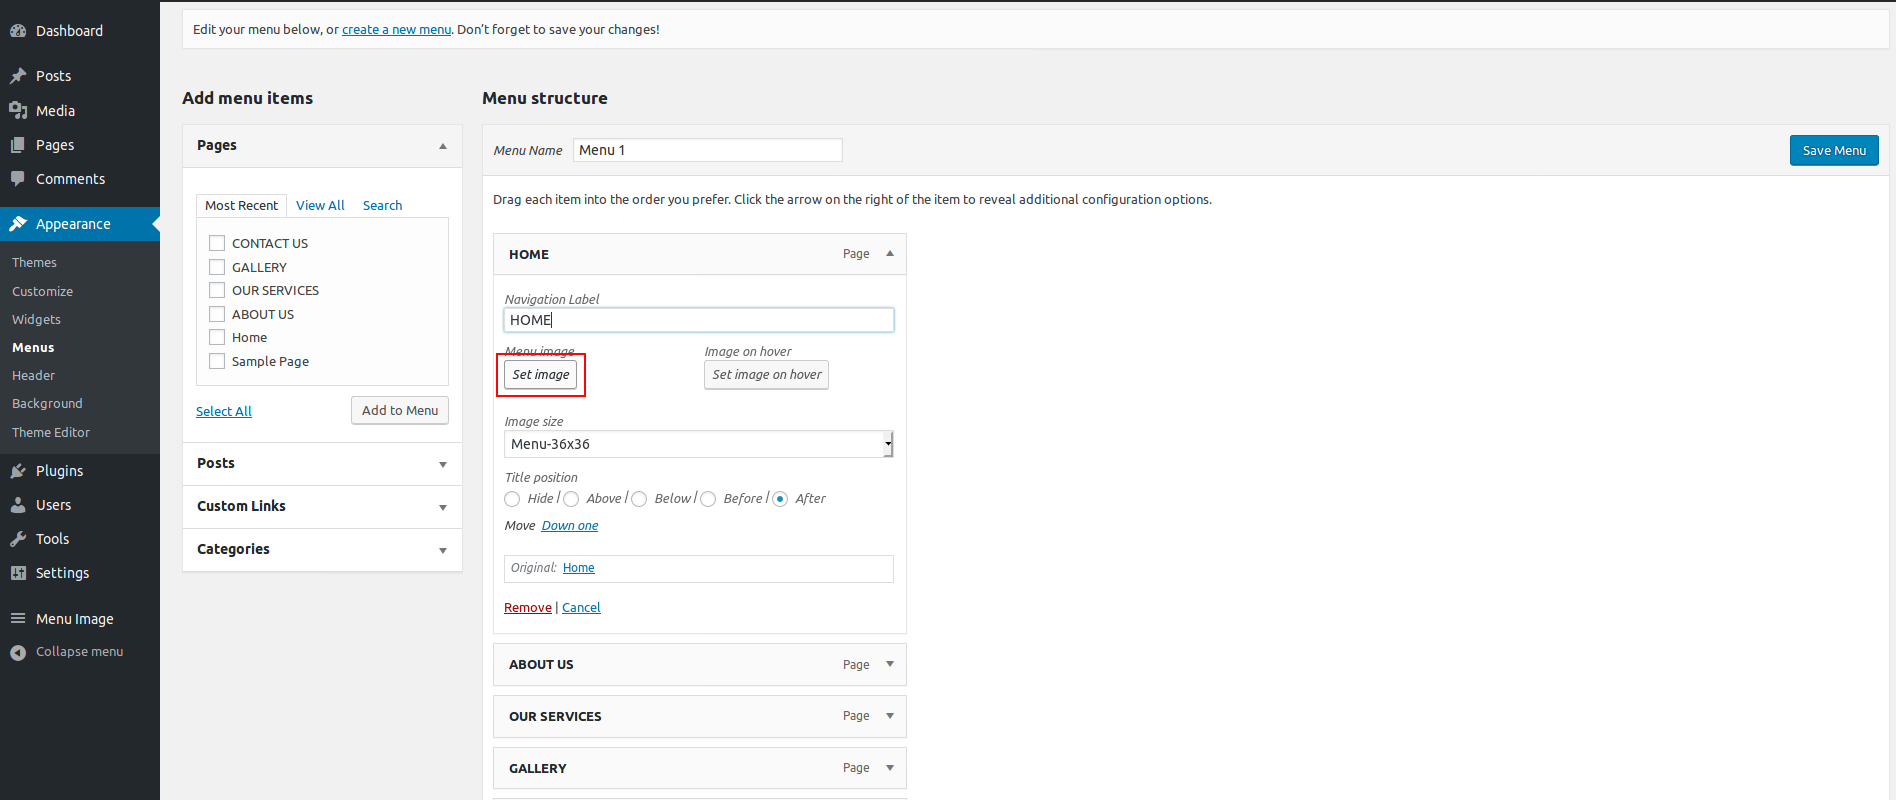
There you will see more than one option. Set image and image size etc.. Here you can use the Set Image option to add an image.
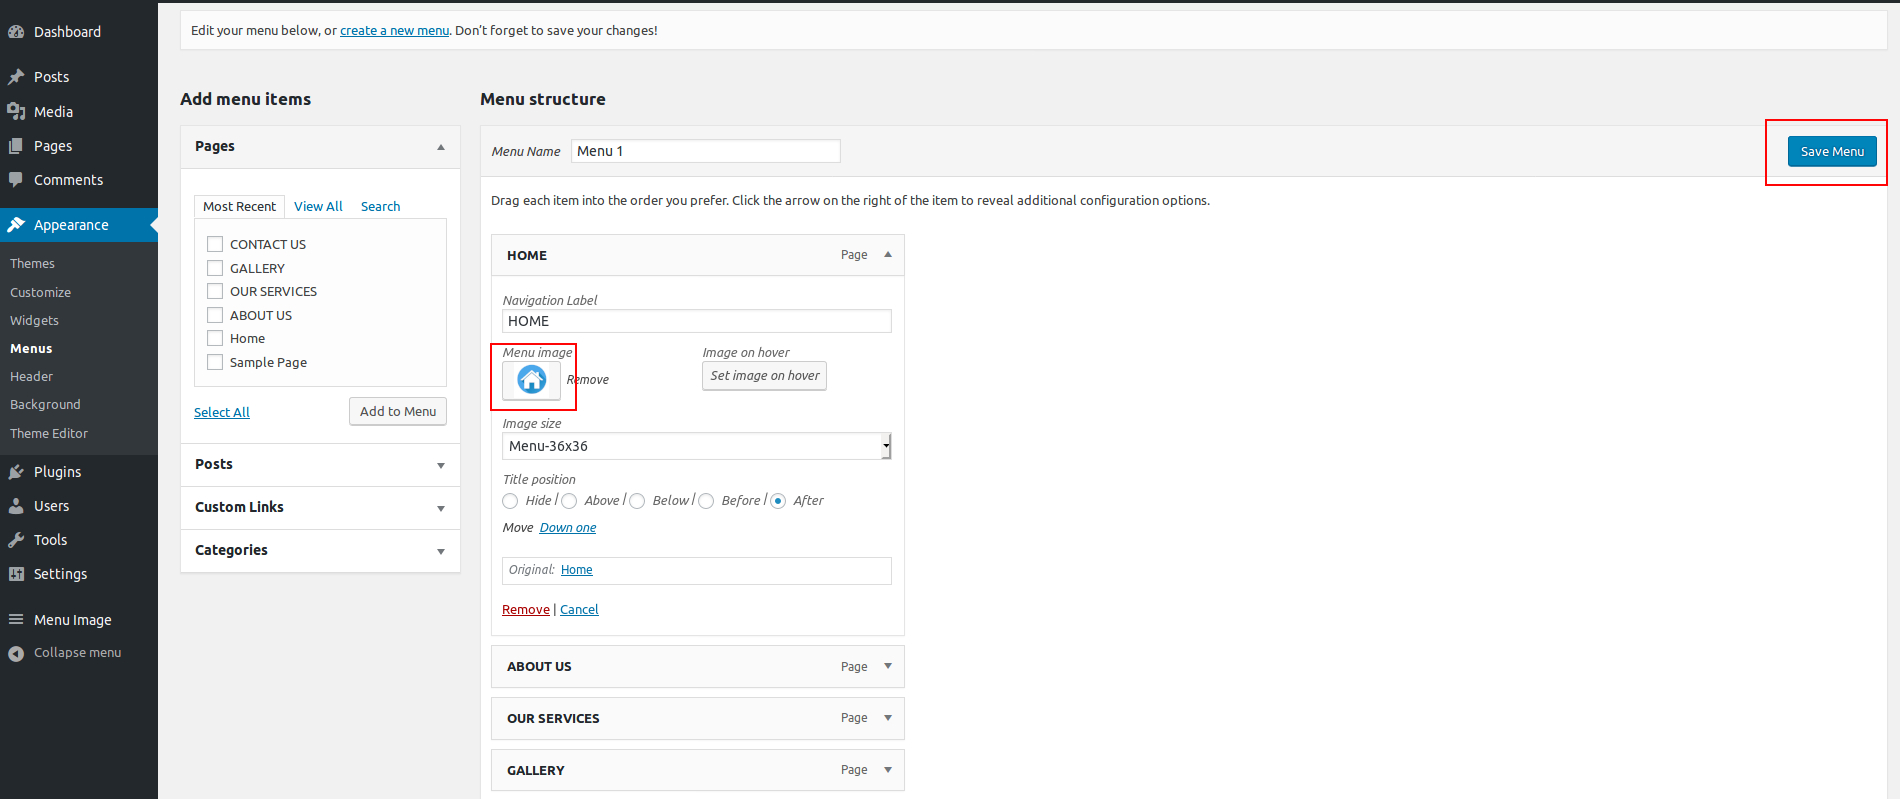
After uploading the image, we can see it. I used up is the home icon. Then click on the Save menu button at the top right.
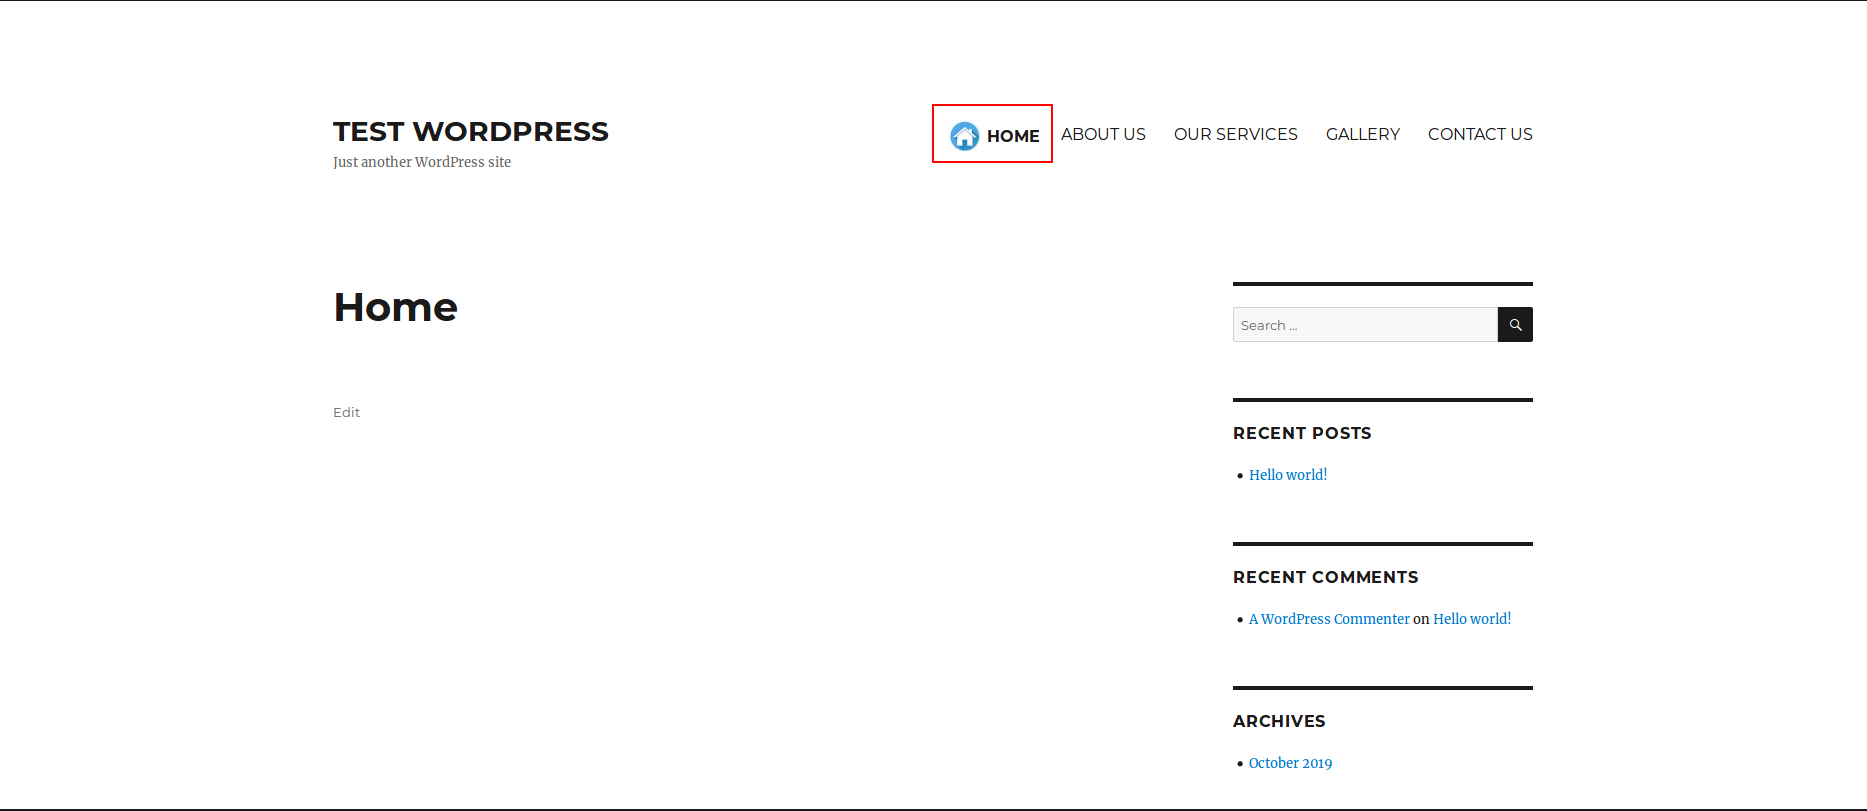
After saving take a look at the website and you’ll see that the image is on the left side of the menu.