I have just finished an E-commerce Website developement with WordPress and WooCommerce. On this site, as per client request added an option to purchase the products by brands. I’m going to tell you how to set them up and how it work.
WooCommerce Shop by Brand is a great way to showcase branded products on your store. You can Create and Customize as many brands as you want, assign products to the brands and allow customers to filter and view products from their favorite brands in multiple ways.
Follow the steps below for the Product Brands setup.
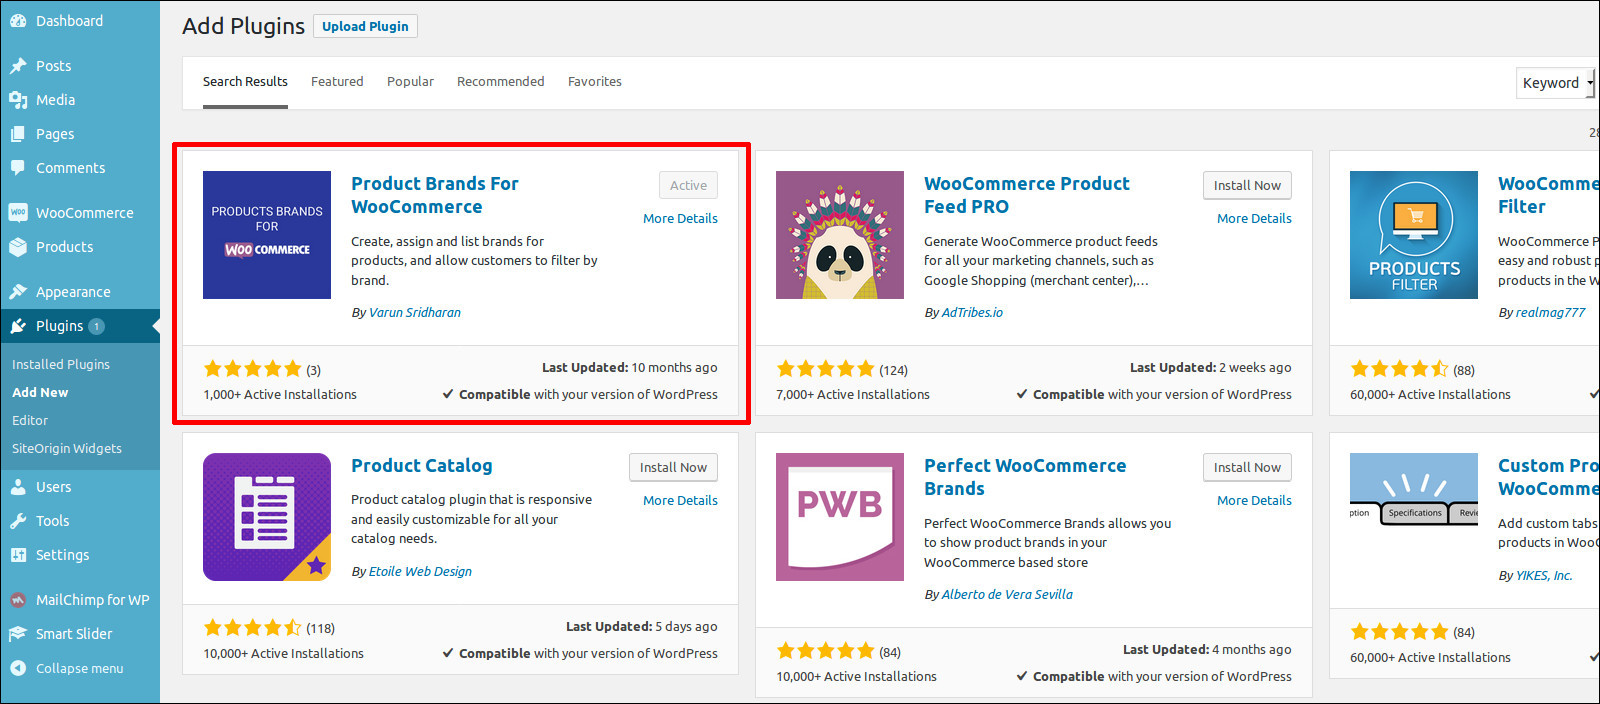
STEP 1 : Install and activate the Product Brands For WooCommerce plugin
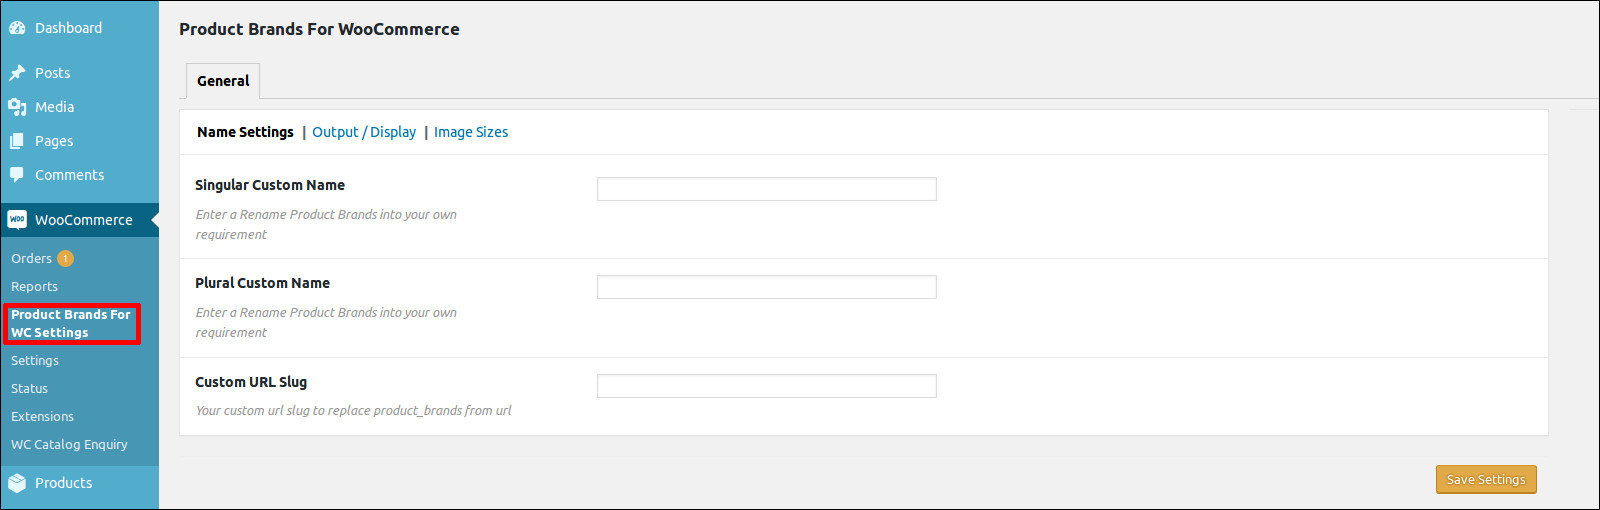
STEP 2 : After activating the plugin, ‘Product Brands For WC Settings’ tab will appear in your dashboard under WooCommerce. There you can configure the Name settings, Output/Display and Image sizes.
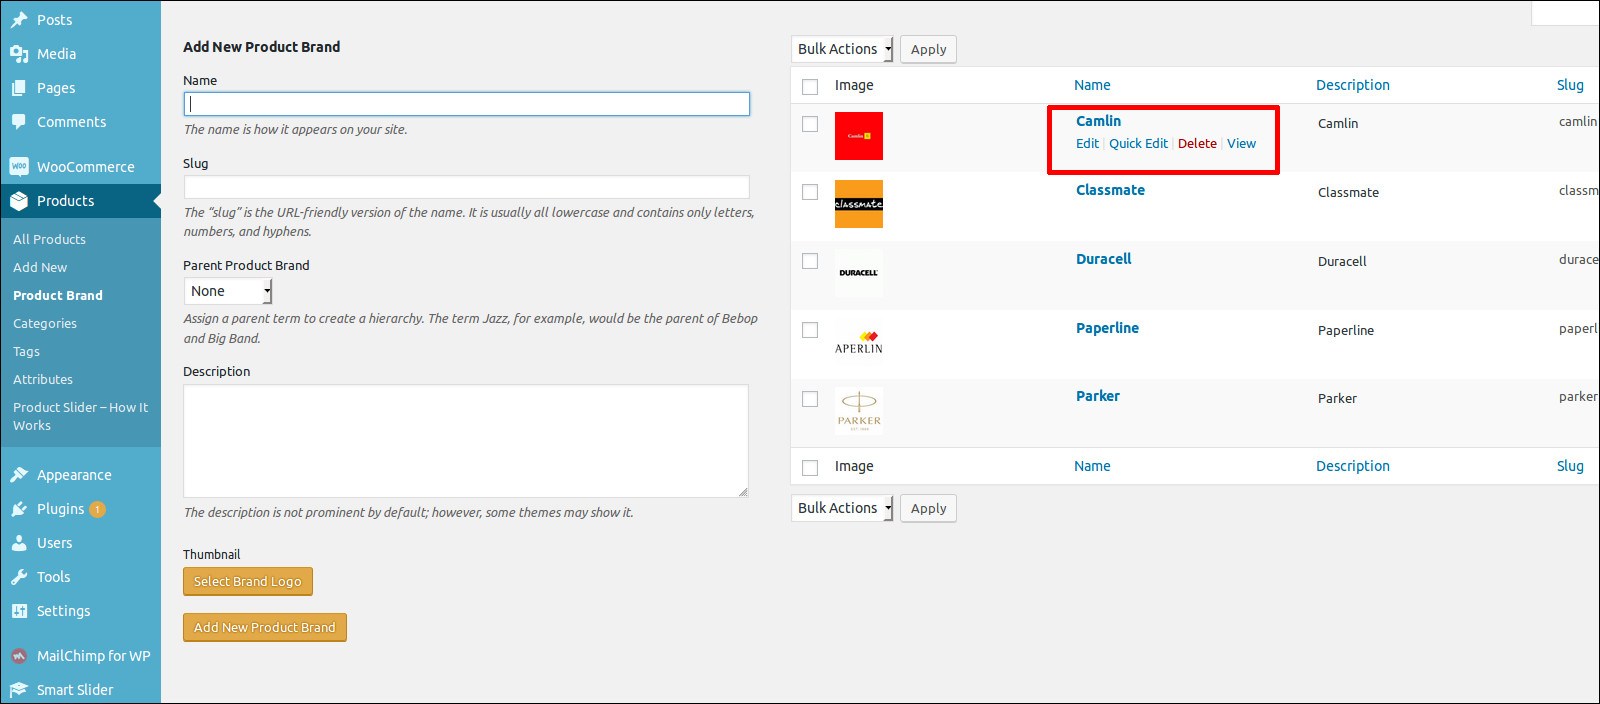
STEP 3 : Go to Products > Product Brands. Here you can add the Product Brand name, description and image. Once you are done, the brand will be listed in the right side. To View the brand page on the site, click on the View button of the brand you need.
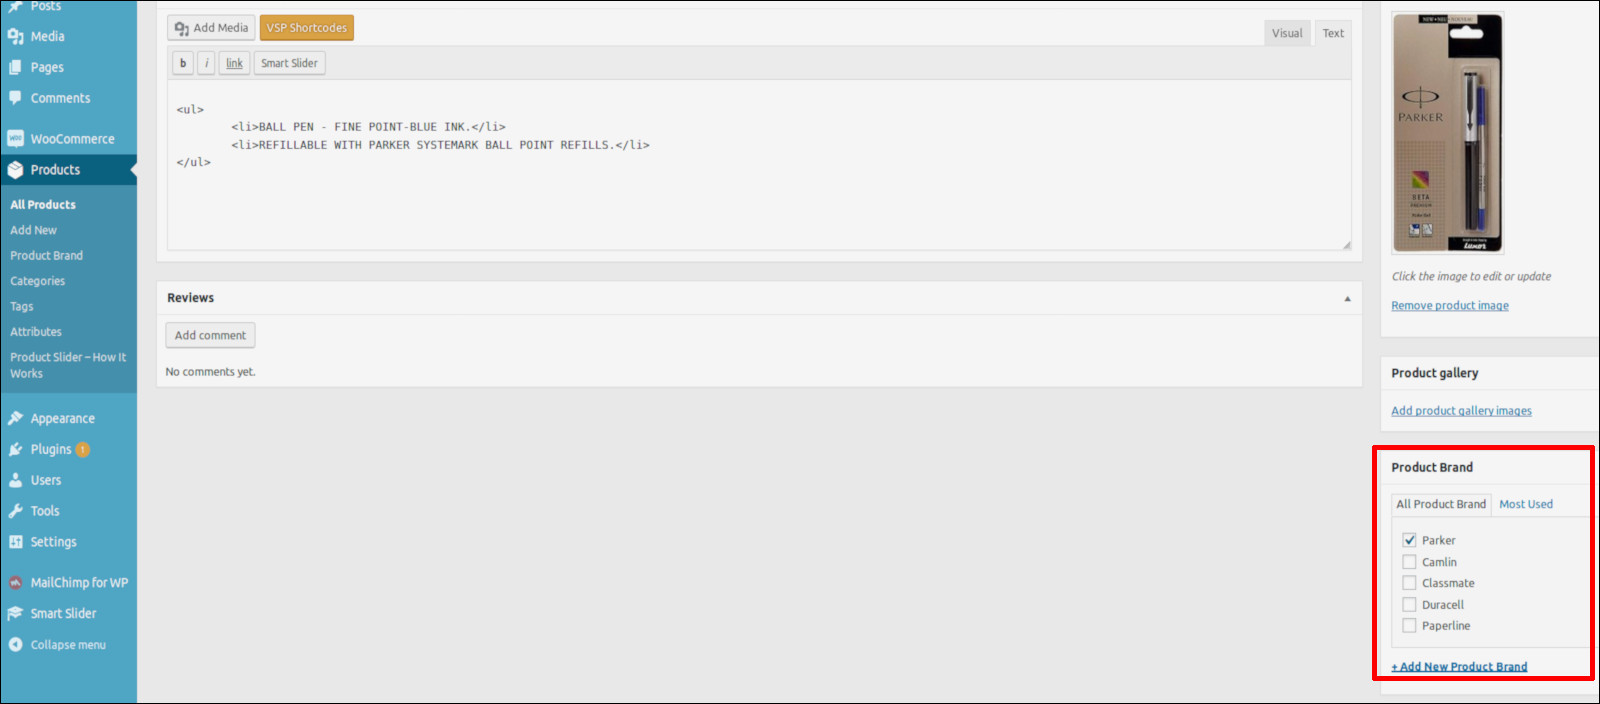
STEP 4 : The next step is assign a brand to your product, for that go to Products > Add Products , or edit an existing product. You can see the Product Brand tab on the right side of your page.
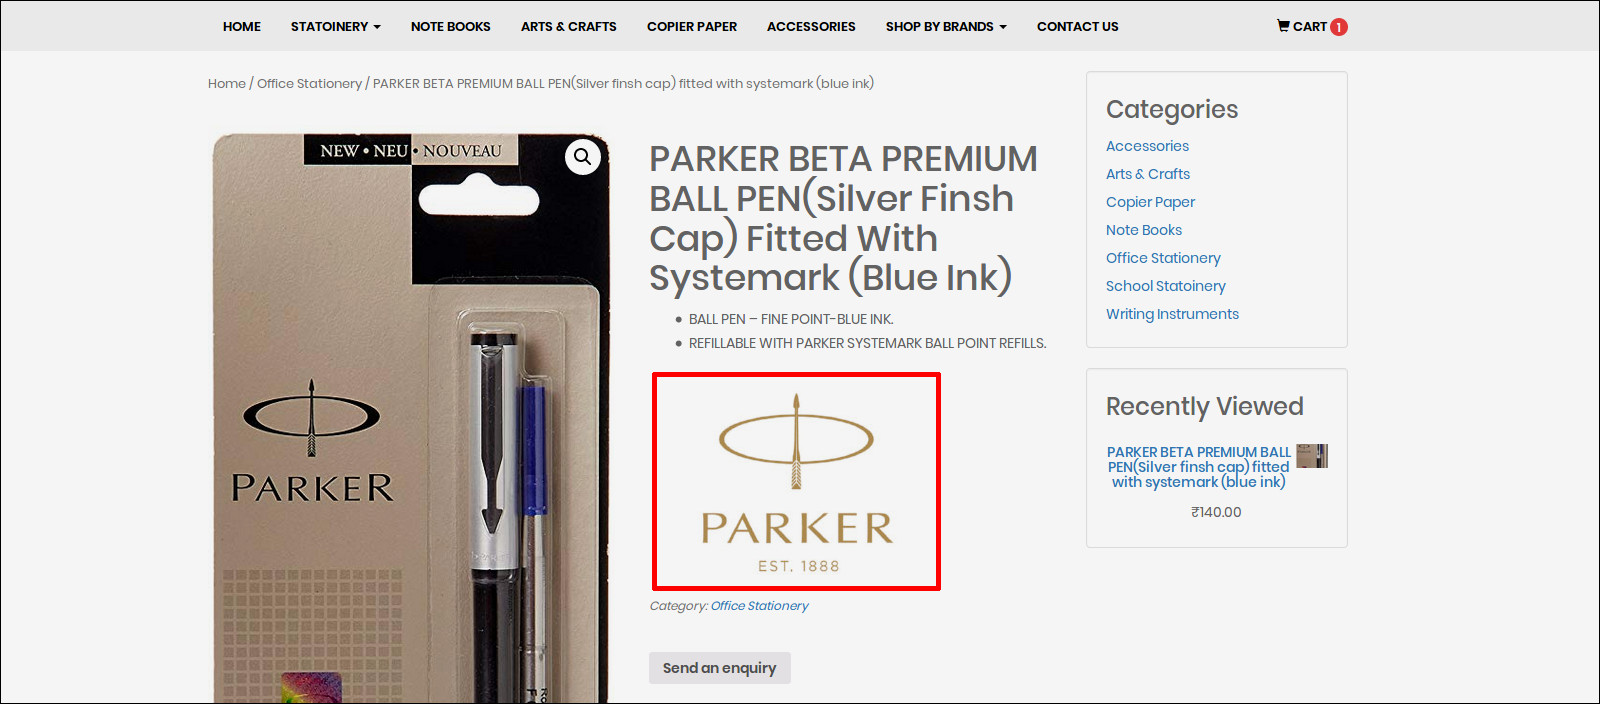
STEP 5 : Once you published the post you will see the result like below
You can change the position of the brand image in Woocommerce > Product Brands For WC settings > Output/display.
Check the video tutorial below
