Galleries are an integral part of many websites. You can use galleries to show your visitors the latest photos, different types of products, portfolios and company informations etc..
To create an image gallery with thumbnails in WordPress, you need to install the plugin. For this purpose, I am recommending the “Responsive Gallery With Light-box” plugin.
Login to your WordPress admin dashboard and navigate to Plugins > Add New then search for ‘light box image gallery’. Find ‘Responsive Gallery With Light-box’(screenshot below) then click Install and Activate it.

After installing plugin, activate it by clicking “Activate” button. Check out the screenshot below:

Upon activating the plugin you’ll see a new “Responsive Gallery” tab on your dashboard. Check out the screenshot below:

When you have clicked the Add New Gallery button, you will be directed to the New Gallery Setting Page. Here you can set the gallery name, and then you will see two options below, one is to add images and the other to delete them. Check out the screenshot below:

We can add images to the gallery by clicking on the Add New Image option here. Check out the screenshot below:

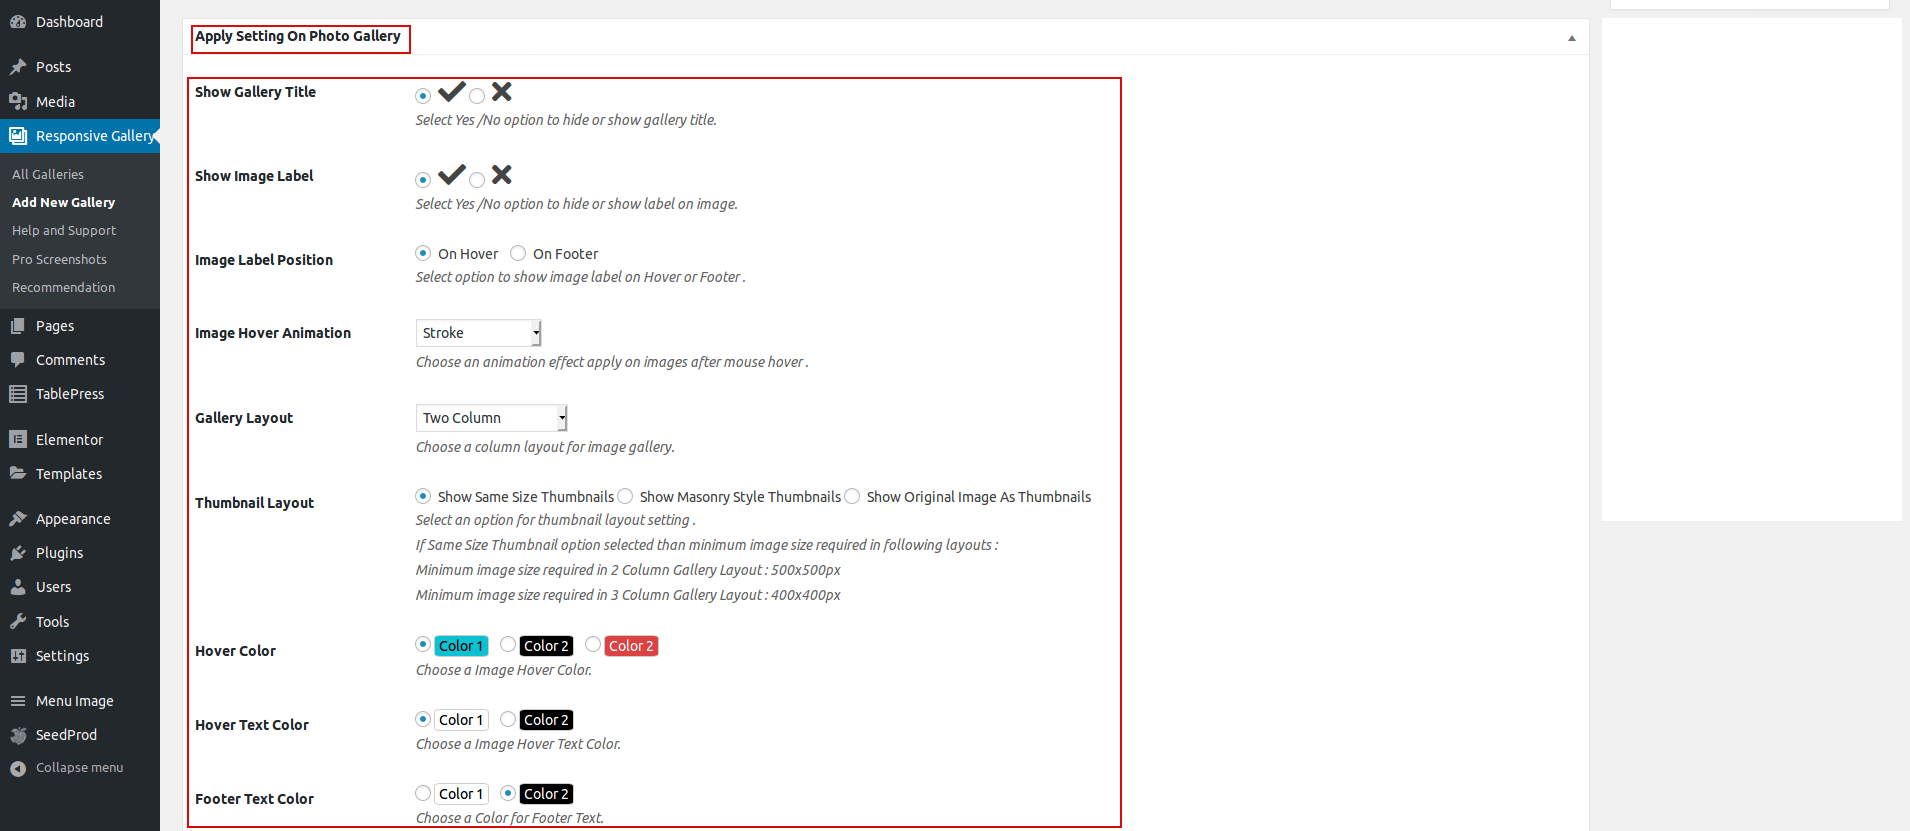
After uploading the image, You have the option to set the gallery as follows. Check out the screenshot below:

After setting everything up, click on Publish button. Check out the screenshot below:

When your gallery is ready, copy the short code from the right side bar and paste it into the pages or posts using the editor. Check out the screenshot below:

Here is the final result of your image gallery. – Screenshot below:


