Here I am explaining the simple steps for creating a WordPress menu button, without any plugins.
Login to the admin area > Appearence > Menus. Enable CSS Classes option by clicking “Screen options” to the top of the screen and then select the CSS Classes option.

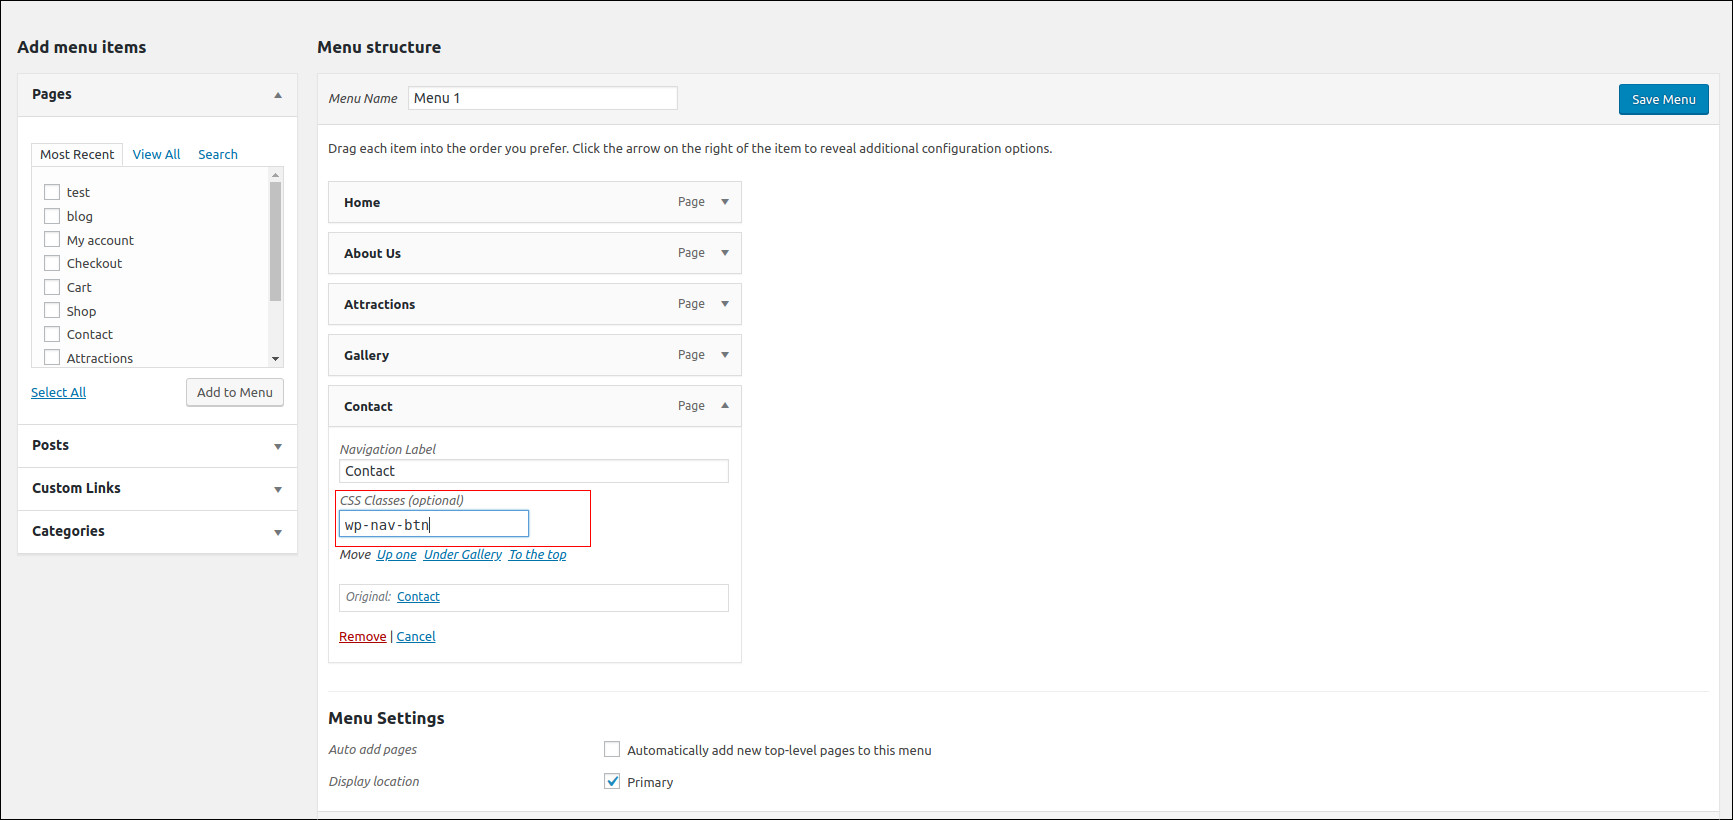
Click the arrow on the menu item so it expands to show extra settings. In the CSS Classes field, enter a class for the menu item. In this example, Iam using wp-nav-btn for the class name and then click Save Menu.
Go to Appearance > Customize > Additional CSS and paste the following CSS:
.wp-nav-btn {
background: #365899;
padding: 0 10px 0 10px;
border-radius: 5px;
}

.wp-nav-btn a{
color:#fff !important
}
Will result in:
