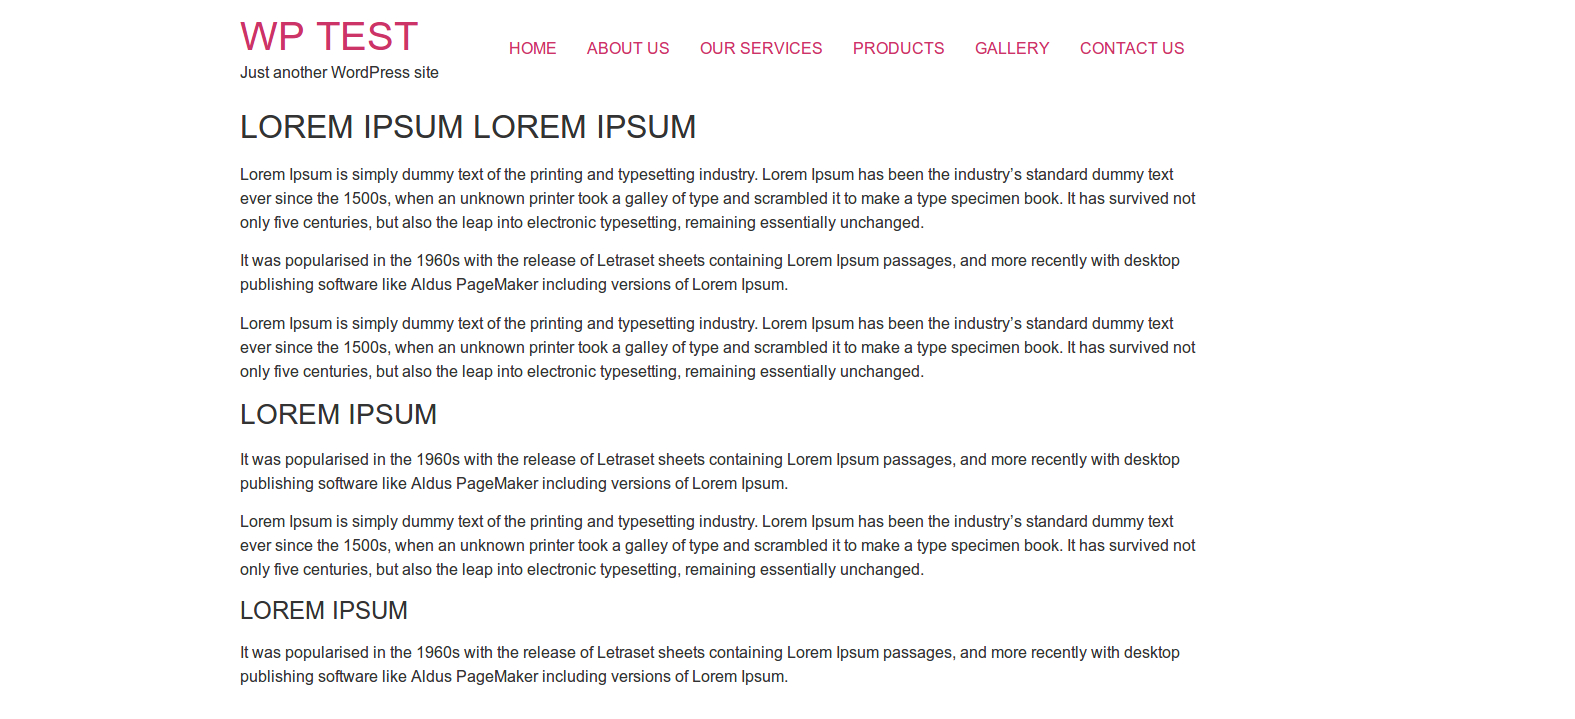
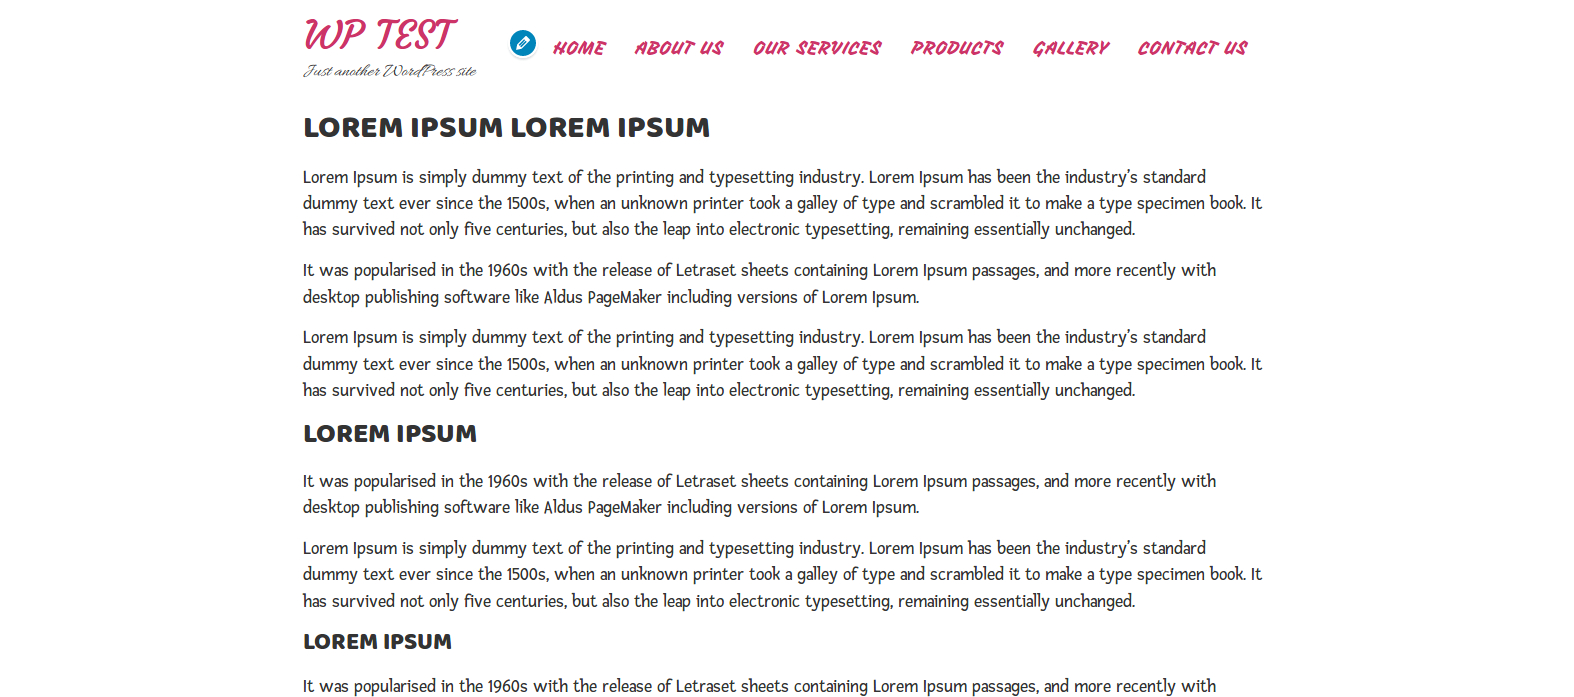
Fonts have an important role in making websites look good. Adding beautiful fonts to your website is not easy, but now select your favorite fonts from a dropdown list and see live changes.
To create a beautiful Google Fonts in your WordPress websites, I am recommending the “Google Fonts Typography” plugin.
To install the plugin, simply login to the WordPress admin and click the Plugins tab in the dashboard, then search Google Fonts in the search bar (screenshot below) then click Install and Activate it.

After installing plugin, activate it by clicking “Activate” button. Check out the screenshot below:

Once you activate the plugin, click on the Customize tab on the Dashboard, Appearance (Dashboard –> Appearance –> Customize). Check out the screenshot below:

Once you click the Customize tab, Your website will come up with a customizable page. There are multiple options and we need to add beautiful Google Fonts to the website. Click the “Google Font” Tab to see it first. Check out the screenshot below:

After click the “Google Font” Tab there are two options, Basic Settings and Advanced Settings.

In Basic Settings you can set the fonts for the content of the website. Check out the screenshot below:

Similarly, when you click on Advanced Settings, there are multiple options available. In each of those you can change the font by site title, site description, site navigation, your post and page content, sidebar content and footer. Check out the screenshot below:

Finally you can see the changes of your site fonts, and looking beautiful look.
BEFORE

AFTER


