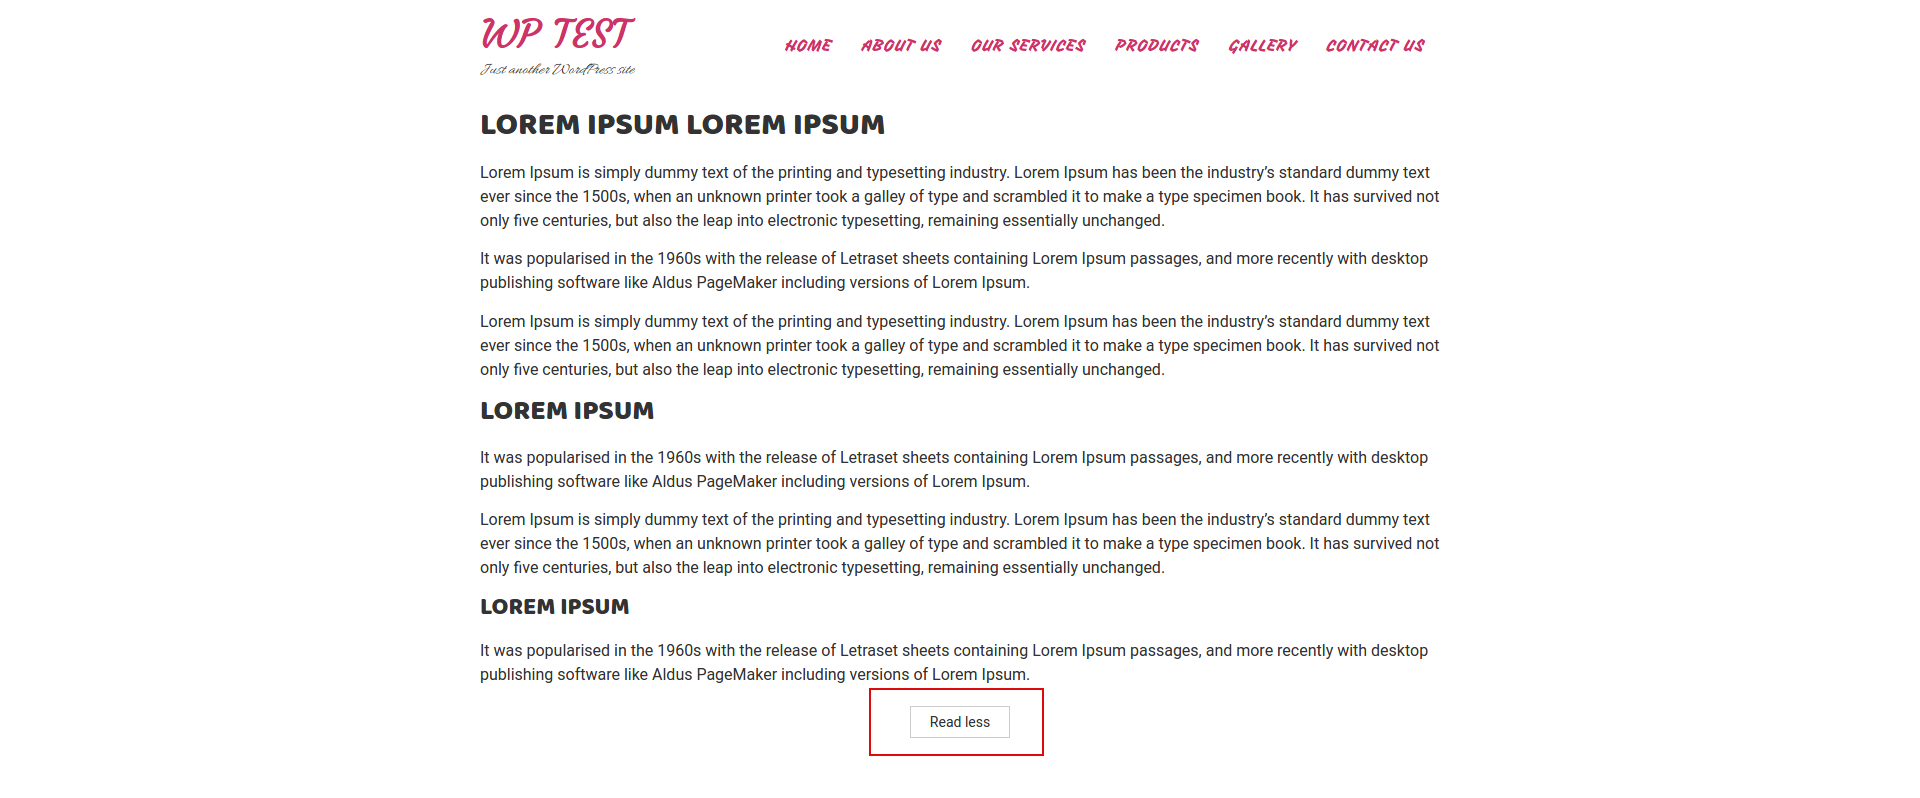
One of our customers asked us to add the Show and Hide option on his WordPress site. In this tutorial we are going to see How to Show and Hide Text in WordPress Posts and Pages by Using Plugin. The plugin we installed for this is “Read More by Edmon plugin“.
Login to your WordPress admin dashboard and navigate to Plugins > Add New then search for ‘Read More by Edmon plugin’. Find ‘Read More by Edmon plugin’(screenshot below) then click Install and Activate it.

After installing plugin, activate it by clicking “Activate” button. Check out the screenshot below:

Once you activate the plugin, click on the ‘Read More‘ tab on the bottom of Dashboard. Check out the screenshot below:

Once you click the ‘Add New‘ tab on ‘Read More‘, Your website will come up with a customizable page. There are multiple options and we need to add ‘Show and Hide‘ option to the website. You can choose the option you want, I am taking the Read More option here with the green background. Check out the screenshot below:

After click the “Read More” button there are multiple options, there you can set and match as you need and then click ‘Save Changes‘.

When you click on the Save changes option, you will see a short code which you can copy and paste into your posts or pages. Check out the screenshot below:

Now let us see how to add this short code into your posts or pages. The shortcodes that the plugin uses to show / hide text are very simple.
Add the following shortcode before the text you want hidden:
[expander_maker id=”1″ more=”Read more” less=”Read less”]
Add the following shortcode after the text you want hidden:
[/expander_maker]
So for example it would look like this: Check out the screenshot below:

Final Result:-


