To start a website you need a domain name and web hosting. You can follow the Tips here for Choosing the Best Domain Name.
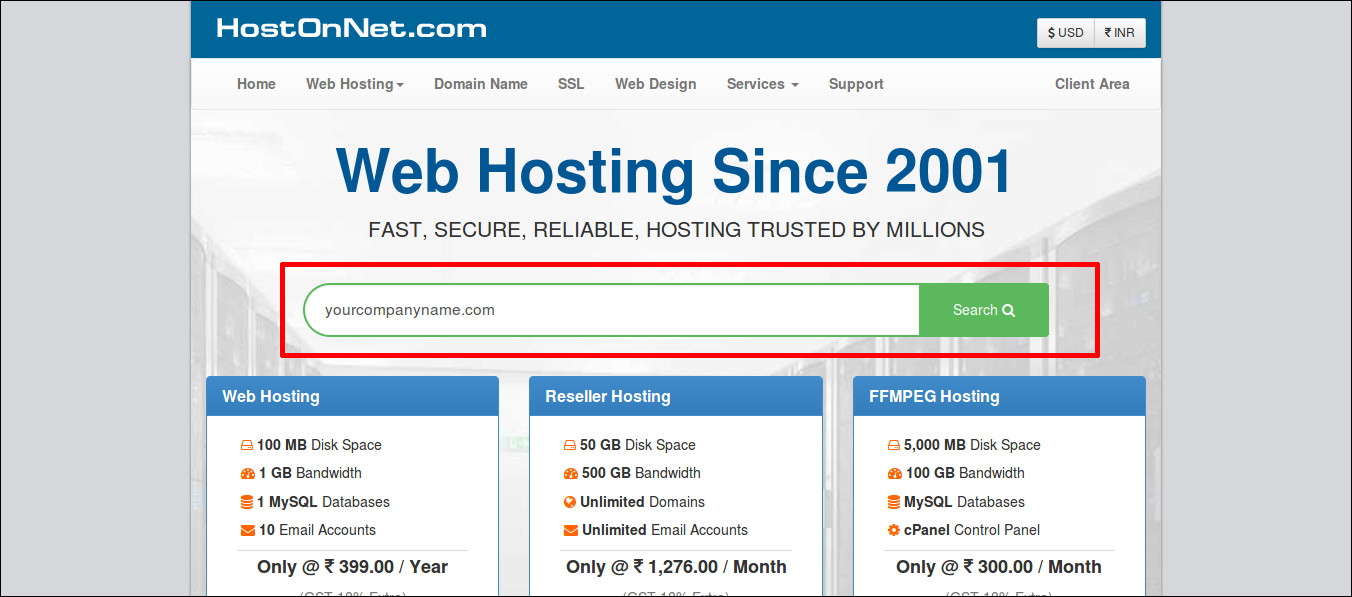
To register your domain, visit www.hostonnet.com and enter your desired domain name and and click on the green ‘search’ button.
On the next page, you can see something like below if the domain name is availble
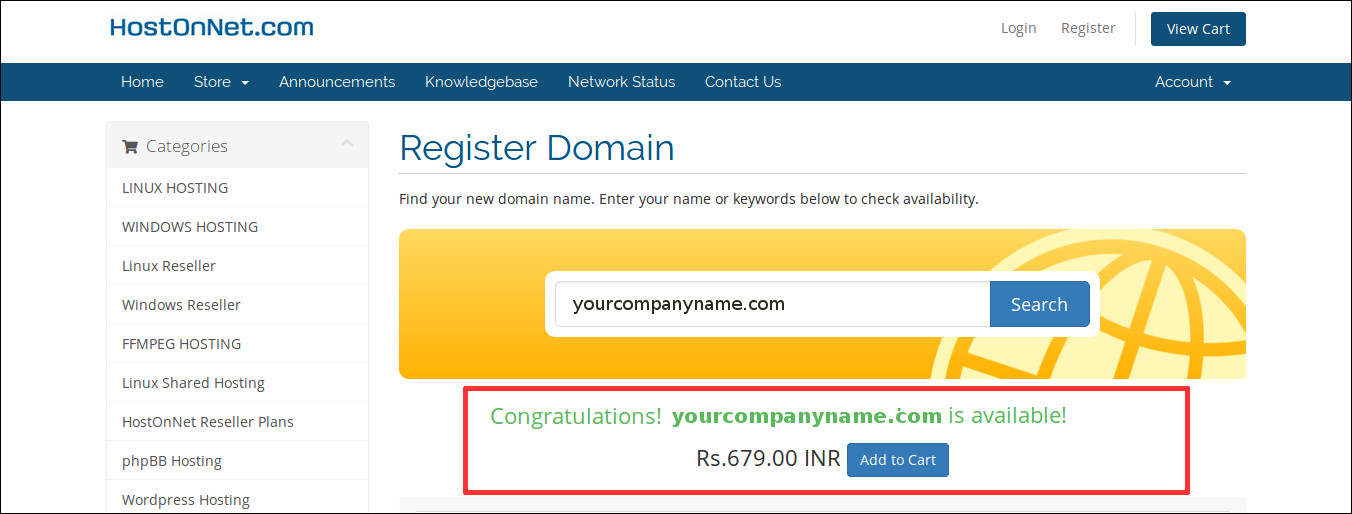
Click on the ‘Add to Cart‘ button and then click ‘Checkout‘ button to go to the next step.
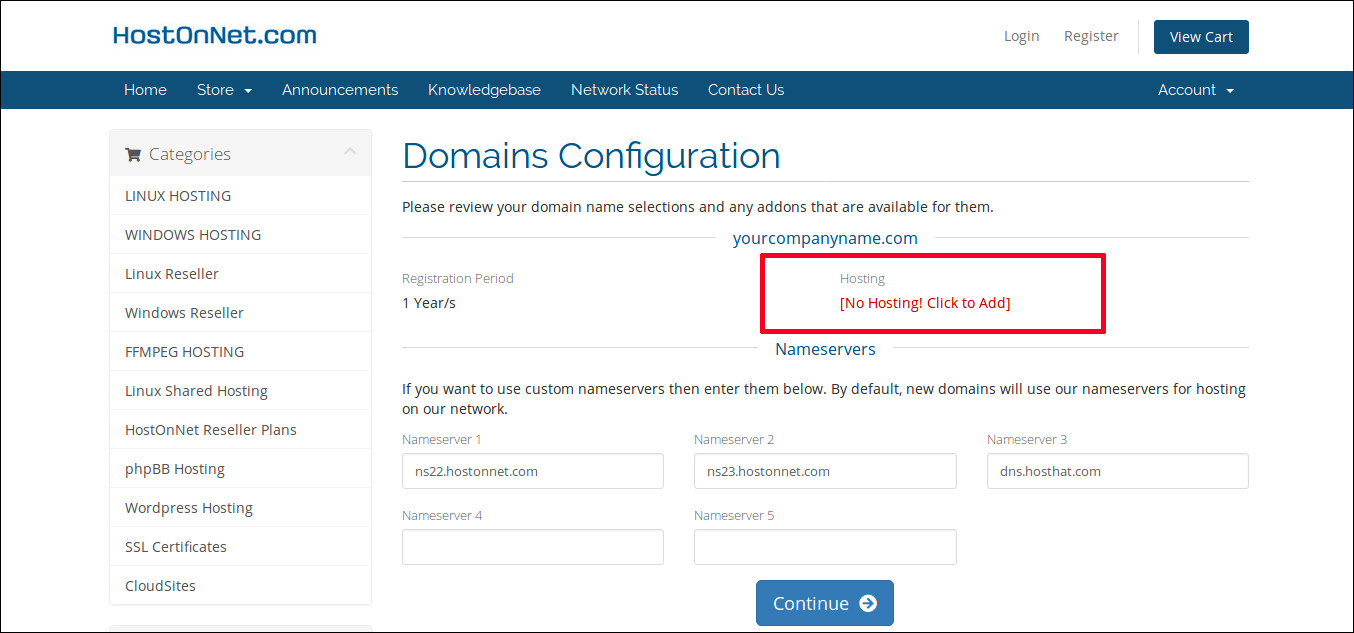
There you can see a link – ‘[No Hosting! Click to Add]‘ . Click on it.
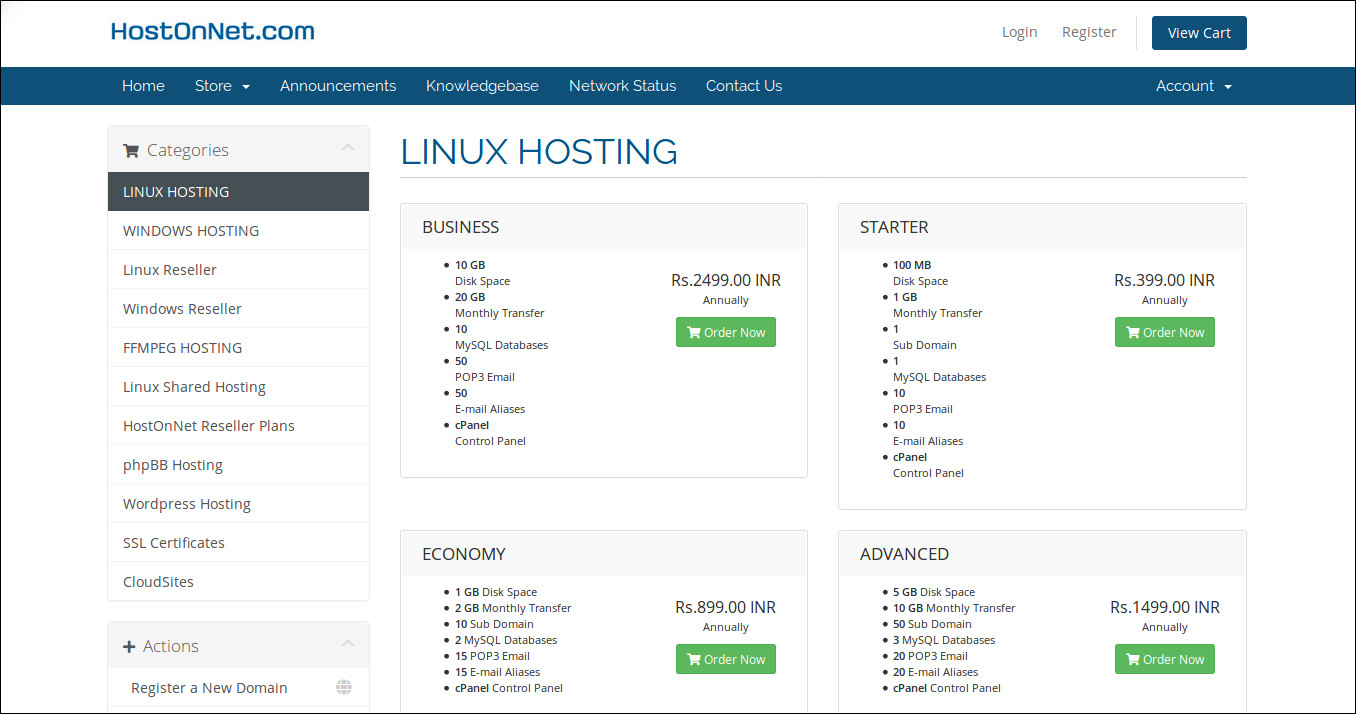
On the next page, click on the ‘Order Now’ button to choose your webhosting plan.
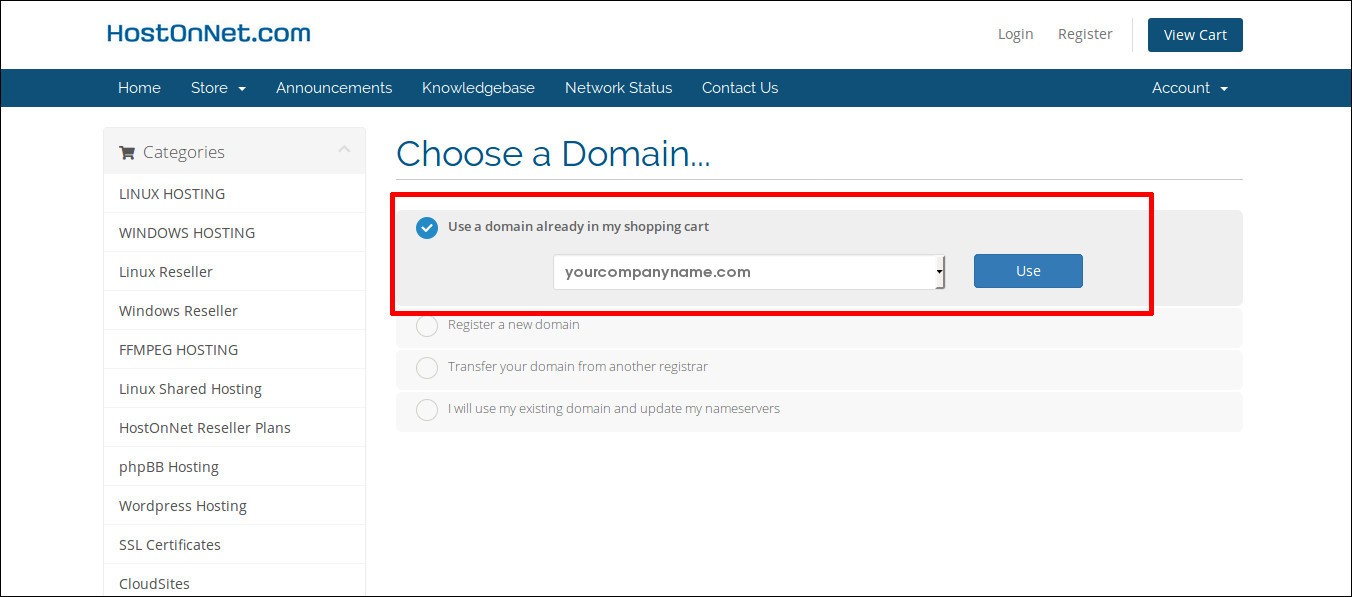
Please make sure to check ‘Use a domain already in my shopping cart‘ and then click ‘Use‘ button
Next page click ‘continue‘ button and click ‘checkout‘ button.
Enter your personal details and billing information to checkout. Also choose your preferred method of payment. Click complete order button.
Once you complete the order and payment done, you will get the cPanel login details to your E-mail.
Installing WordPress using WordPress Manager on HostOnNet
Login to cPanel and Search for ‘WordPress Manager‘ and click on it

Click ‘create an installation‘.

Choose the domain from the drop down menu and then click ‘Install‘ button.ho

Done. Your WordPress installation completed. The system automatically generated your admin login details. Visit your site’s login page by placing “wp-admin” after your domain name (e.g. http://example.com/wp-admin).

So the next step is to configure and set up your blog properly. The following posts will help you to get started:
How to Add a New Post in WordPress
How to Install a WordPress plugin?
Build your Website easily in WordPress using SiteOrigin Page Builder

