To create the CSR code for the certificate activation please follow this post.
If you already have an SSL certificate issued, proceed with the installation steps below:
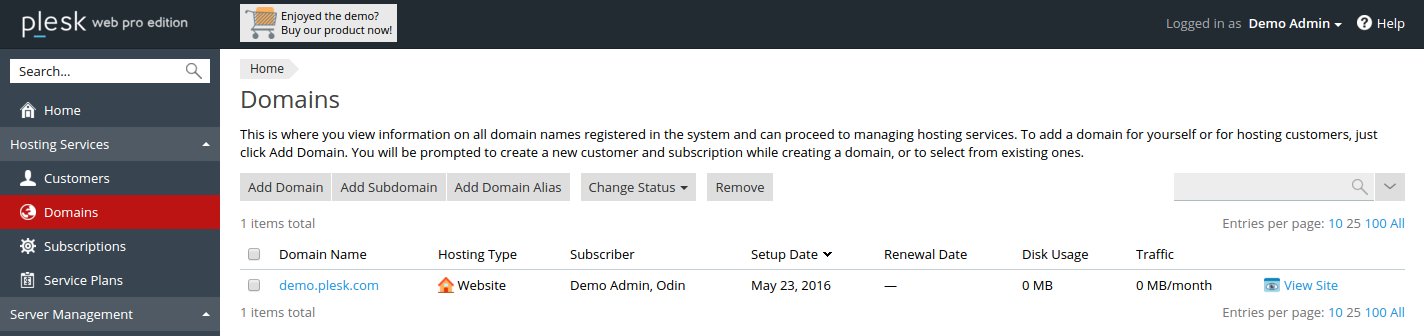
Log in to your Plesk Control Panel
Click on Domains tab and select the domain you want to secure.
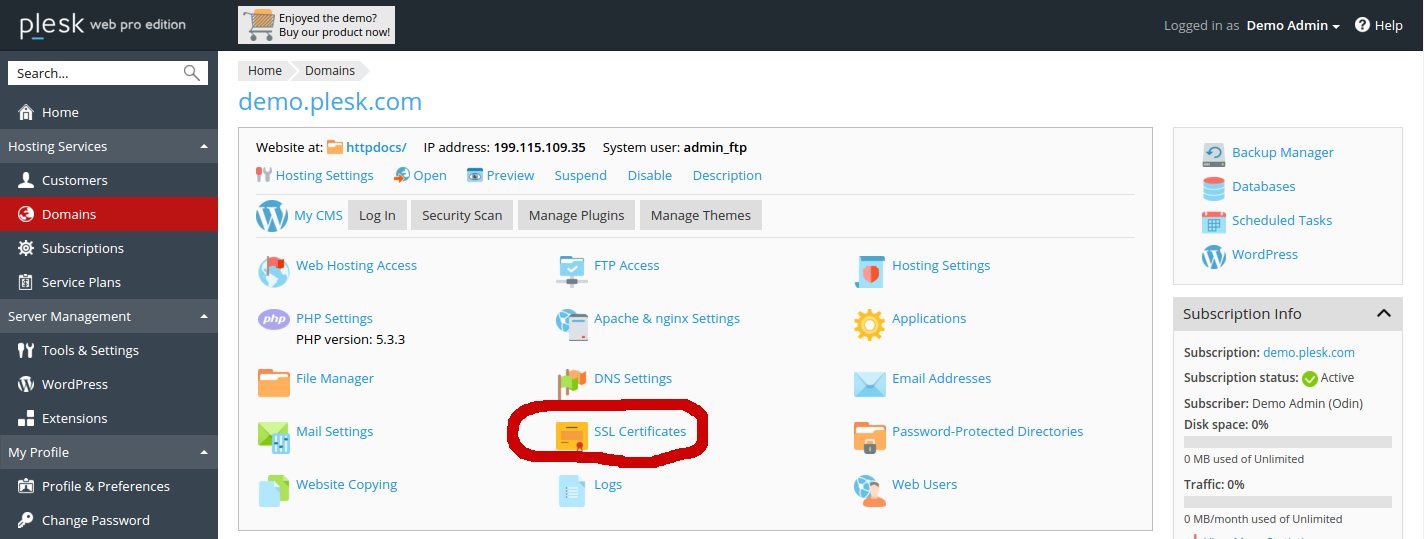
Click on SSL Certificates
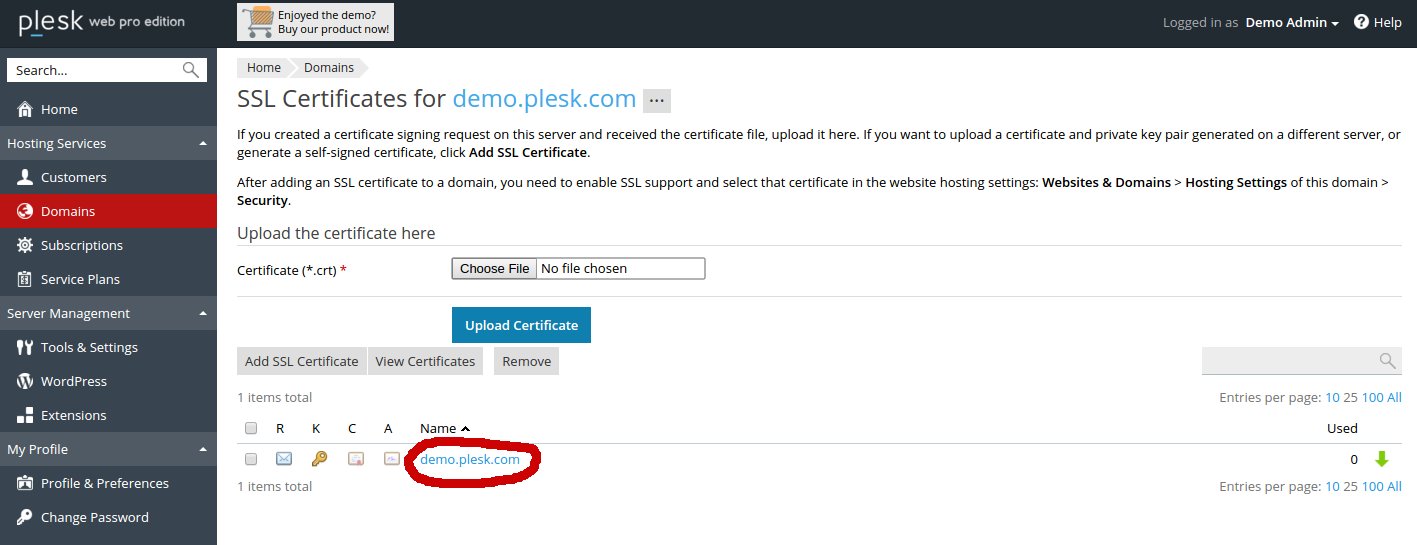
Click on the SSL certificate that was created while generating the CSR code.
On the next page locate the Upload Certificate Files section. Click on the ‘Browse’ button and locate the certificate and the CA bundle files from your computer. The certificate file should have .crt extension, the Bundle one can be .crt or .ca-bundle.
After both files are chosen, click on ‘Upload Certificate’
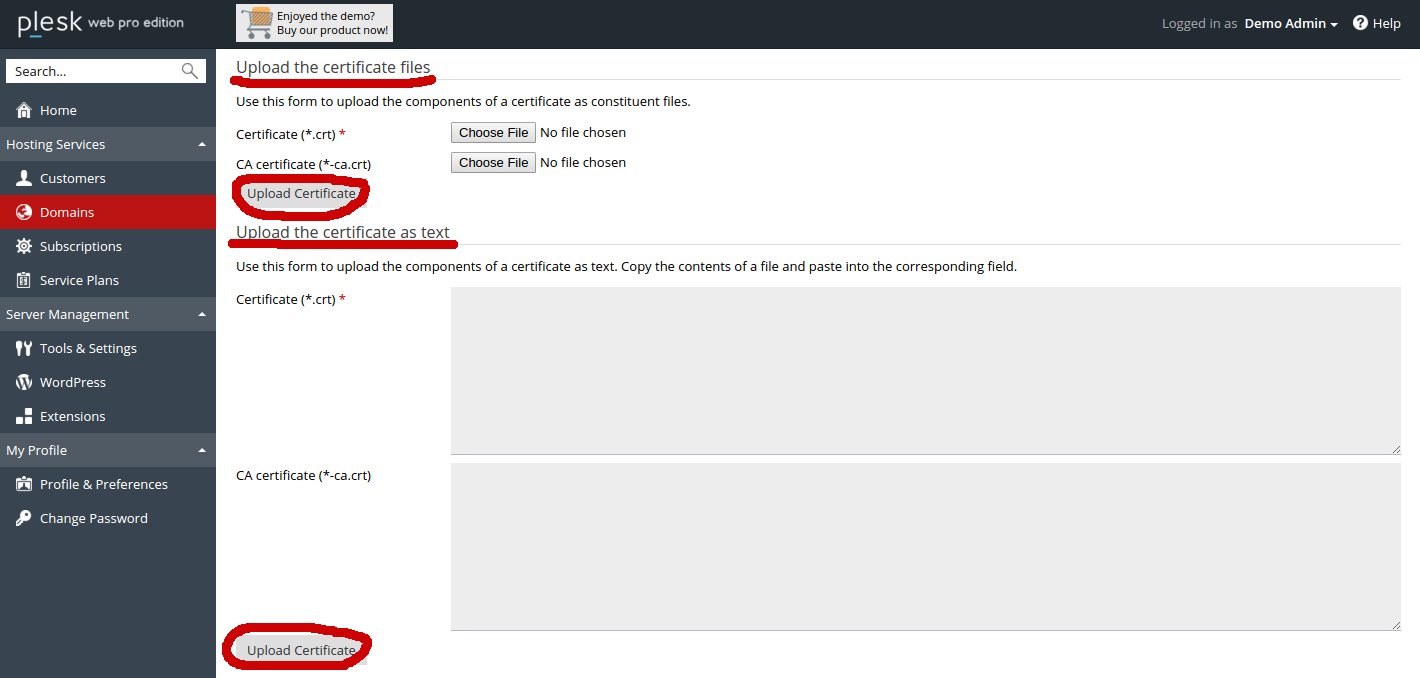
Otherwise, you can copy and paste the certificate along with the CA bundle into the corresponding boxes under Upload the certificate as text and click on ‘Upload Certificate’
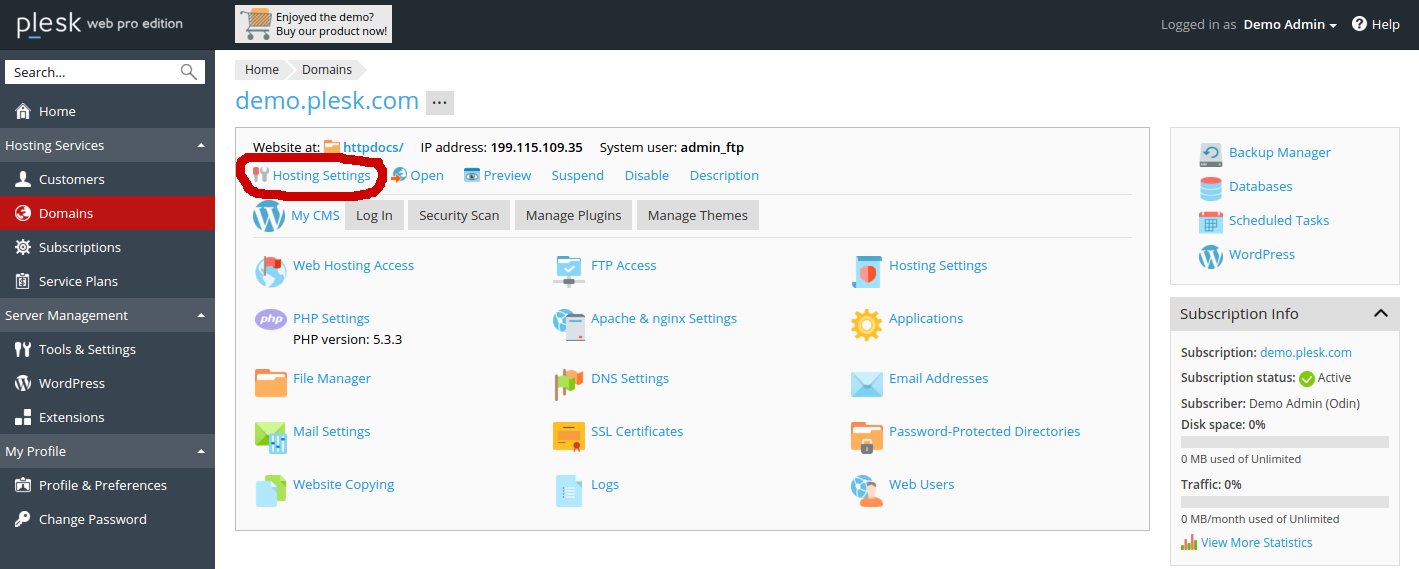
Return to the Domains tab and click on the domain name.
Click on Hosting Settings
Select the certificate from the drop-down list and make sure that ‘SSL Support’ is checked.
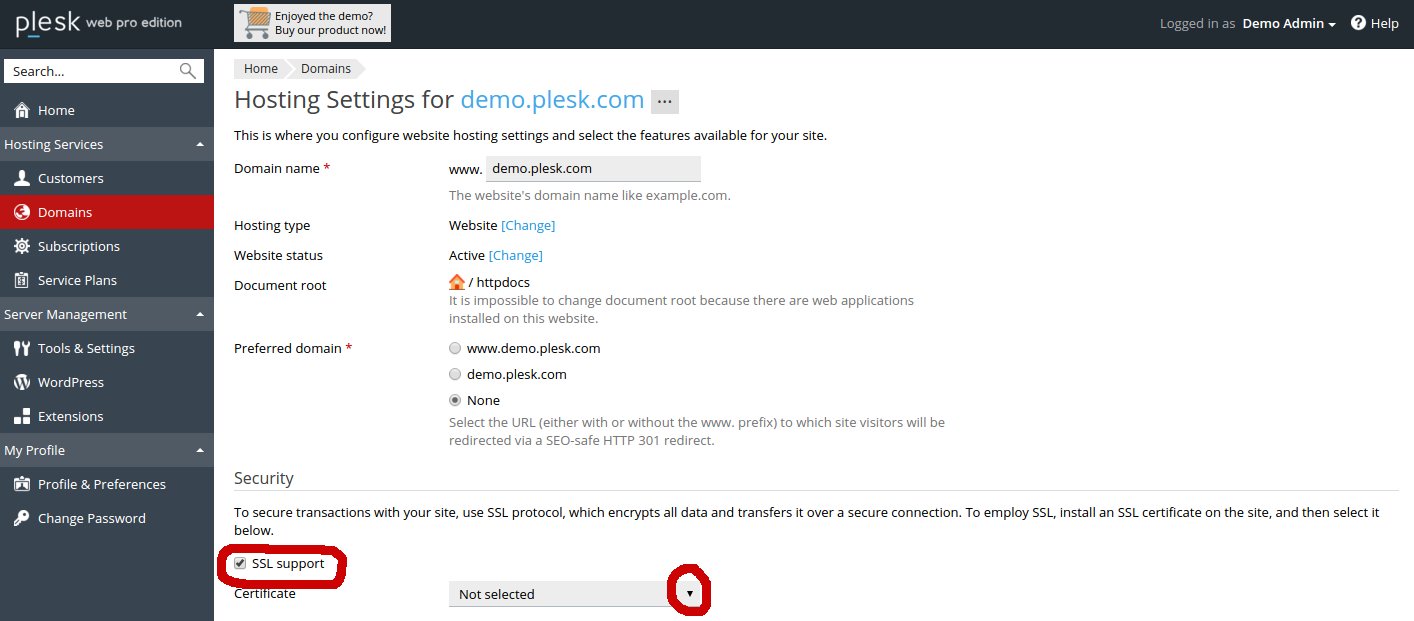
The site should be accessible via https:// from now.
