In the below image you can see black color border around the photo.In this tutorial we can check how easily can add surrounding border / frame to an image in Gimp

1. Open your image in GIMP
2. Press CTRL + A or right click on the image > Select > All
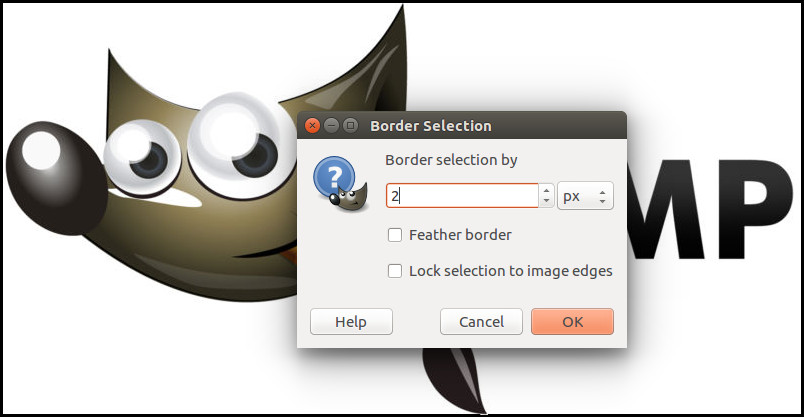
3. Again right click on the image > Select > Border > in the boder selection window add 2px and then click ok
4. Use Bucket fill tool (SHIFT + B) to fill the selected area
The bucket tool uses the foreground colour. So for changing the color Click foreground > Set new colour > then click ok
I have also made a video on the same. You can watch it below
