The first thing you’ll need to do to add a CNAME Record is to make sure that you are using HostOnNet.com’s default nameservers (ns1.hostonnet.com, ns2.hostonnet.com, ns3.hostonnet.com and ns4.hostonnet.com).
If you don’t know how to do this, refer the tutorial here
Once you are on our nameservers, follow the steps below:
1) Login to your domain control panel.
2) From the top menu, click the ‘Manage Orders‘ tab, and select ‘List/Search Orders‘.
3) Click on the domain name you wish to create a ‘CNAME Record‘ for.
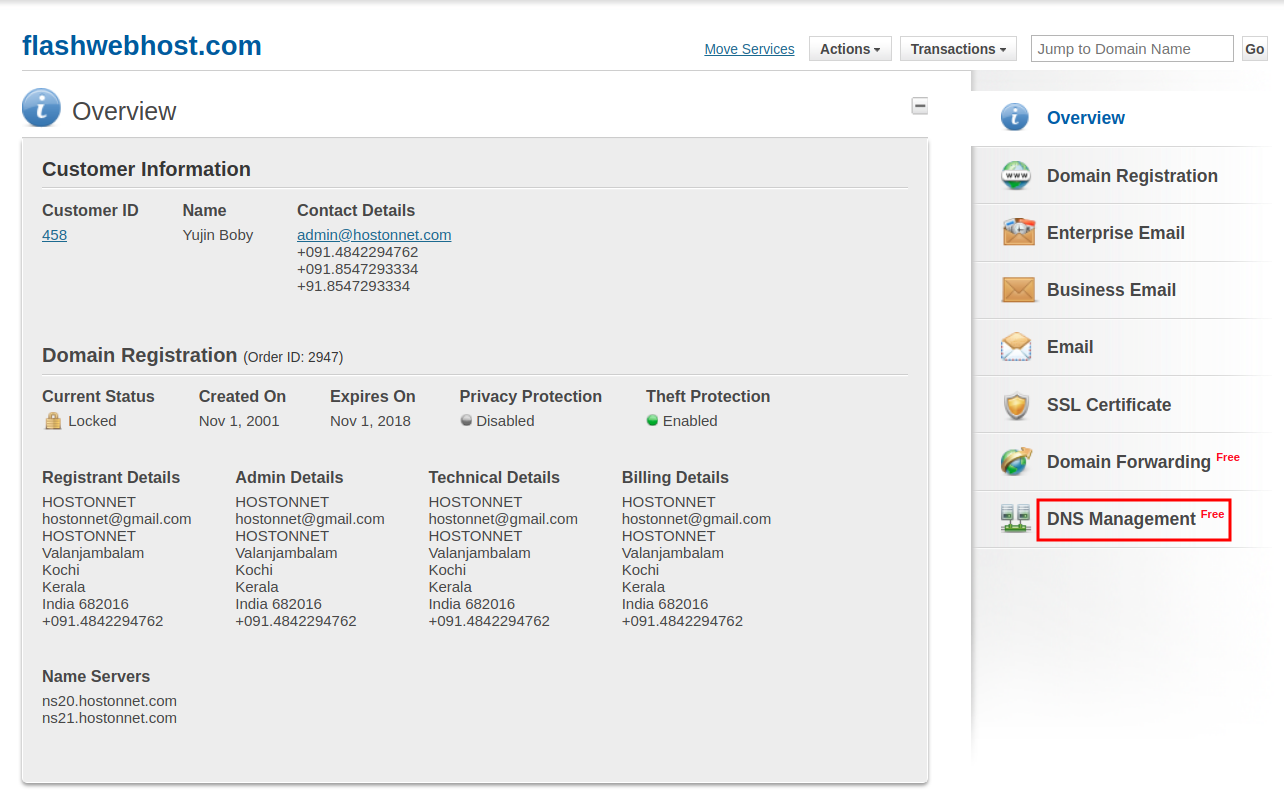
4) Click ‘DNS Management‘ on the right.
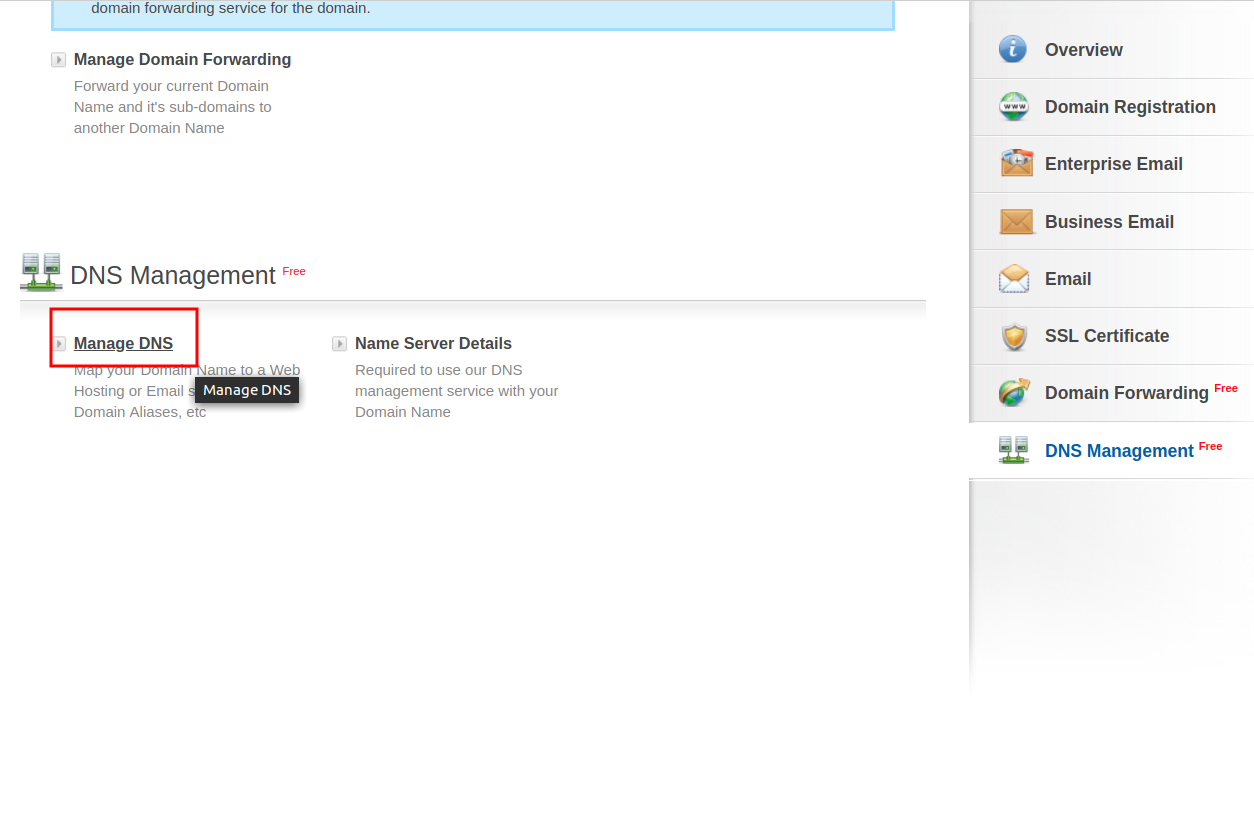
5) Click on ‘Manage DNS‘
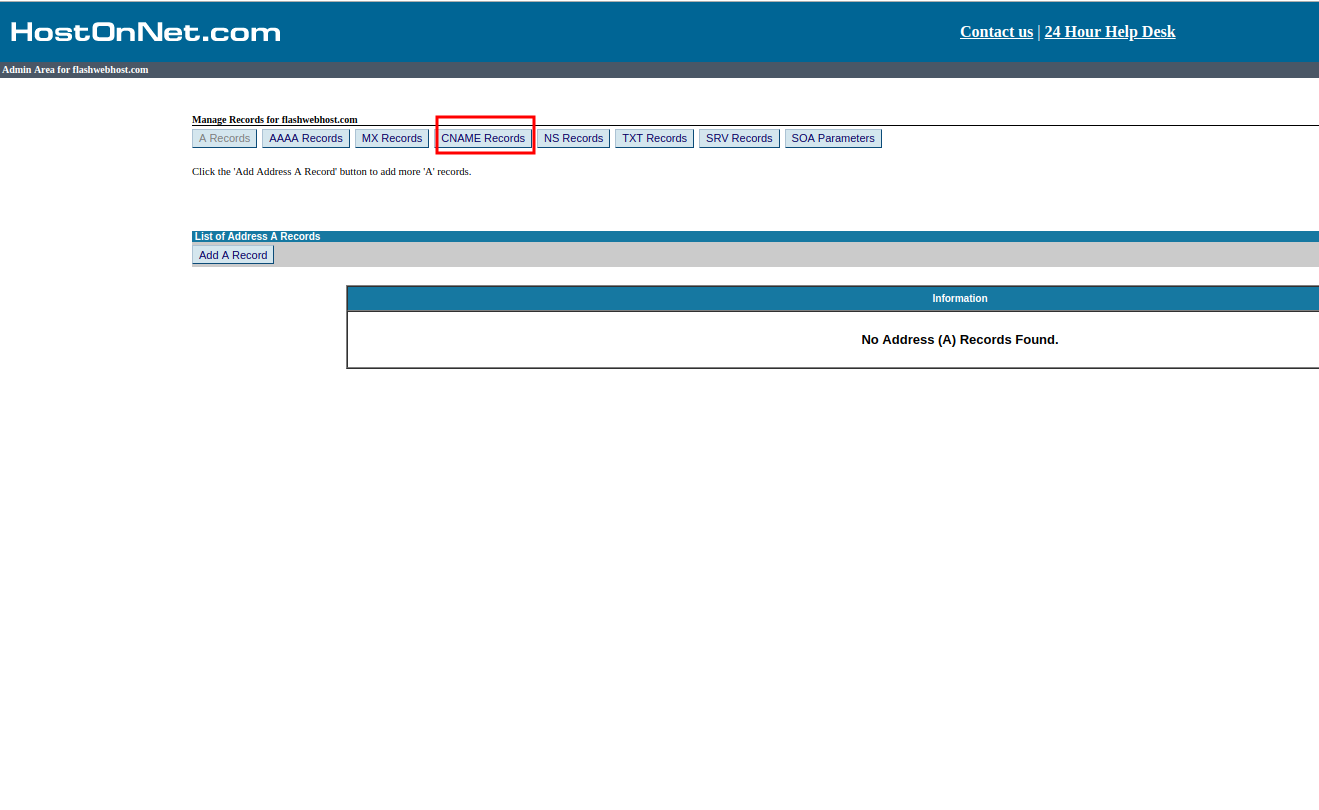
6) Click on ‘CNAME Record‘
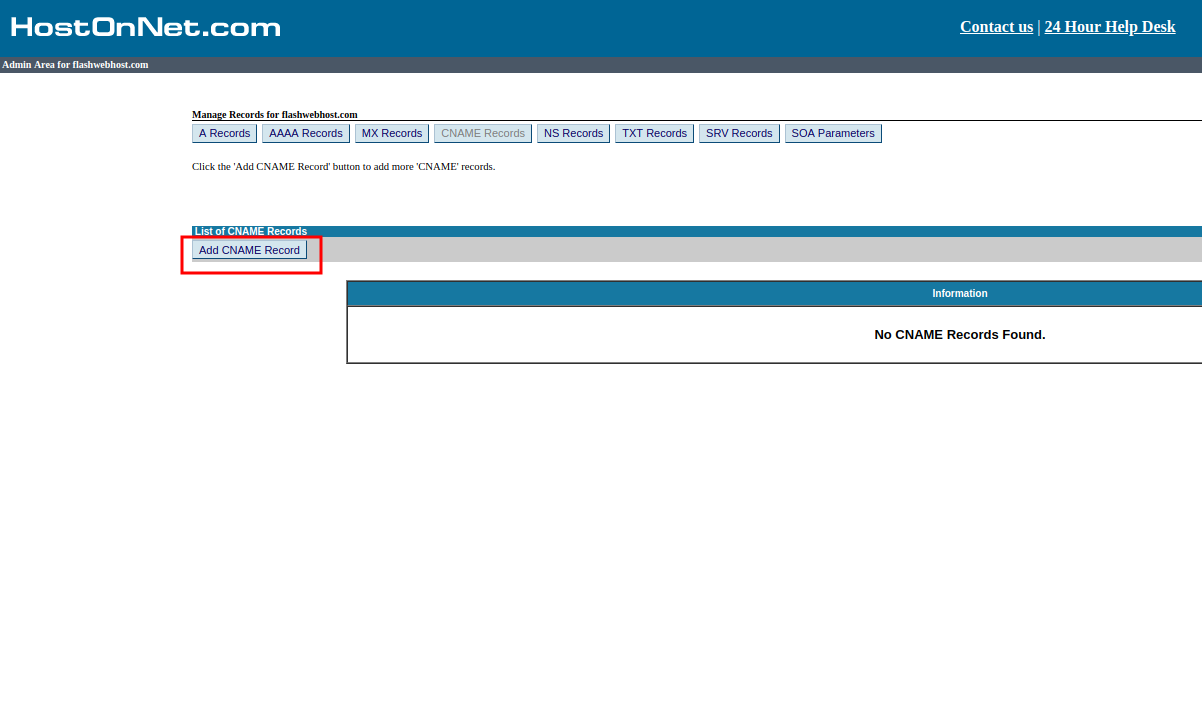
7) Click on ‘Add CNAME Record‘
8) Then type your desired ‘CNAME Record’ name in ‘Host Name’ field and enter your custom value on ‘Value’ field.
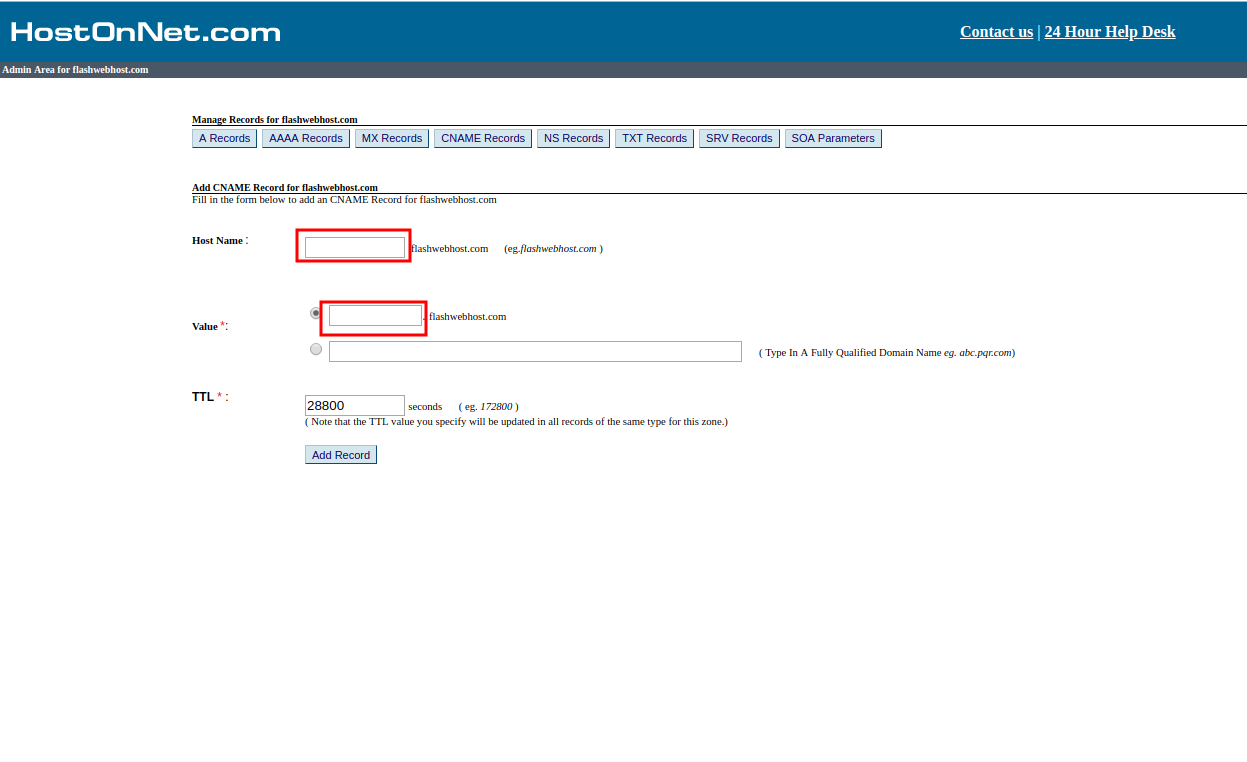
9) Then click on ‘Add Record‘
