Login to cPanel and navigate to Backup button under ‘Files’ Menu
(Home > Files > Backup)
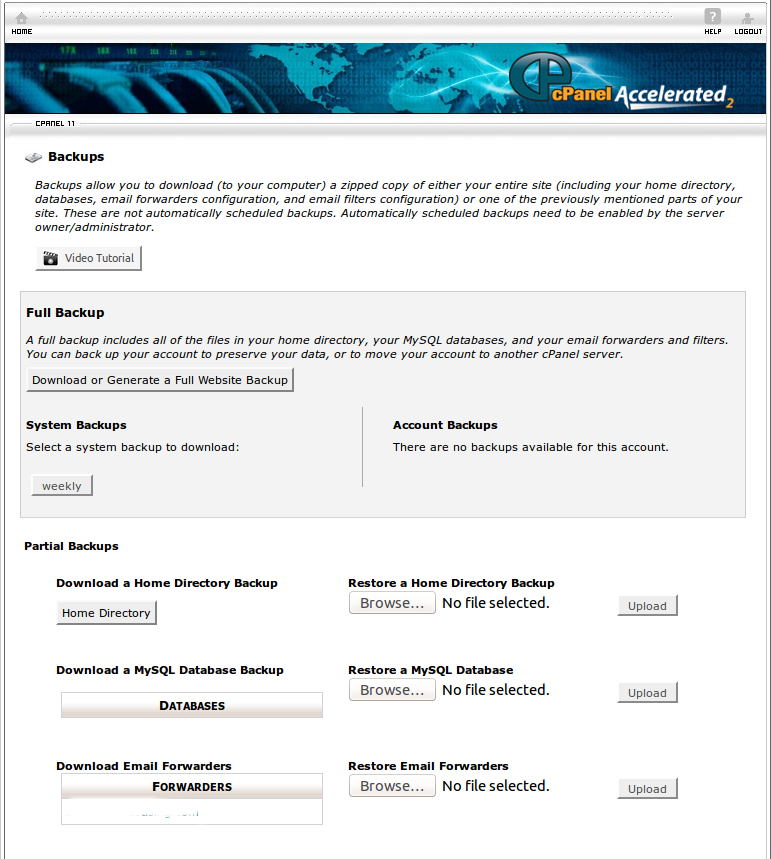
It will show you the below page:
The Backup Wizard is very user-friendly interface for creating a backup of the entire site, a partial backup, or allowing a site restoration from the last backup saved. This tool may be useful for freshers who use cPanel.
Using the Backup Wizard, you can back up and save your entire website or a portion of your website. You can also use the Restore link to select files to restore portions of your site. To begin, first select whether you would like to back up or restore your website.
BACK UP YOUR ENTIRE SITE
To create a full backup follow below steps:
- Select Backup from the first page.
- Select Full Backup from the second page.
- Select the destination for the backup files. You have 3 options:
- You can store the files in your home directory on your web server by selecting Home Directory from the pull-down menu.
- cPanel can also utilize FTP or SCP to store the files to a remote machine. To do this, fill in the appropriate information and select the method for file transfer from the pull-down menu.
- If you wish to download the file to your computer, skip to the next step.
- Click Generate Backup.
- If FTP or SCP was used, an email will be sent to the email address that you specified at the beginning of the process.
- To download a copy of the backup file to your computer, click the filename under Backups Available for Download.
The date the backup was created appears in the filename (which begins with backup-MM-DD-YYYY). The file will be stored as a “tar ball,” or compressed data file, with the filename extension .tar.gz.
NOTE: You cannot use a full backup to restore your site via the cPanel interface. The file must be downloaded and decompressed prior to restoration. Once the file has been decompressed, you will be able to upload and restore individual pieces of your website contained within the full backup.
CREATE A PARTIAL BACKUP
To back up a portion of your site, follow below steps:
- Select Backup from the first page.
- Select the portion of your site to back up by clicking Home Directory, MySQL Databases, or Email Forwarders & Filters.
- Click the appropriate link or button on the following page to store the required information to your computer or web server.
RESTORE A PORTION OF YOUR SITE
To restore a portion of your site, follow below steps:
- Select Restore from the first page.
- Select the portion of your site you would like to restore by clicking Home Directory, MySQL Databases, or Email Forwarders & Filters.
- Select the file from your computer that should be used to restore the portion of your website that you have selected.
- Click Upload to finish the restoration process.
Important information about your backups
What’s included in my home directory backup?
When you back up your home directory, the backup includes:
All of the files that you own.
Files that you do not own but have access to.
NOTE: Files that you do not own and do not have access to are not included in the backup — even if they are stored in your home directory.
