I’ve moved one of our clients three WordPress sites to Multisite Nework. Here are the steps I followed to Migrate to WordPress Multisite
Back up everything
The most important step in this process is to backup the site you’re moving and your Multisite installation.
Add your site Network
Login to Network Admin > Sites > Add New > Add the details of your new site.

Findout the ID of Your New Site in the Network
Go to Network Admin > Sites and then click the Edit option for the site you’ve just created. The URL WordPress takes you to will give you the site’s ID. The URL should be in the form http://mywpmu.com/wp-admin/network/site-info.php?id=X.

Upload files
Connect the FTP and create a folder with same ID(X) in wp-content/uploads/sites and upload files from your old site upload folder to Network – wp-content/uploads/sites/x
Themes and plugins are stored in one place for all sites in a Multisite network. So create a copy of your old site’s themes and plugins and upload them to your network’s wp-content directory.
Migrate the Database Tables
Go to phpmyadmin find the database that’s running your old site and export the wp_options table.
Open the SQL file that you’ve downloaded and find field type wp_ and replace with wp_X_ where X is the ID of your new site in the network.

Now you need to import the above modified wp_options sql into the database for your network. Open phpMyAdmin and delete wp_options table by selecting Drop

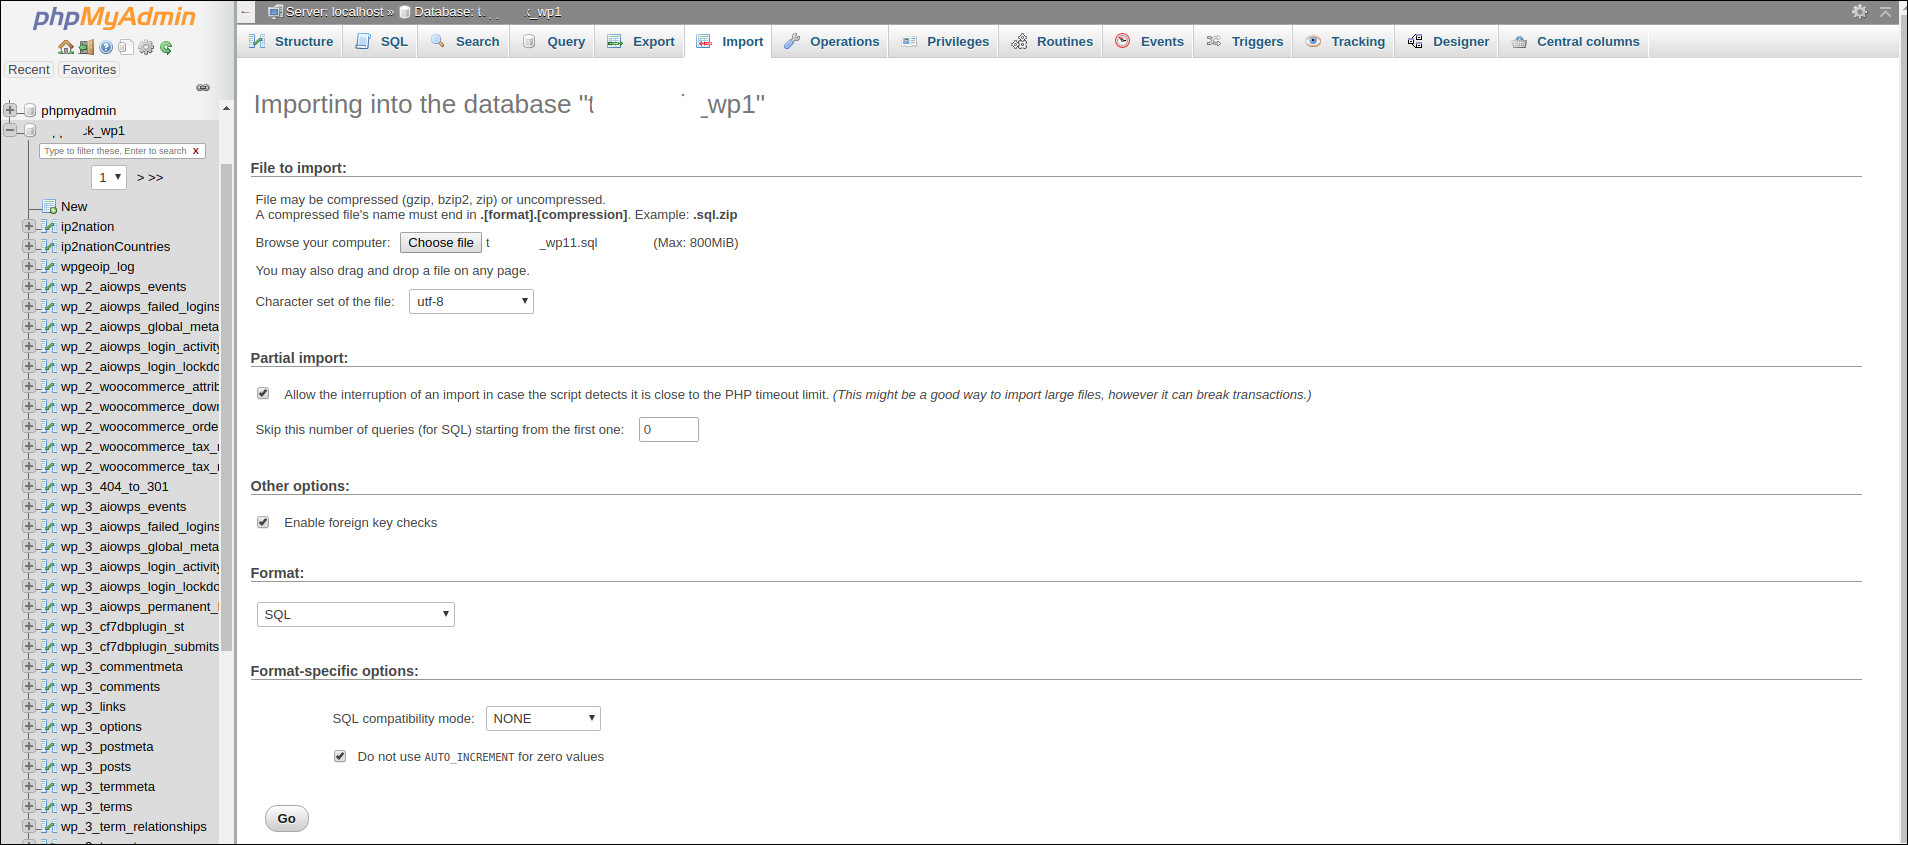
Now click the Import tab choose file button and select the SQL file that you’ve edited. Then click the Go button.

Exporting Content
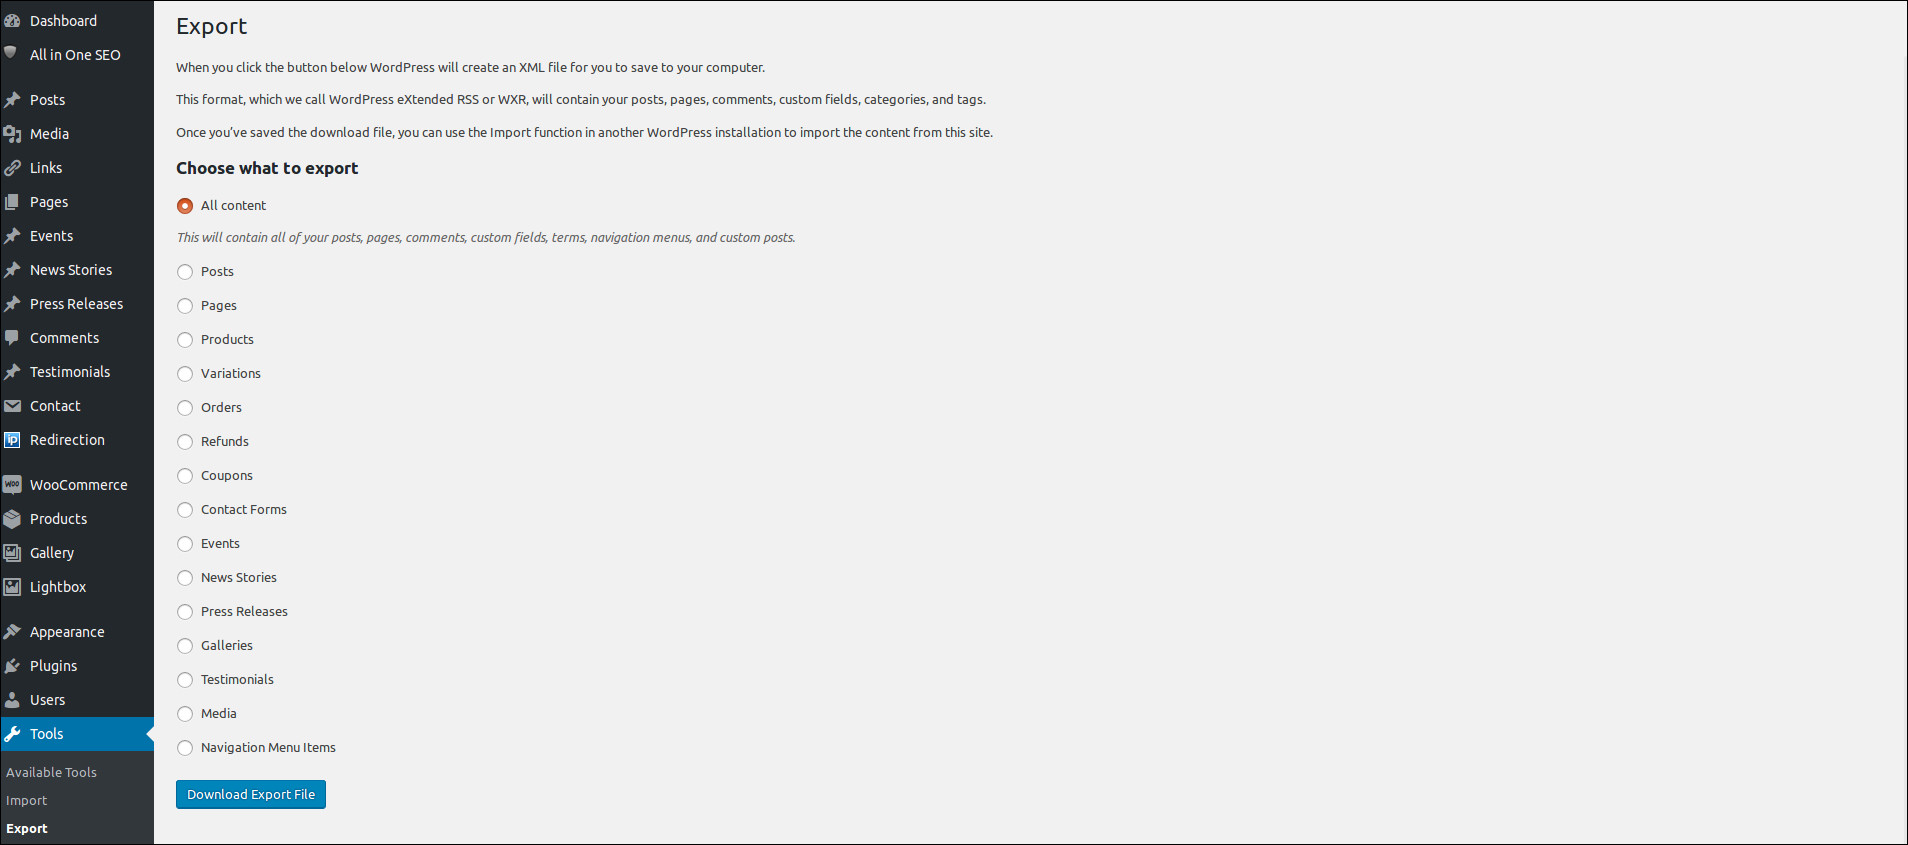
Login to the admin area of your old site and go to Tools > Export

Importing Content
Now login to your new site’s admin area > Tools > Import and click the Choose File button and then select the xml file that you have downloaded using above step.

Importing Widget
For importing widget you can use Widget Importer & Exporter plugin

