X2GO allow you to connect to remote server (or VPS) and use it as remote desktop. On remote server, you need to install X2Go Server. To connect you need to use X2Go client. Client is available for Windows, Mac and Linux.
Installing X2Go Server
First update the apt packages with
apt update
apt -y upgrade
Install Desktop environment. Here we use XFCE4
apt -y install xfce4
You can try other desktop environments, but i have better luck with XFCE. Mate Desktop worked, but Xfce looks better.
Add X2Go Server PPA
apt-get -y install software-properties-common
add-apt-repository ppa:x2go/stable
apt-get update
apt-get install x2goserver x2goserver-xsession
X2Go Server is ready. You need to create users to connect to server. We create user “hostonnet” and set a secure password for the user.
useradd -m hostonnet
passwd hostonnet
Now make sure you can SSH as this user. If needed enable password authentication in your SSH server configuration file.
Connecting to X2GO Server
To connect to X2Go server, you need X2Go client. This can be downloaded from
https://wiki.x2go.org/doku.php/download:start
x2Go client is available by default on Ubuntu.
When you start X2Go client first time, you will see something like
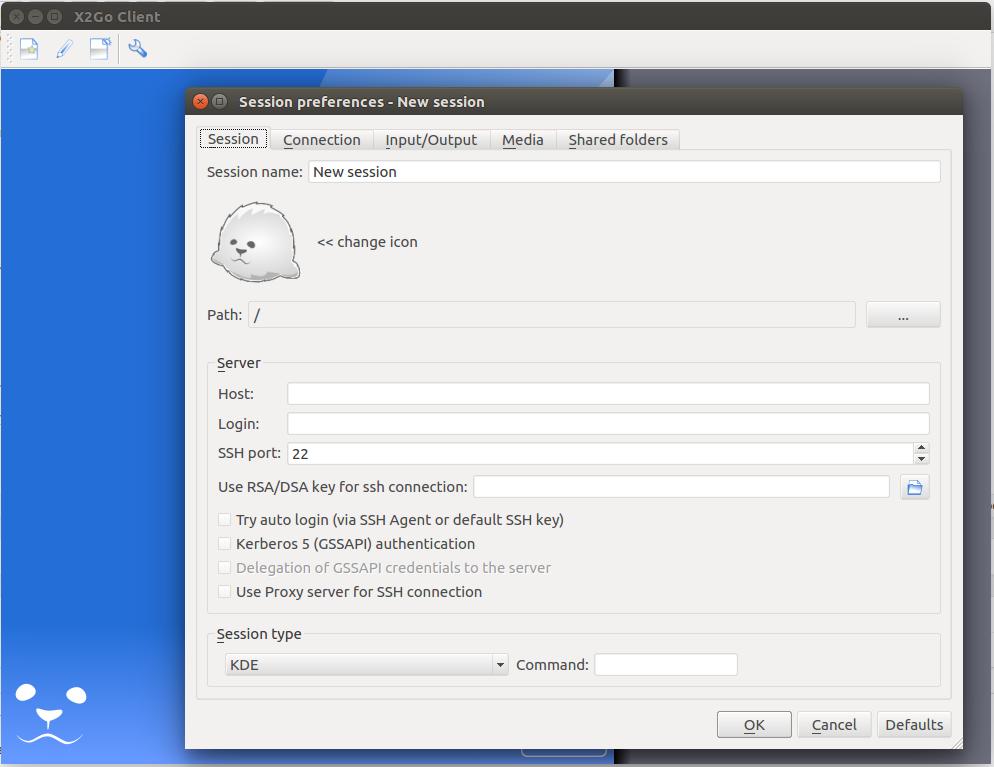
If you don’t see New session screen, you can create new one by clicking the first button.
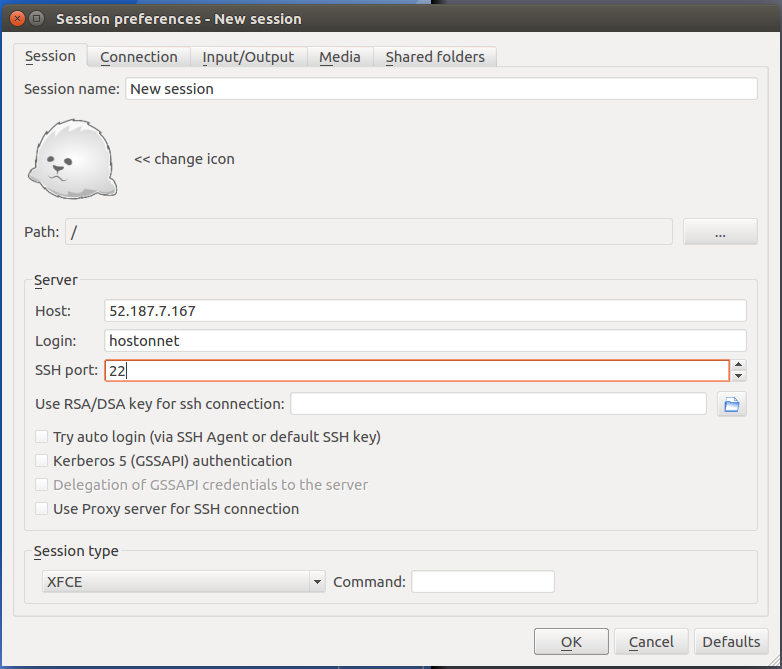
Enter following Details
Host = IP of your X2Go Server
Login = user name you created on server.
Session Type = XFCE
Click OK, now you will see newly created session on right side. You will be able to change Screen resolution and session type here.
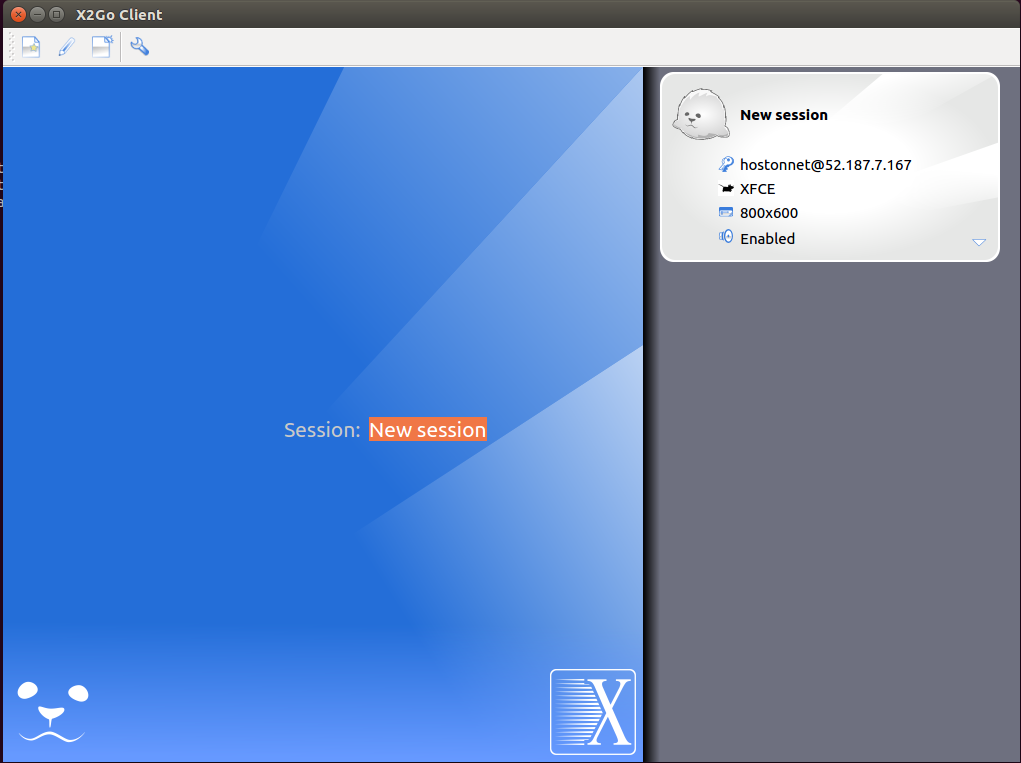
Double click the session to connect. You will get login screen, enter your password to login.
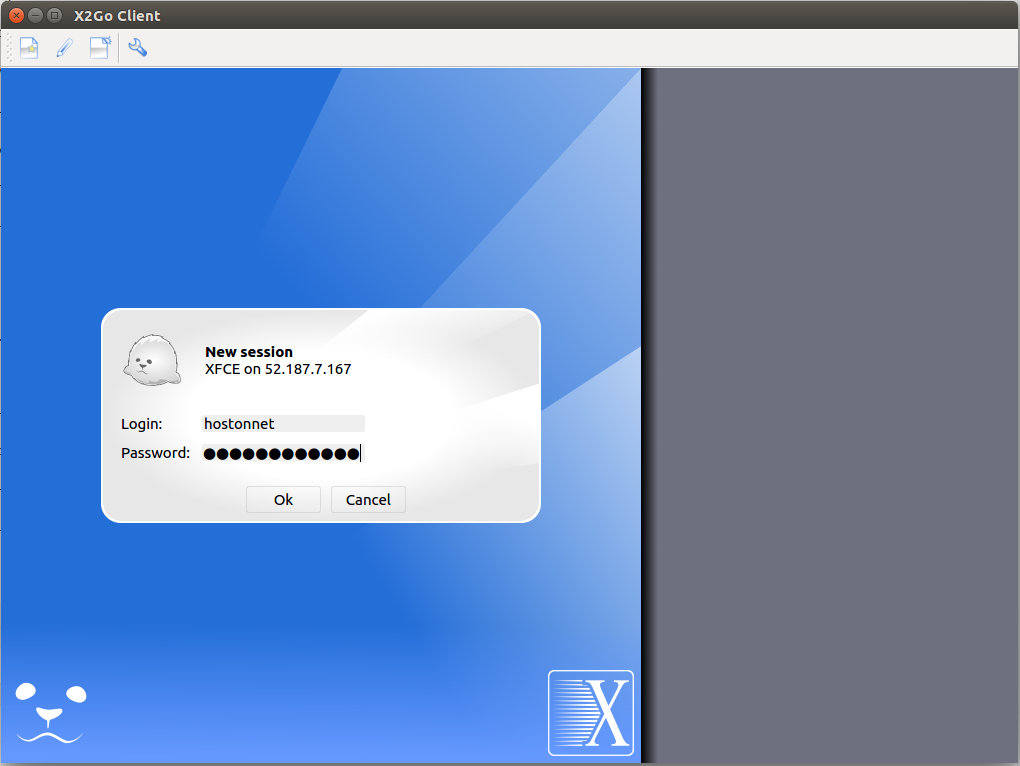
Once logged in, you will get remote desktop.