Domain Forwarding Service is provided free when you purchase any domain name through HostOnNet Web Solutions. Find below the steps about forwarding/redirecting your domain name to another url/website. This is applicable only for the domain names registered with us.
First thing you need to do is, login to your domain control panel and point name servers of the domain name to our default name servers:
ns1.hostonnet.com
ns2.hostonnet.com
ns3.hostonnet.com
ns4.hostonnet.com
If you don’t know how to do this, refer the tutorial here
Once you have successfully changed name servers, follow below steps within your domain control panel:
1) From the top menu, click the ‘Manage Orders‘ tab, and select ‘List/Search Orders‘.
2) Click on the domain name for which want to activate the Domain Forwarding Service.
Then you will be redirected to its Overview page.
3) Click the Domain Forwarding tab (marked in below).
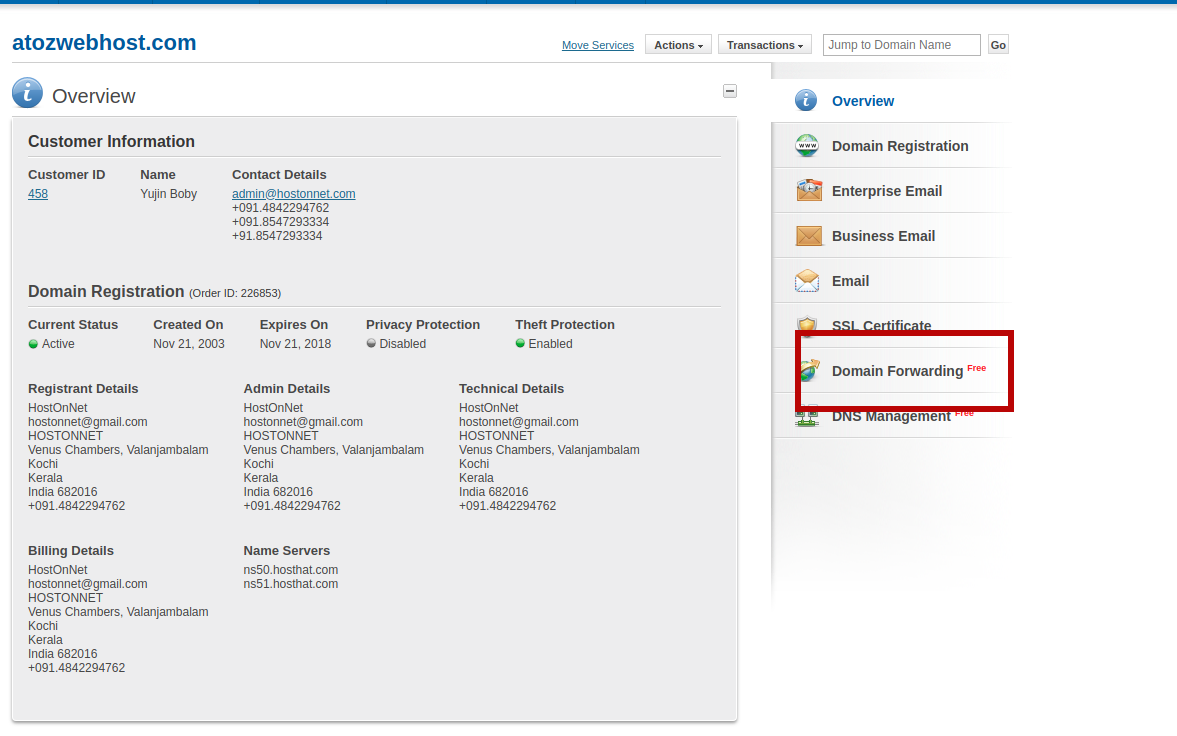
This will bring up the Domain Forwarding Service interface. Then click on ‘Mange Domain Forwarding’ link and a popup will be opened.

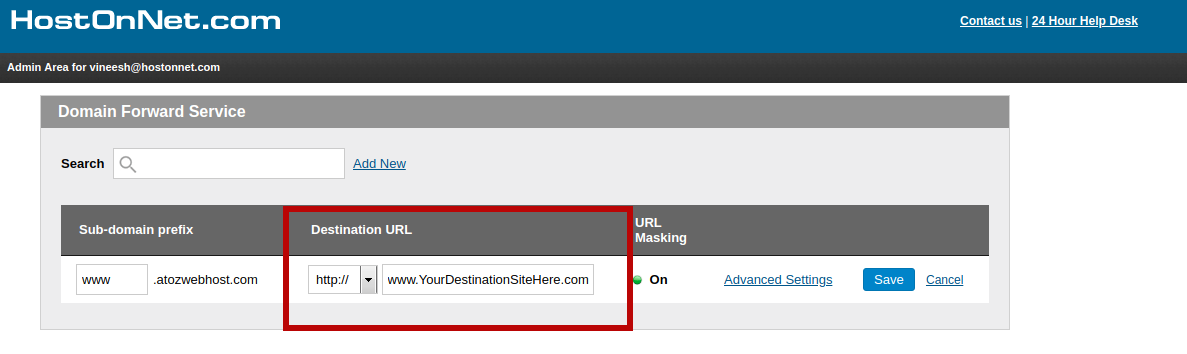
In, Sub-domain prefix put www. and in ‘Destination URL‘, enter your destination url where your domain name need to be redirected. If your destination url is secured one, select ‘https://‘ instead of http://.
If you click on ‘Advanced Settings‘, you can manage ‘URL Masking / Stealth Redirection / URL Hiding‘,
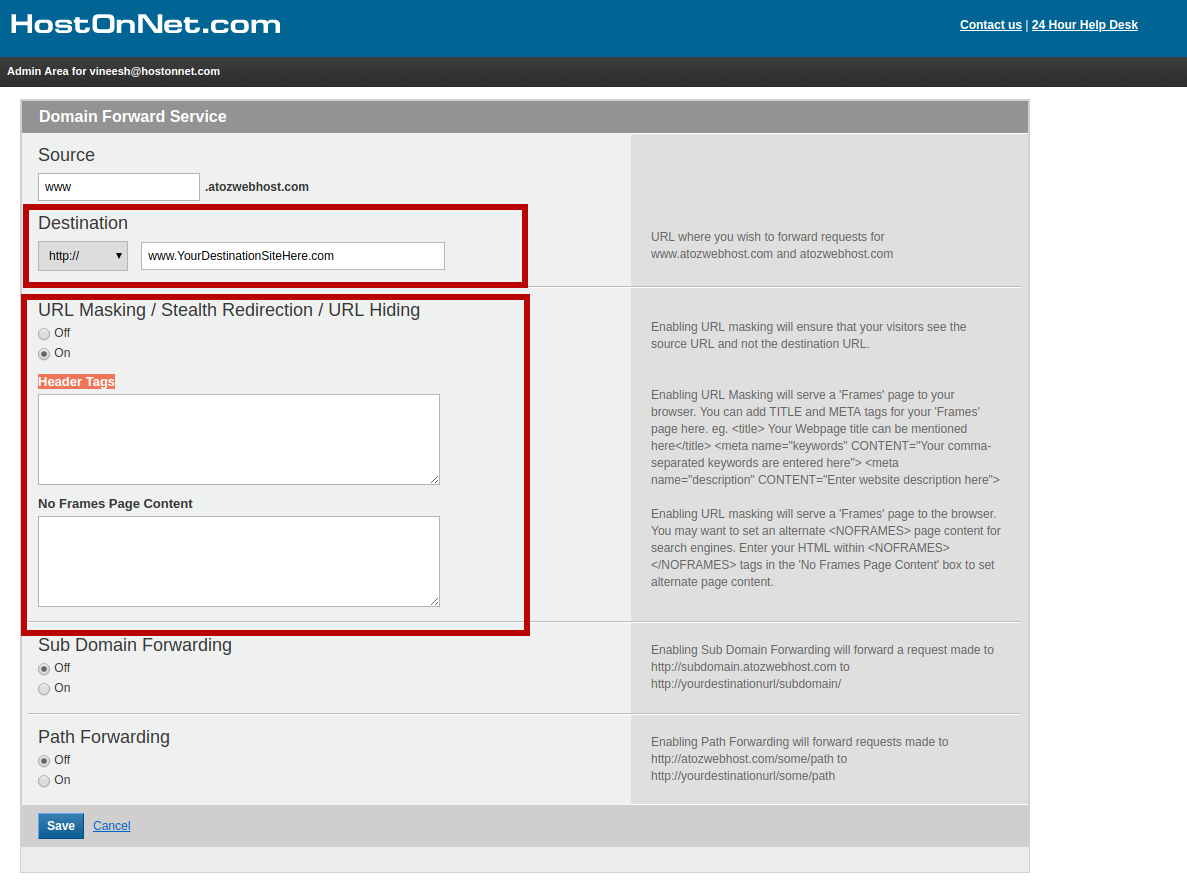
Upon clicking on ‘Save‘ button, you are done. The service will be activated once the dns propagation has successfully completed.
