Here is the simple and detailed guide for beginners for installing an extension in Opencart 3.x.
In this tutorial, I am installing Instamojo Opencart 3.X Payment Gateway Plugin
STEP 1 : Login to admin area > Extension > Installer > Upload your extensions
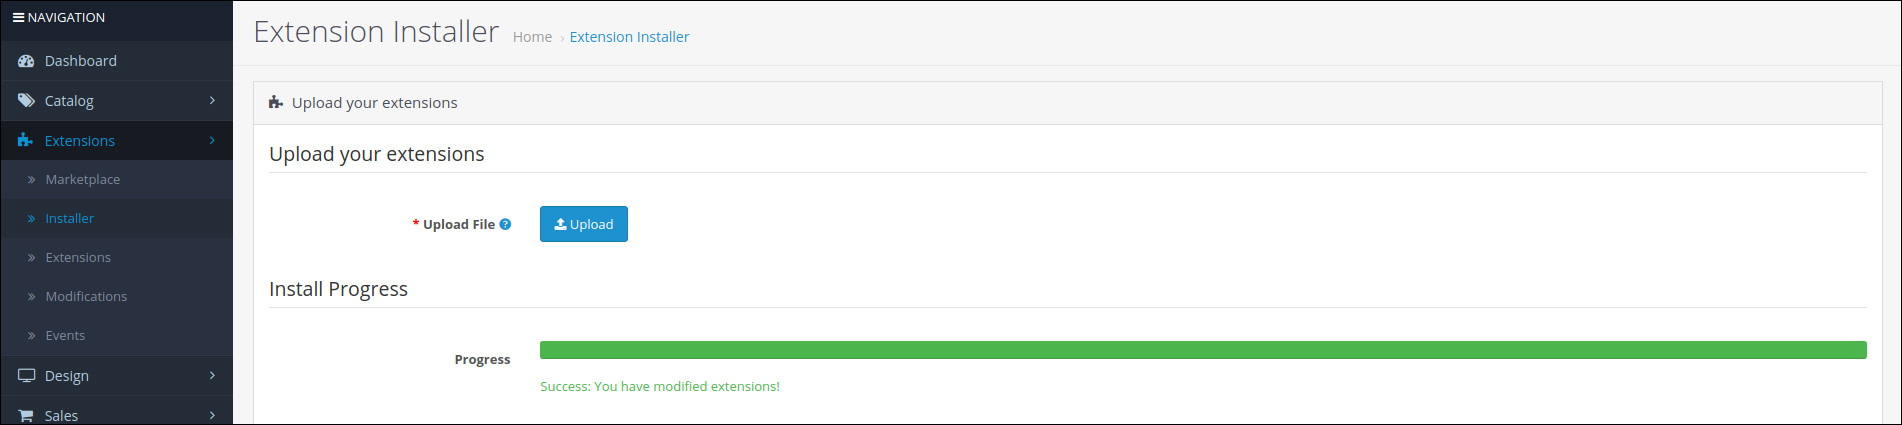
I downloaded the Instamojo extension from here
and renamed instamojo-opencart-master.zip to instamojo-opencart.ocmod.zip (Requires a modification file with extension ‘.ocmod.zip)
STEP 2 : Go to Extensions > Extensions > Choose the extension type > Payment > Instamojo > Click on green Install button(the button has + icon).

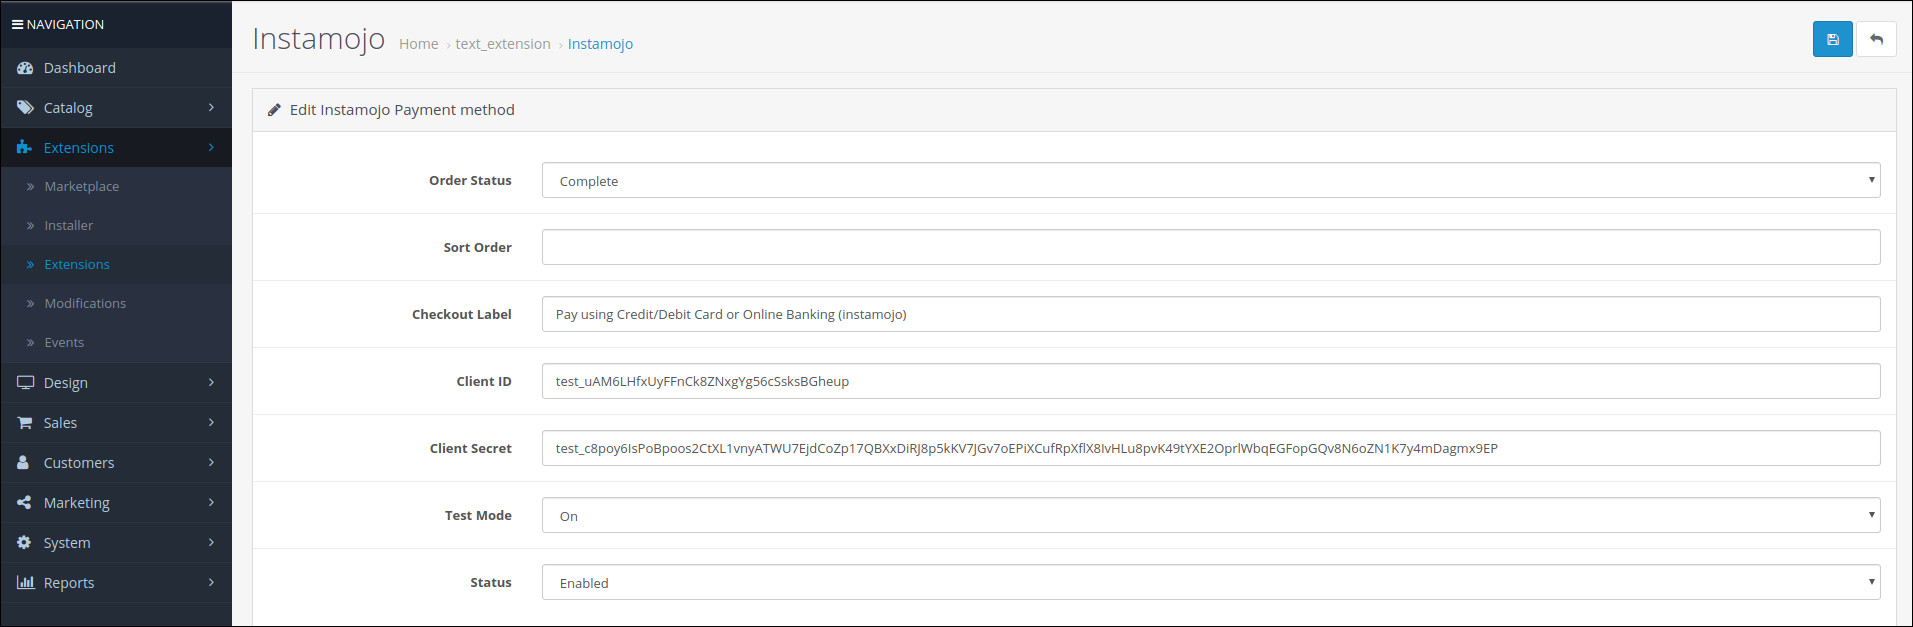
STEP 2 : Go to Extensions > Extensions > Choose the extension type > Payment > Instamojo > click the edit button

and fill following details
Order Status : Complete
Checkout Label : Pay using Credit/Debit Card or Online Banking
Test Mode : On
Status : Enabled
Click here for if you don’t know how to get Instamojo Client ID and secret key
Browse to Dashboard -> Click on gear icon on top right -> Click on Refresh Icon

