Now you’re about to learn how to upload your website content via FileZilla FTP client.
Filezilla is an ‘opensource’ or free FTP client and can be downloaded for free from http://filezilla-project.org/. It is available for multiple platforms.
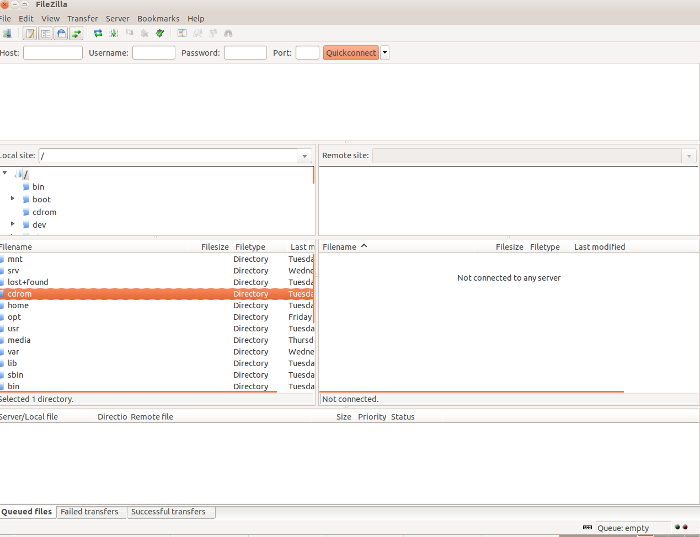
Once you have the program downloaded and installed; open it up. After you launch FileZilla you should get a screen as below:
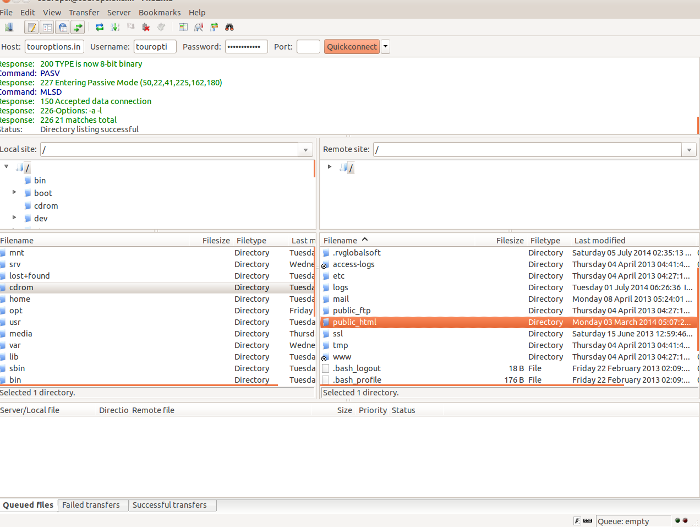
The first thing we need to do is set the program to connect to your web host. You will need the following information:
Host: Your FTP server can be found next to the corresponding user on the accounts table in your FTP Manager.
Username: your ftp username
Password: your ftp password
The FTP port is 21 and is filled in automatically.
Once you have entered the informations, click Quickconnect and the file listing will appear. Find the public_html directory and double click on it.
Then, select the files to be uploaded and drag-and-drop them under the public_html folder. Wait for the transfer to be completed.
Note: If you are using our windows server, the upload folder will be ‘wwwroot’.

Pingback: How to manually install Piwigo Photo Gallery Script on your site. | HostOnNet.com