Category Archives: Cpanel Server
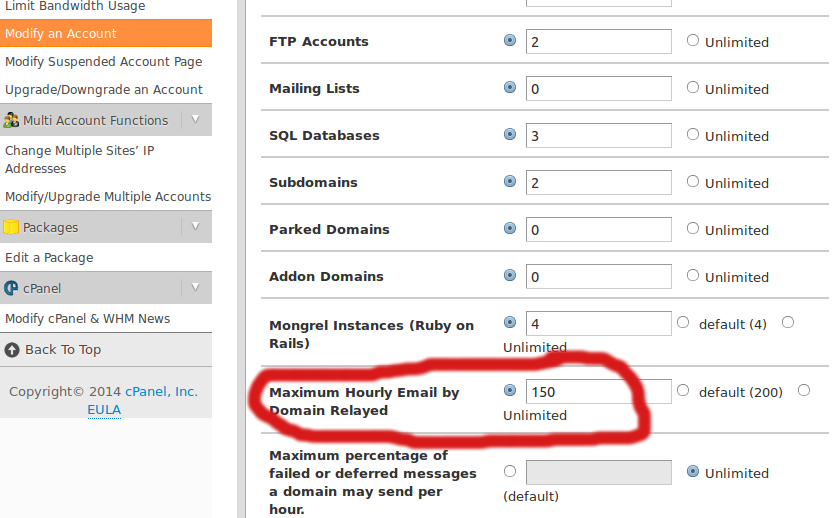
How to Change Hourly Email Limit in WHM
Loginto WHM Control Panel. Go to Home >> Server Configuration >> Tweak Settings Select the Max hourly emails per domain setting’s text box. Enter the value that you wish to set as the server-wide limit for every domain. Click Save.
Account doesn’t exist error in cpanel
When i trying to change email password in cpanel, i got the error message “account doesn’t exist” First I checked disk quota of this cpanel account and it was exceeded the limit. Problem fixed by upgrading disk quota of this
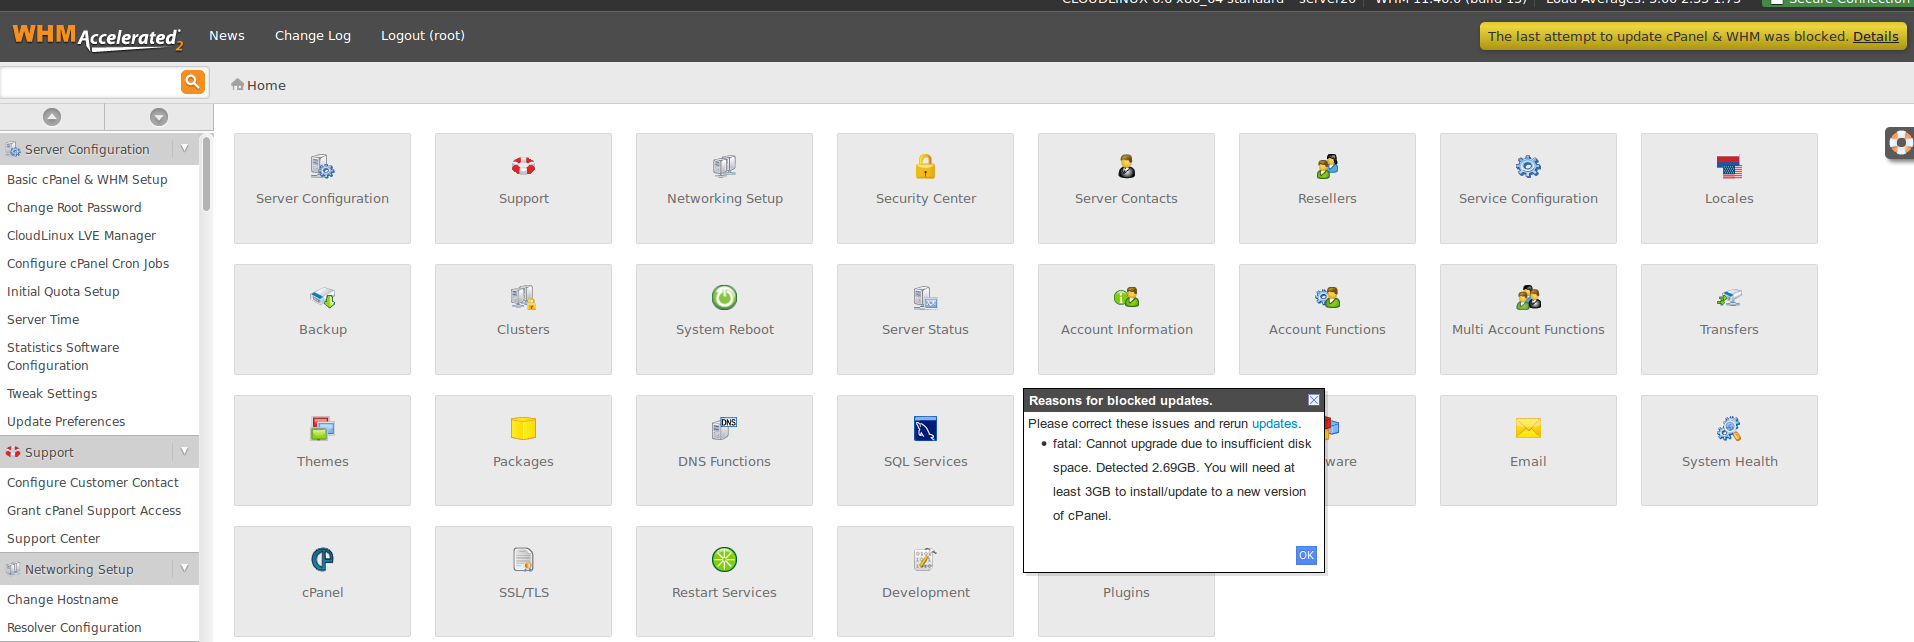
cPanel Version Change is Blocked
I’ve recevied cPanel update error messages from server. On most cPanel servers, /usr partition to often be the problem. So check out these directories for large files: /usr/local/apache/logs/archive /usr/local/cpanel/logs/archive These are two errors were large logs build up. I’ve fixed
Disable localhost relay Mail
We can disable the local relay message by set following: (1) Make sure the AntiRelay is Enable(Un-tick) >> Go to WHM >> Service Manager >> Antirelayd >> (make sure its Un-tick) (2) Navigate to WHM >> Main >> Tweak Settings
AWstats not working on CPanel Site
It can be caused due to many issues and here I am posting some fixes for that. First check permission of /usr/local/cpanel/3rdparty/bin/awstats.pl, it should be 755. Then to update awstats and webalizer run the script : If that didn’t work
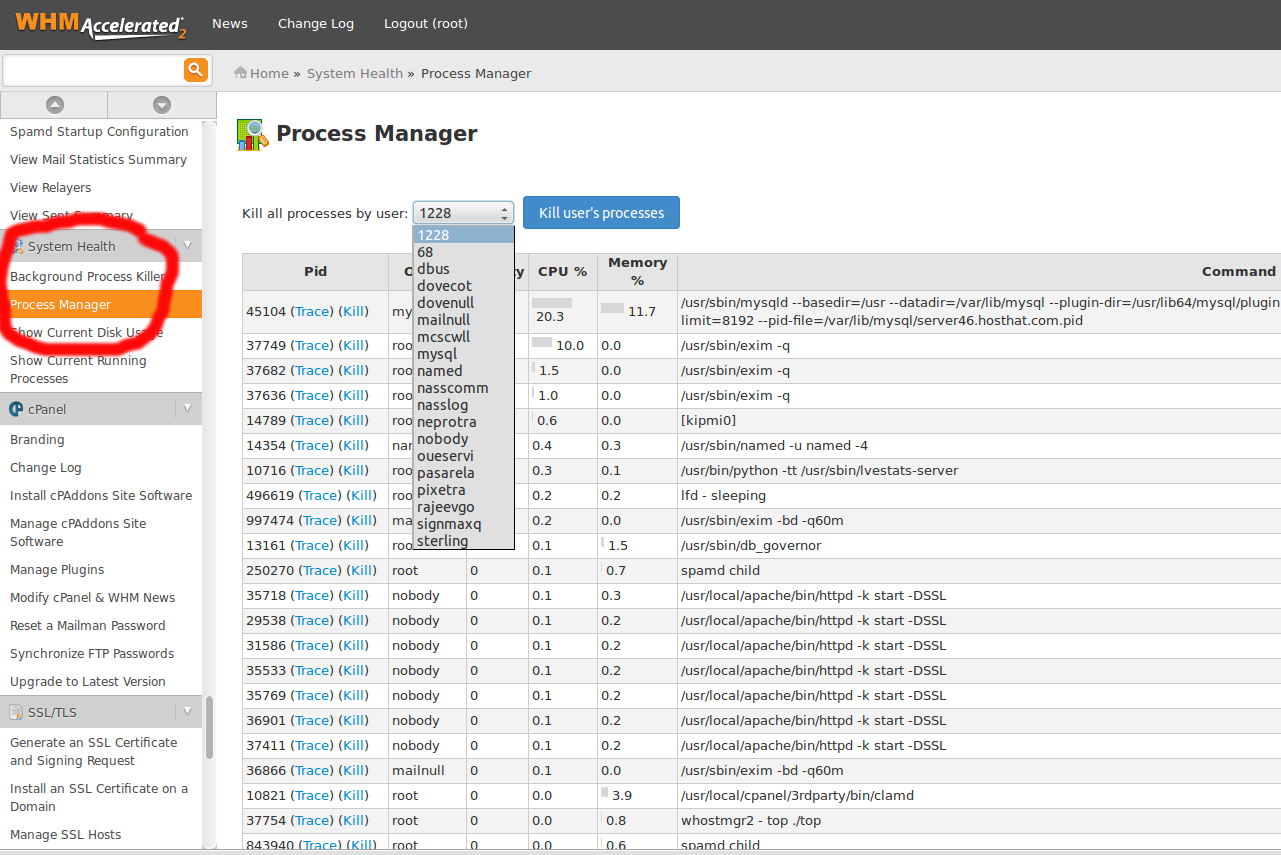
How to Kill Process on cPanel WHM
Login to WHM Control panel. Click on the “System Health” icon on the CPanel WHM homepage Click on “Process Manager” and wait for the list of processes to appear. Kill a user’s processes by selecting the user name from the
Common reasons for a hacked website
The most common reasons for a hacked (defaced) websits are * Outdated web application (Joomla, WordPress, PhpBB…) : Every popular web application has had security problems and that’s why you have to use always the latest version. * Outdated web
How To Install eAccelerator on cpanel Server
eAccelerator is a PHP accelerator and optimizer. It helps improve performance by re-using compiled PHP scripts and optimizing them to speed up their execution. Installation of eAccelerator on a cPanel server using phpextensionmgr script login SSH via root user and
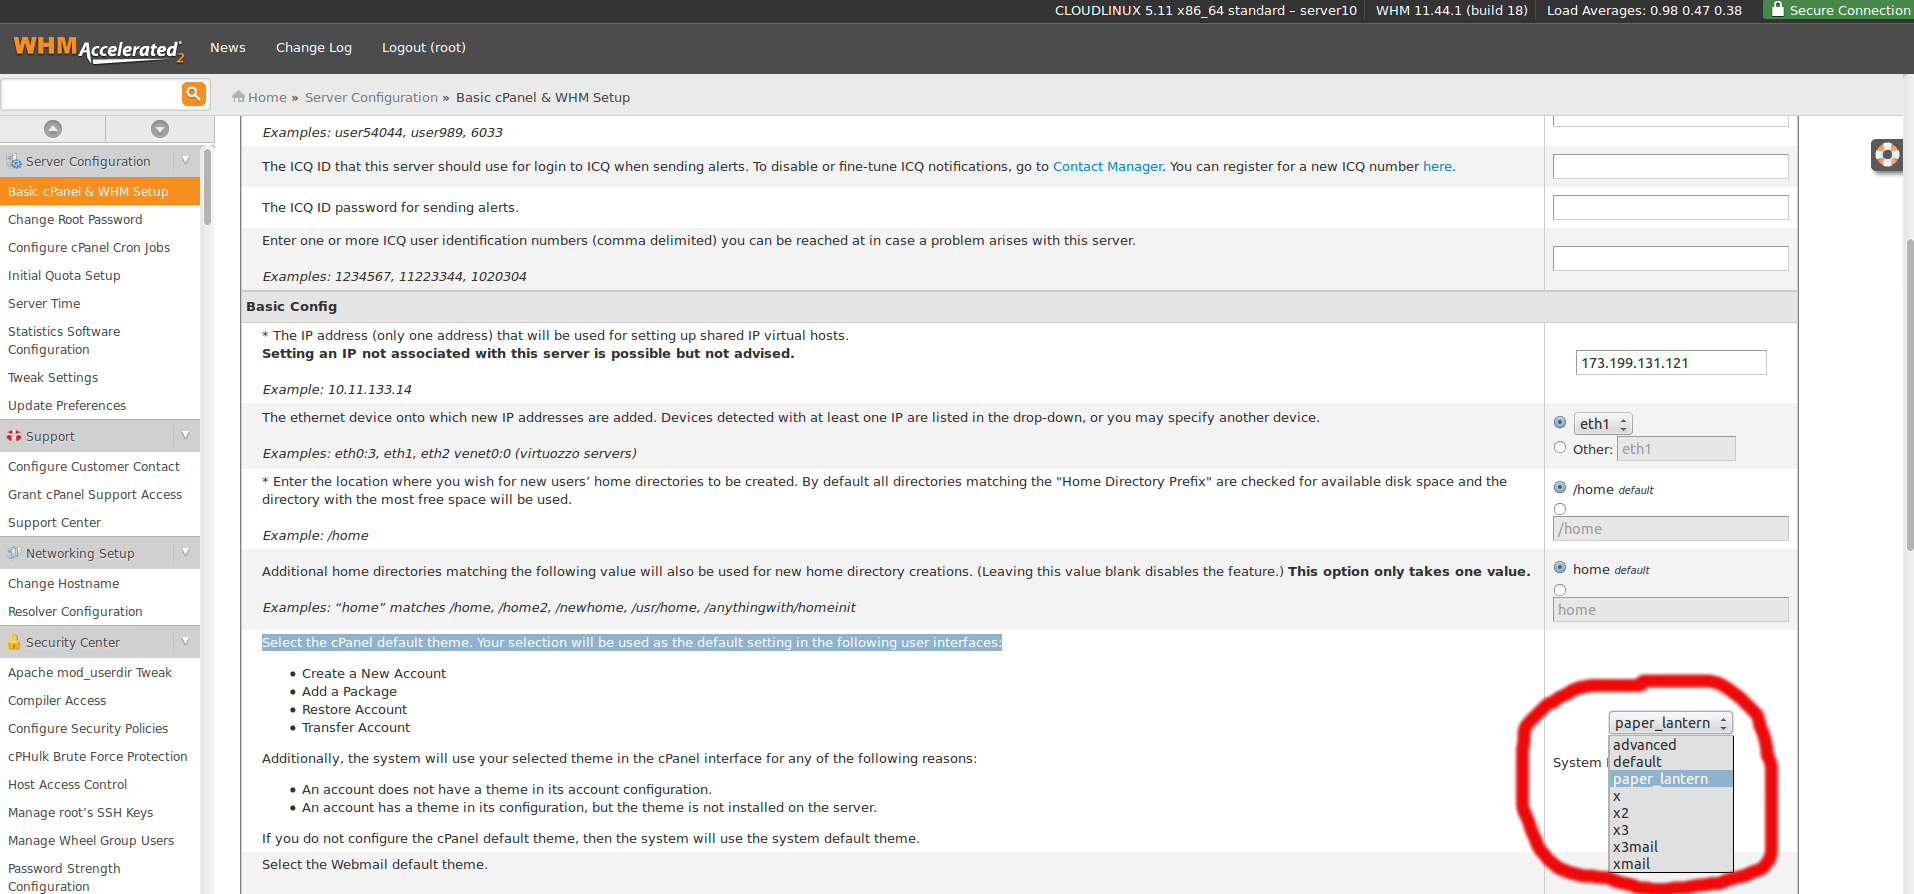
How to change default WHM cpanel theme for new account
1, Log into your WHM Control Panel. 2, In the Server Configuration area, click Basic cPanel & WHM Set up. 3, Select default theme you wish to set from drop down menu. 4, Click Save Changes.
How to Install GD Library module on cPanel/WHM Server
1. Login to your WHM as root 2. Click on Software & then click on EasyApache (Apache Update) 3. Click on ‘start customising based on profile‘ & go further with default apache & PHP configuration 4. First you will be

