Author Archives: Annie
About Annie
I've been working in Technical Section for over 10 years in a wide range of tech jobs from Tech Support to Software Testing. I started writing blog for my future reference and useful for all.How to do Bulk Pricing Update in WHMCS
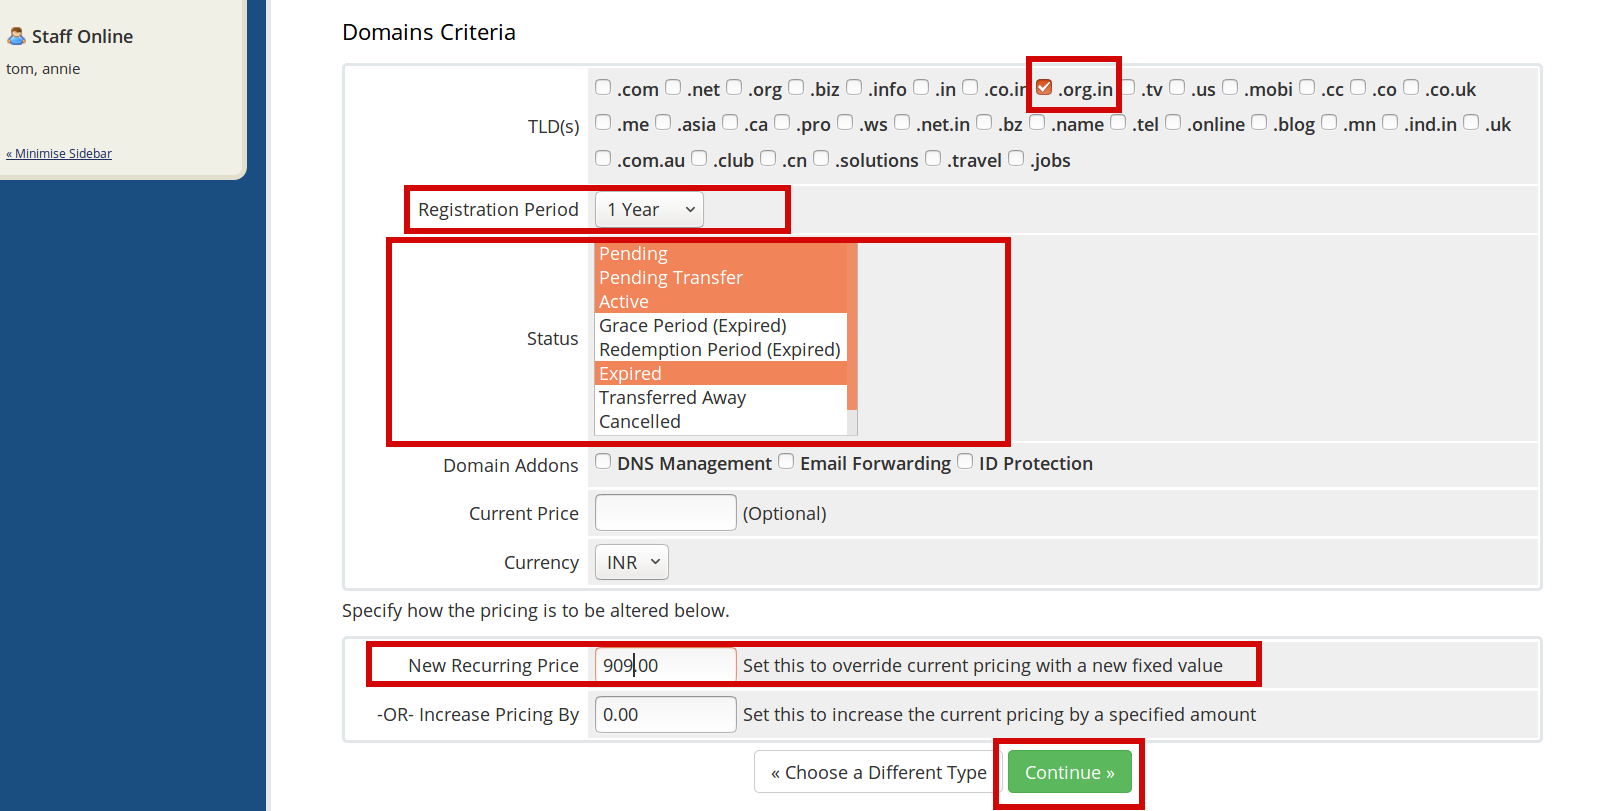
Today I am going to explain how to change the renewal prices for existing clients products and domains using the Bulk Pricing Updater Tool in WHMCS. 1) Login to WHMCS admin panel. 2) Begin by navigating to Setup > Addon
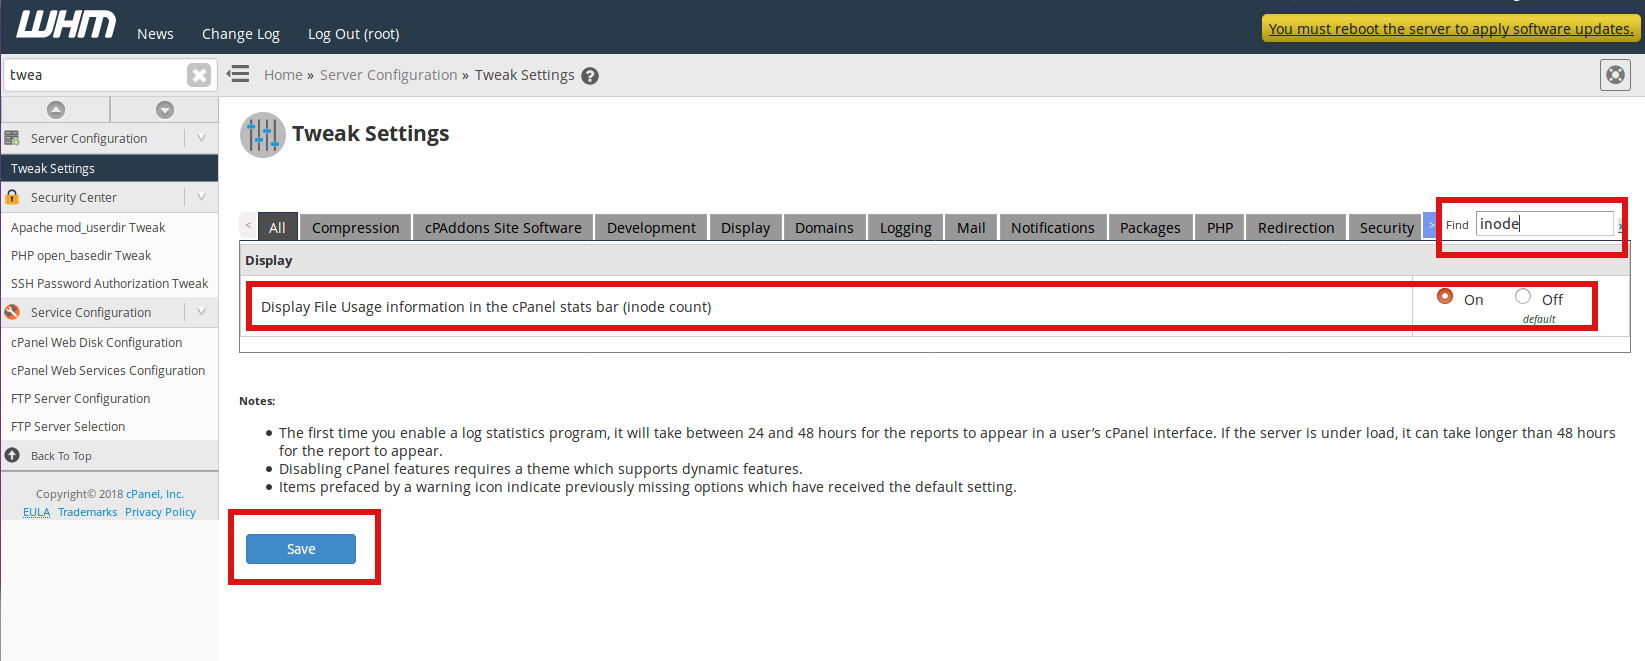
How to display inode usage in cPanel
Every time a file is opened, the file’s inode is read by the kernel of the server. The more files/folders you have, the more inodes you use. And the more inodes you use, the more system resources your account consumes. We
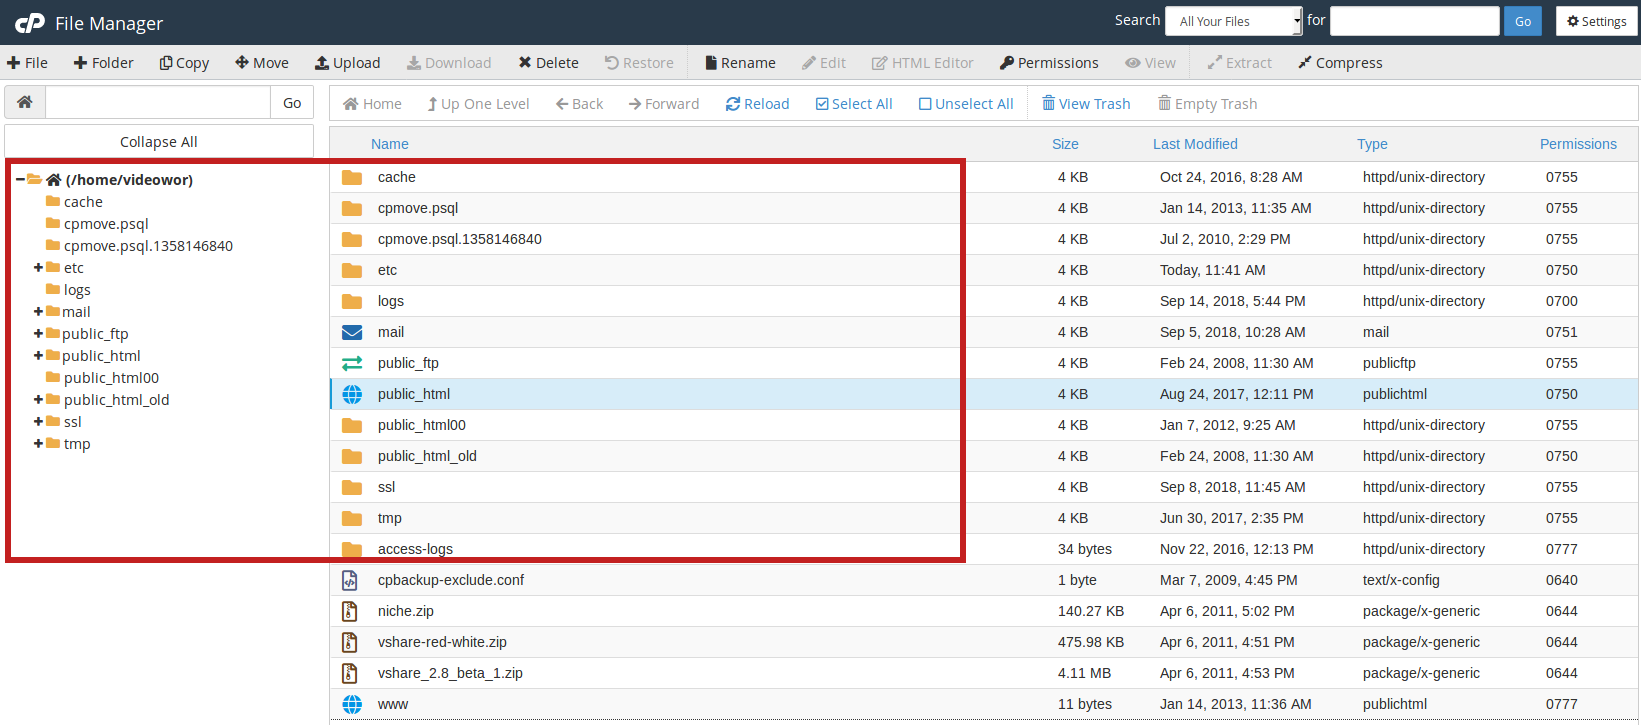
How to upload a file using cPanel’s File Manager
You can easily upload files to your site using an option File Manager in cPanel. The steps to be followed are: 1) Login to cPanel Using Login credentials, If you do not know Login credentials please contact hosting support term.
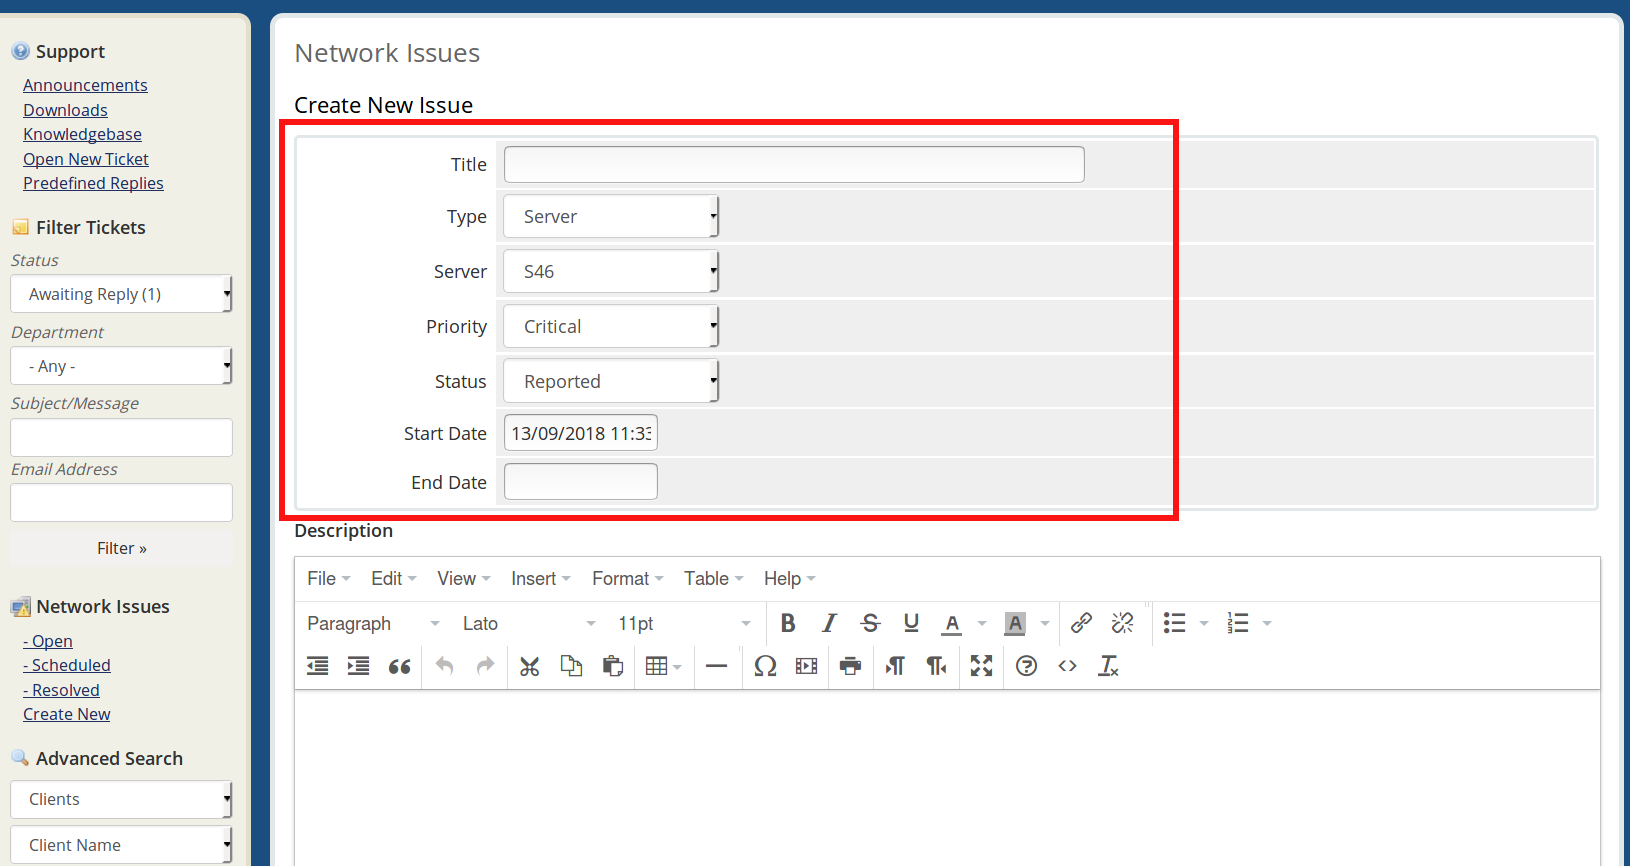
How to report a network issue using WHMCS ?
This tutorial will help you understand how to report a network issues you might come across. It is very important to notify your clients of any server downtime or network outages, Server maintenance, whether expected or unexpected. 1) Log into
How to Enable Database Backups in WHMCS
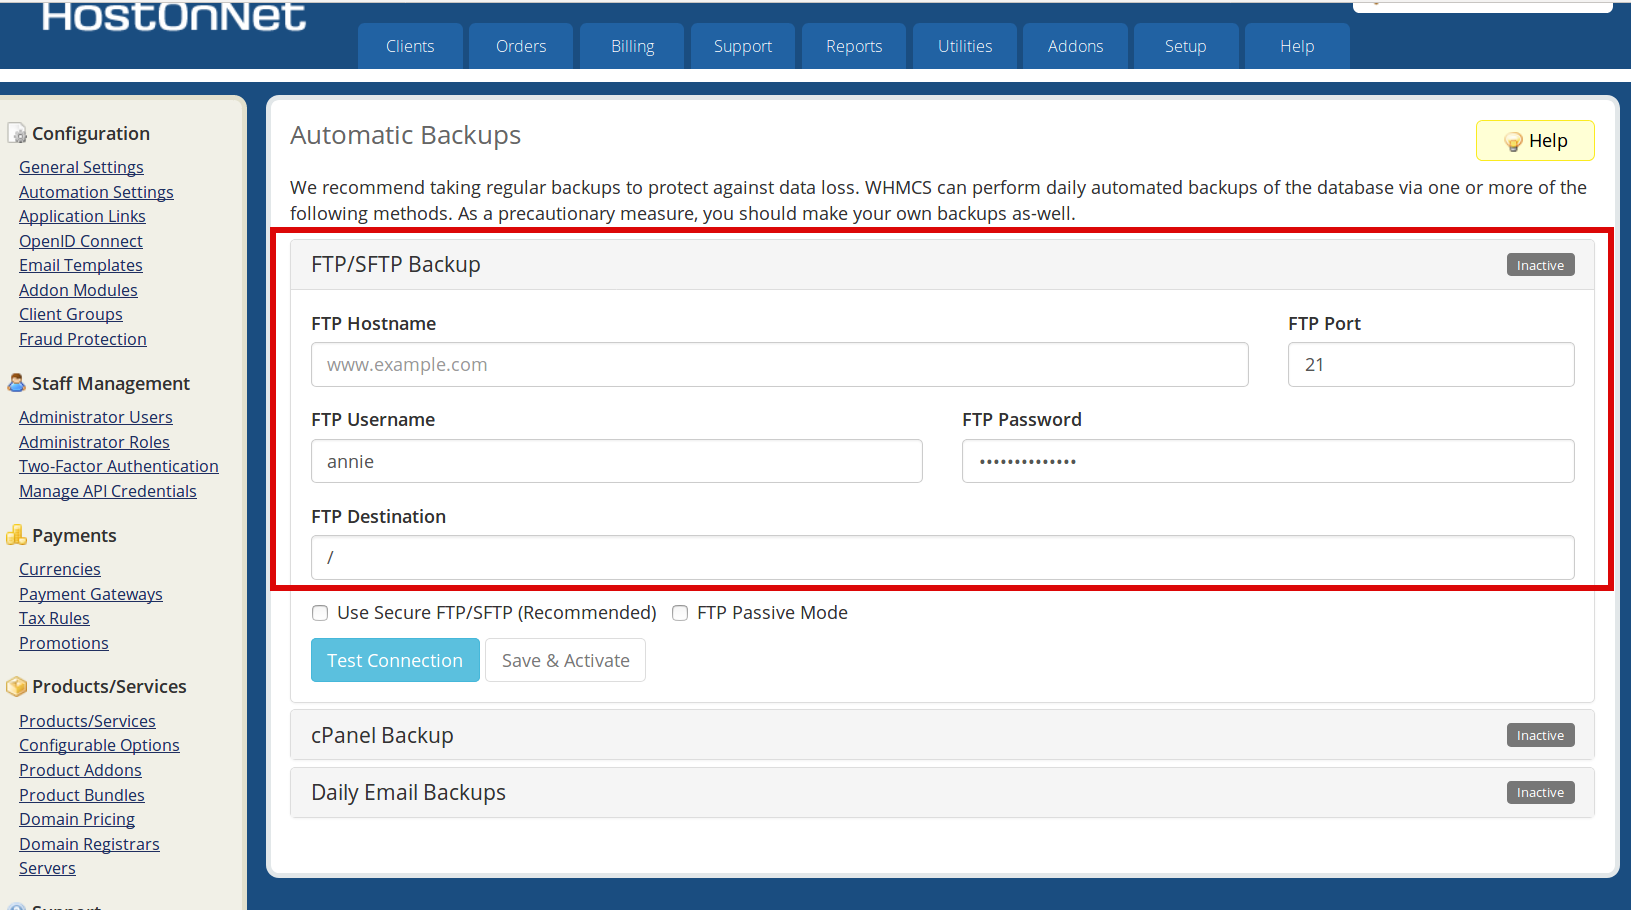
1) Login to WHMCS admin panel. 2) Click on the tab Setup. 3) Go to Others >> Database Backups. 4) In this section, we can configure Daily Email Backup or FTP Backup. Both methods can be enabled to run simultaneously.
How to create email account in cPanel
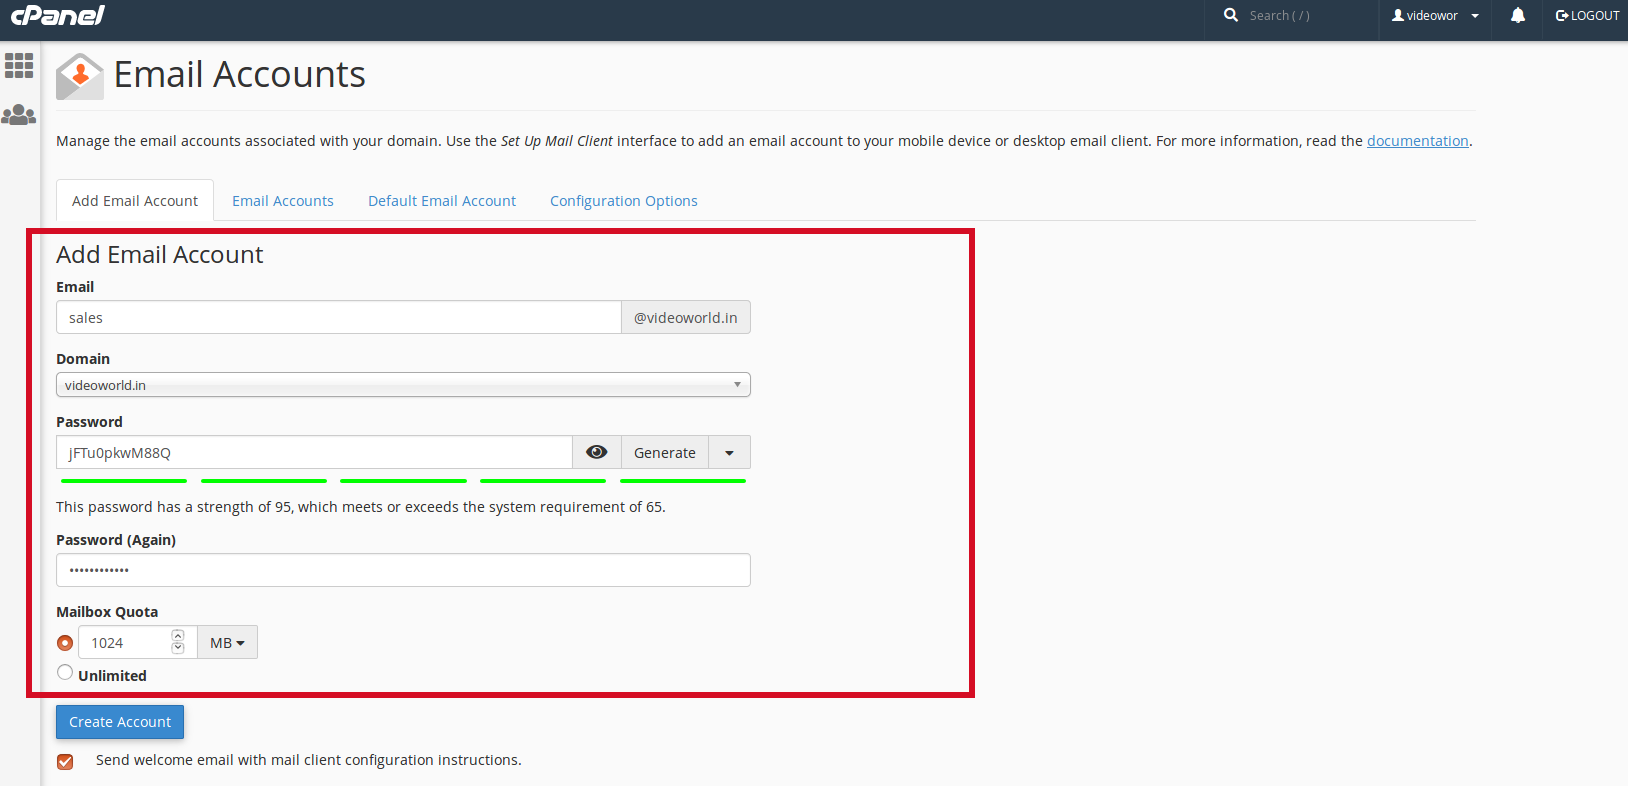
1. Log in to your cPanel > EMAIL section > Email Accounts menu: 2. On the next page, fill out the form for new e-mail accounts. Enter the first portion of the e-mail address. Enter the password for the e-mail
How To Create A MySQL Database In cPanel
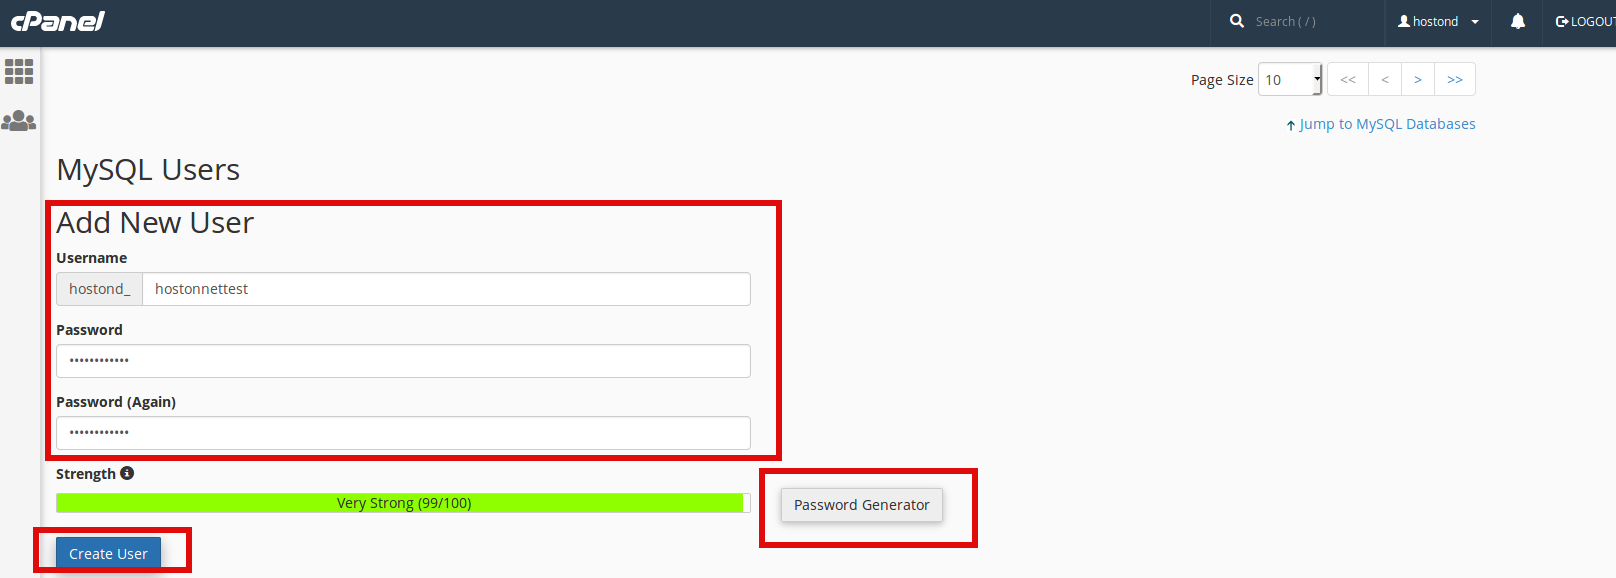
Today i’m going to show you how to create MySQL Database In cPanel 1. First login to cPanel account, If you don’t have login details please contact your hosting provider. 2. In the Databases section, click on the MySQL Database
How to configure Apache SpamAssassin in cPanel
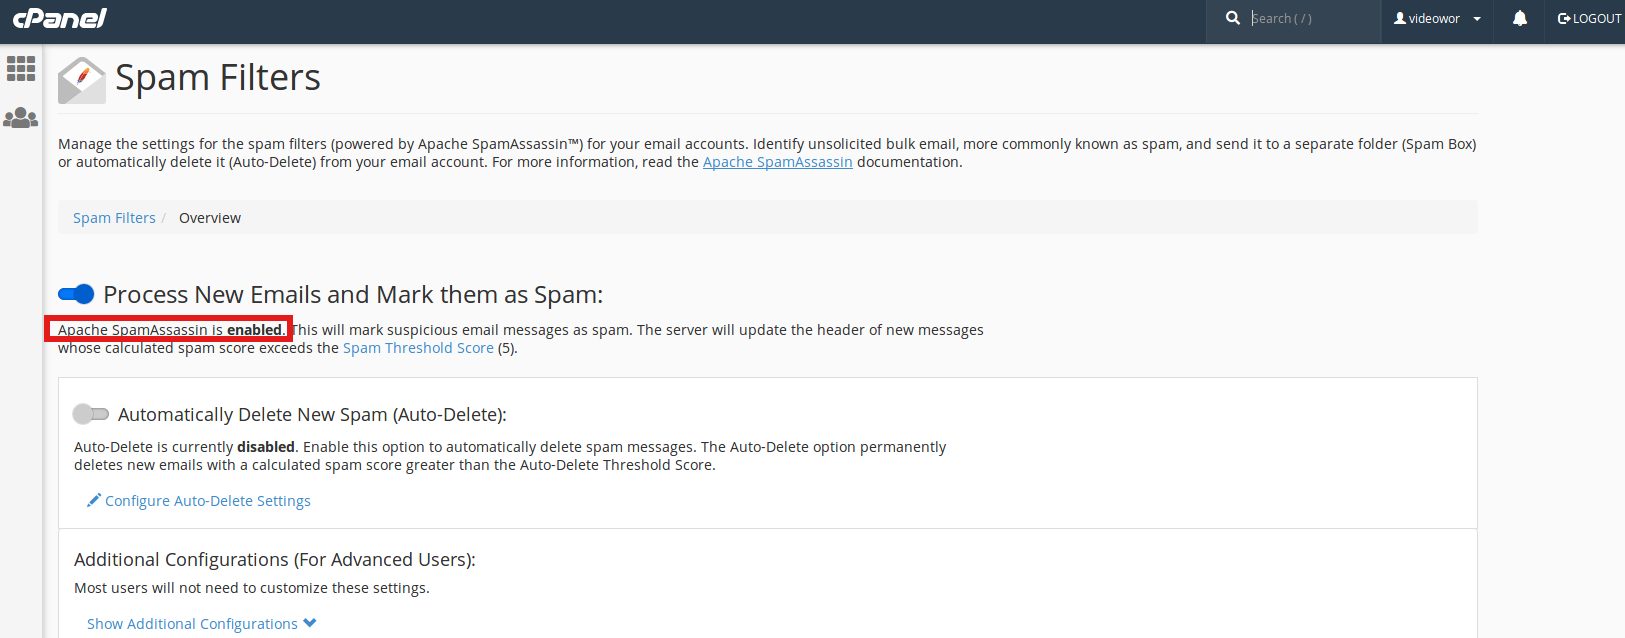
Apache SpamAssassin is an email utility that examines incoming email and tests for spam characteristics. To enable Apache SpamAssassin, follow below steps: In cPanel, go to EMAIL > Spam Filters > Process New Emails and Mark them as Spam: Once
How to create a Global Email Filter in cPanel
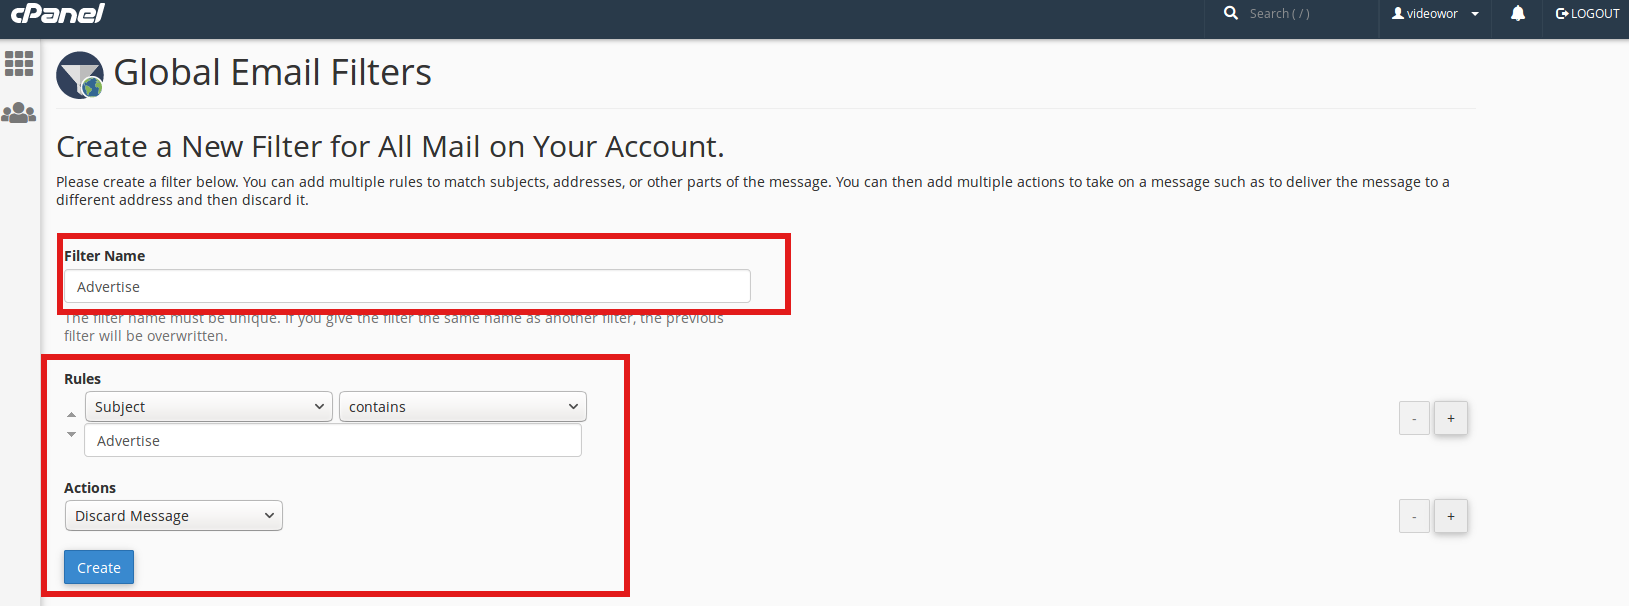
Today I’m going to explain how to create a Global Email Filter in cPanel 1. First Login to your cPanel account. 2. In the Email section, click on the Global Email Filters Icon. 3. Click on the Create a New
Configure 2CheckOut Payment Gateway in WHMCS
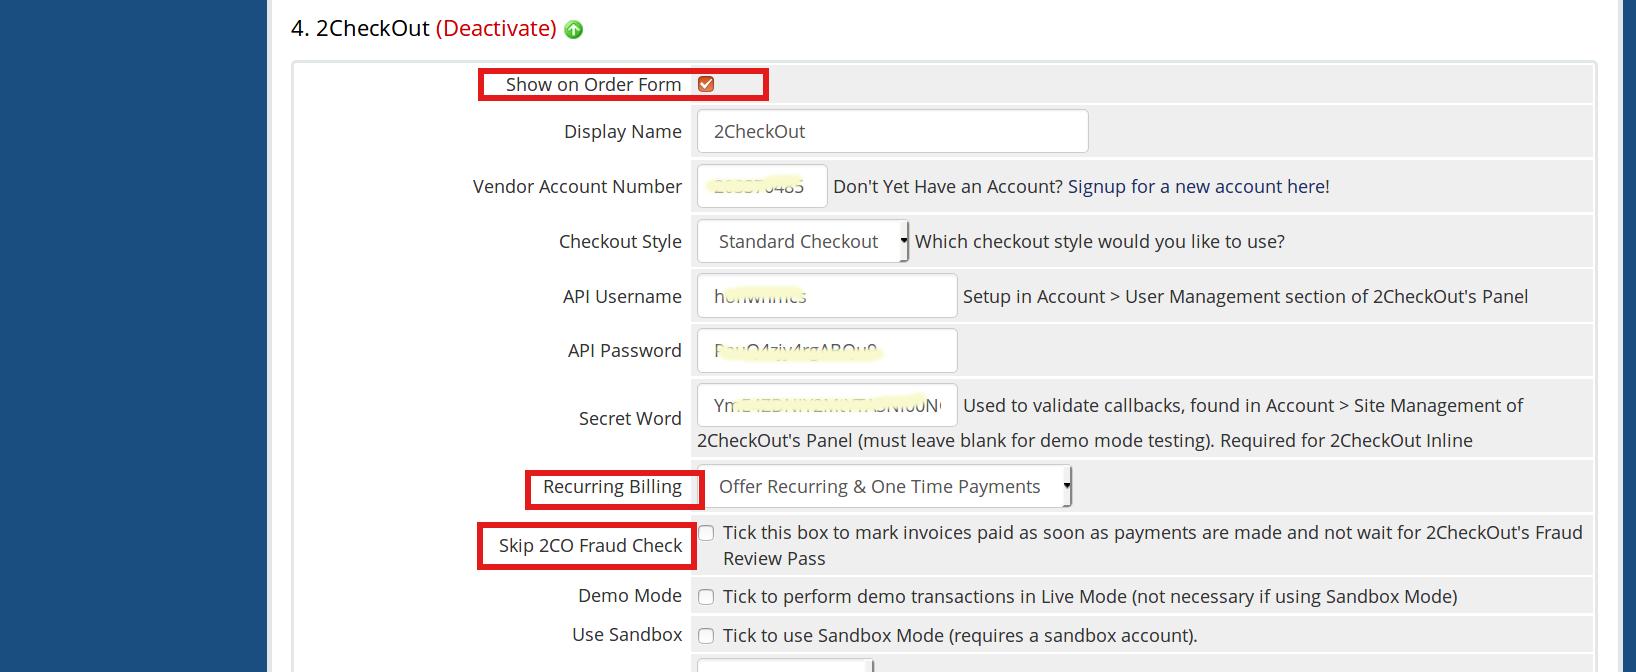
1) Login to WHMCS admin panel. 2) Click on the Setup tab. 3) Go to Payments >> Payment Gateways. 4) Next click on 2CheckOut to activate it. Here i have already enabled it, so click on Manage Existing Gateways. 5)

